How to Copy Outlook PST File to Flash Drive on Mac & Windows?
Did you receive some confidential PST files from a client that you want to transfer into a flash drive for safety reasons? Wondering how to copy Outlook PST file to flash drive on both Mac & Windows operating systems? Looking for an effective and safe approach to implement the necessary process? If yes, then it is suggested to pause your search right away because in the segment we have discussed a solution that will copy Outlook PST file to flash drive by converting PST files into suitable saving option. So, without more ado, let’s get started and know the step-by-step process to save PST file to a flash drive.
In today’s era, data has become an essential part of our lives and thus it is necessary to take their backup regularly. One such file that holds enormous significance for a lot of users is PST which serves as a local archive to ensure that you can access Outlook data even when the email client is not connected to its server. The file contains the confidential data of Microsoft Outlook account such as emails, contacts, tasks, calendars, journals, etc.
Microsoft Outlook is a commonly used email application which is also popular as personal information manager. The email client allows users to manage day-to-day sending/receiving of emails, calendar events, contacts, and other items with ease. However, after gaining popularity from Windows users, Microsoft immediately launched its Mac version. So, it is an email platform which is compatible with both Mac & Windows OS.
Why Users wants to copy Outlook PST file to Flash Drive?
Flash drive is portable and helps in storing our important files, documents, images, videos, and other items as a backup. Moreover, users can connect it with any device and restore the entire necessary database in few seconds. Thus, copying PST files to flash drive has a lot of advantages and some of them we have discussed below –
Backup: Flash Drive offers a convenient and portable method to create Outlook data backup. By transferring your crucial files to flash drive, you can safeguard your essential content from unexpected disaster such as data loss or corruption.
Data Migration: In case you are moving to Mac from Windows and planning to move all your sensitive PST files to a new platform, the copying PST file to flash drive will ease the process. It will allow you to transfer all the mailbox items to a new device without applying any complex import/export procedure.
Disaster Recovery: Sometimes the unexpected occurrence of system issue can block you from accessing your important files. Therefore, saving PST files to flash drive beforehand will protect you from any kind of loss and allows to restore Outlook data.
That is why it is beneficial sometimes to store important files as a backup to a portable device.
How to Copy Outlook PST File to Flash Drive on Mac & Windows?
There are multiple approaches to save Outlook PST file to flash drive –
- By using Manual Method
- By using Recommended Method.
Let’s get started with the manual method first followed by the recommended solution.
Method 1. Copy Outlook PST File to Flash Drive using Microsoft Outlook
The manual method is divided into two categories. The first category will help you to save PST file in flash drive supported format. And the second category will backup PST file to flash drive as PST only.
Category 1. Save PST File to Flash Drive as PDF
Step 1. Open Microsoft Outlook.
Step 2. Select necessary email.
Step 3. Go to File and click Print option.
Step 4. Apply the advanced settings.
Step 5. Choose Print and select the location to save your file as PDF.
Step 6. At last, click on Save button to save PST file to flash drive as PDF.
Category 2. Save PST File to Flash Drive as PST
Step 1. Click on File in Microsoft Outlook.
Step 2. Click on Open & Export option & choose Import/Export.
Step 3. Choose Export to a file option and hit Next button.
Step 4. Select Outlook Data File (.pst) option. Again, click Next to continue.
Step 5. Choose the required folders to save into PST format and click Next.
Step 6. Browse the location as per your need. Select the necessary option from other options appearing and click Finish.
The Microsoft Outlook data is now saved into PST format at desired destination path.
However, the method is simple to use but it also has some drawbacks that can cause you some trouble while implementing the steps.
Drawbacks of a Manual Method
- Outlook should be working properly when you start taking backup of PST file.
- The method is not suitable for damaged Outlook profile or data file.
- It allows to copy single PST file at a time.
- Exported PST files are only acceptable by Microsoft Outlook.
- PST files are susceptible to corruption.
- Incorrect implementation of a single step can lead to data loss.
Method 2. Copy Outlook PST File to Flash Drive using Recommended Solution
The best and easy way to copy Outlook PST file to a flash drive is MacMister PST Converter for Mac & Windows application. The software is user-friendly, cost-effective, and reliable. It is easily operable by all professional and non-professional users and even save users’ time and efforts by offering three-step process. With the help of the application, users can copy PST files to 15+ saving options such as one can convert PST to OLM, PDF, MSG, EML, EMLx, MHT, HTML, CSV, DOC, Thunderbird, IMAP, Gmail, G Suite, Yahoo, and more.
Moreover, the tool is launched with several beneficial features that allow users to save PST file to flash drive according to their specific preferences. However, you may download the free demo of the software to test the step-by-step process for free.
Working Steps to Copy Outlook PST File to Flash Drive on Mac
Step 1. Download and run the application on a Mac-supported platform.
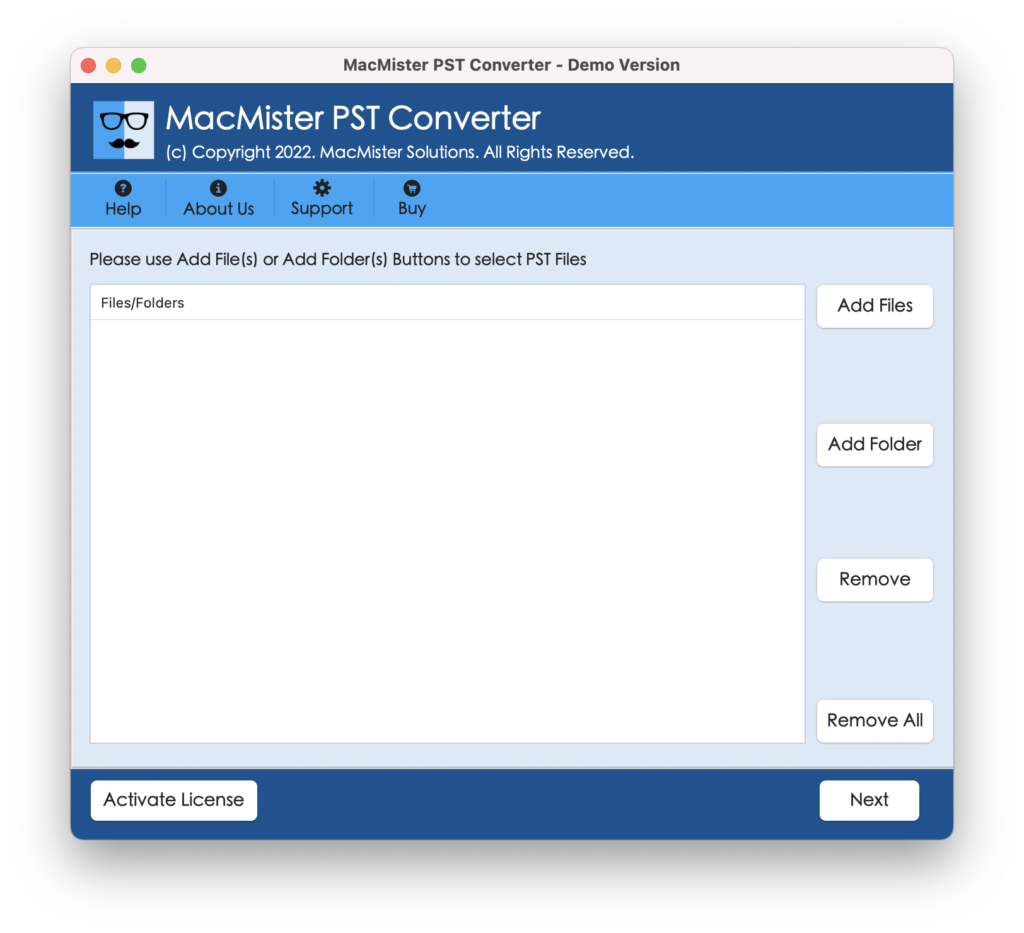
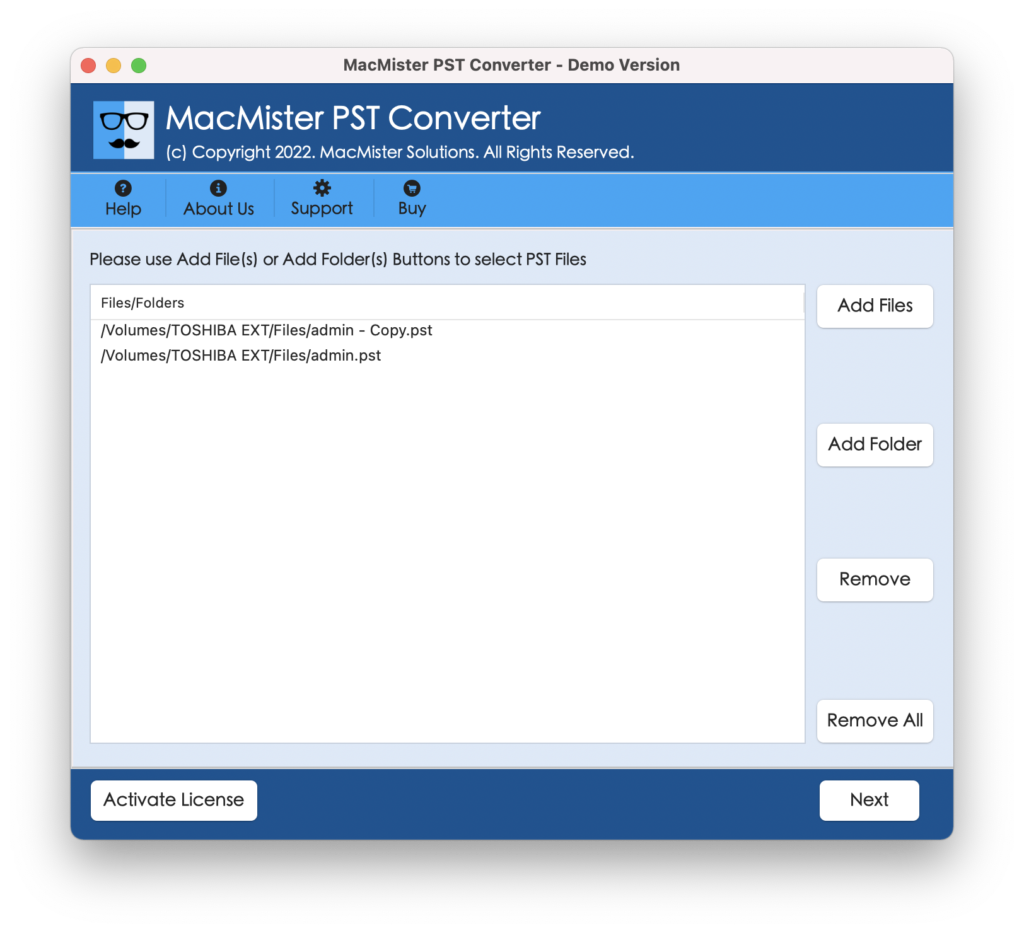
Step 2. Add necessary PST files on the tool with the help of Add File(s) or Add Folder buttons and click Next.
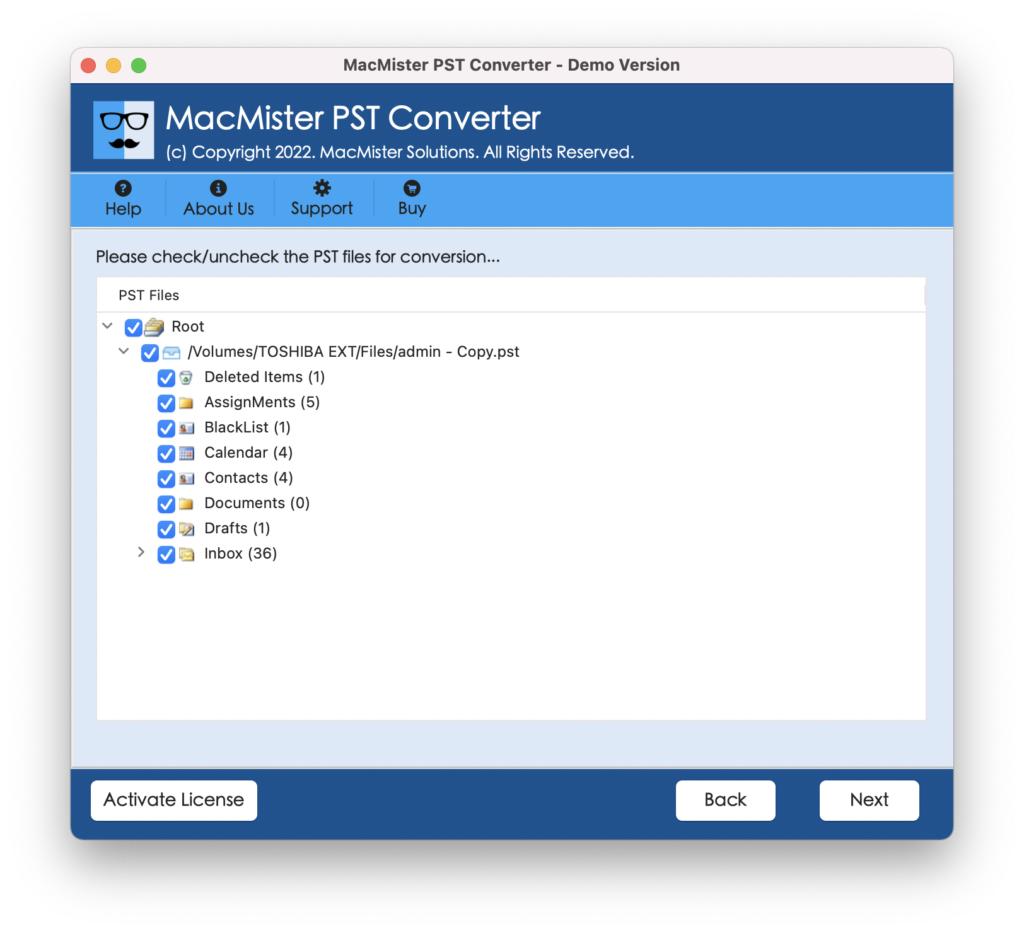
Step 3. The application now starts loading PST files with checkboxes one-by-one. By default they will be selected but one can deselect them and select again as per requirements for selective conversion. Click Next to continue.
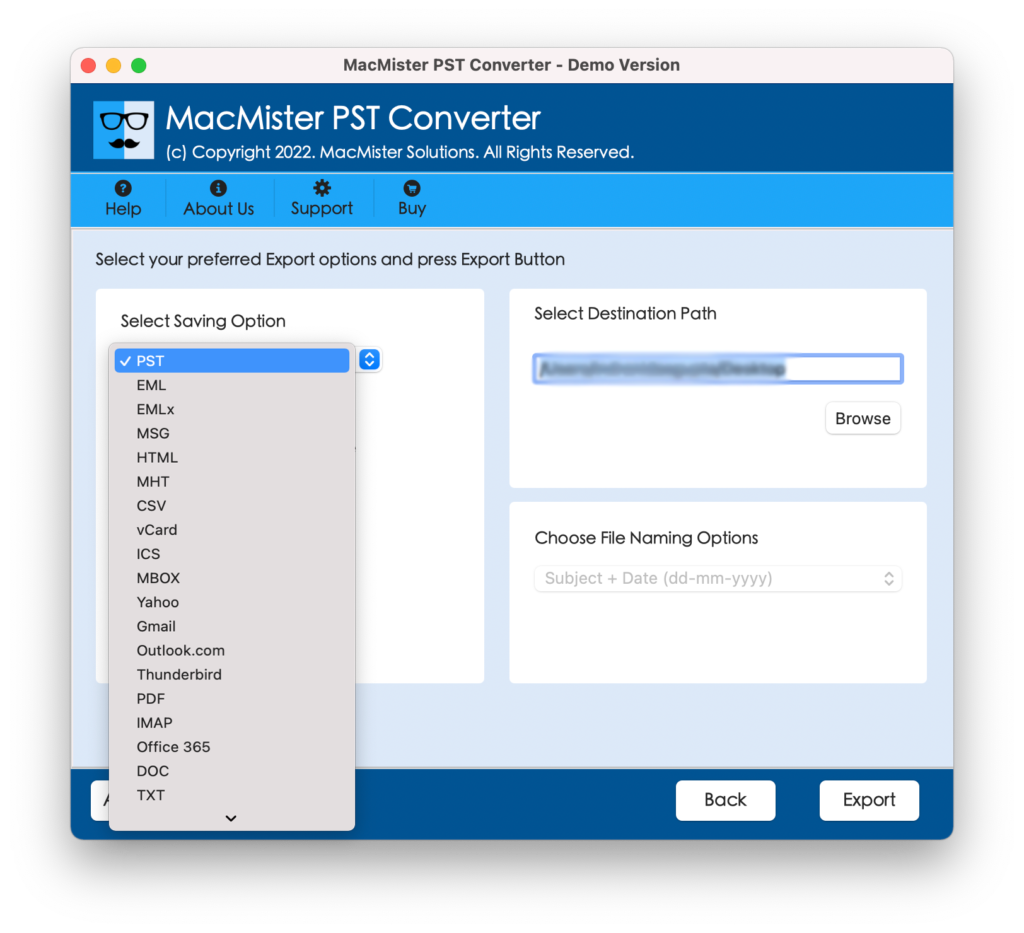
Step 4. Click on the Select Saving Options and select the required saving option.
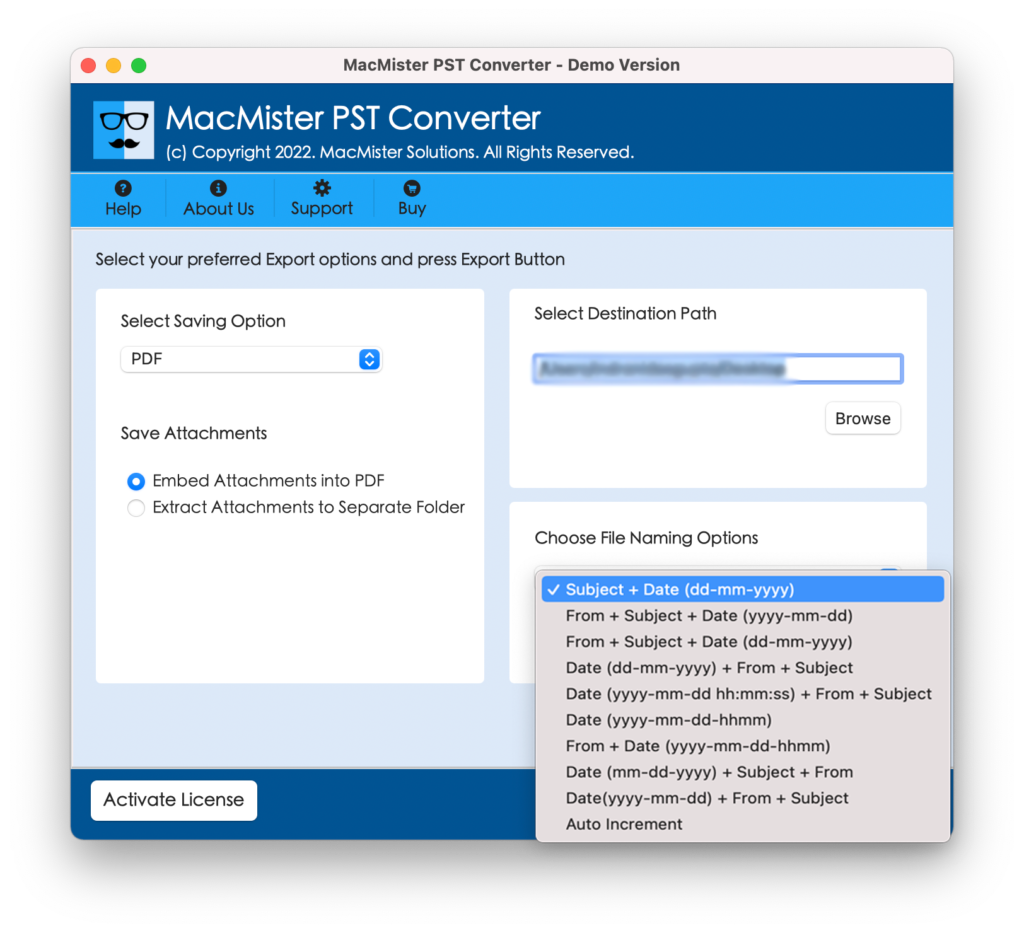
Step 5. Apply the other options as per your requirements and click on Export button.
Step 6. The process will start and the application will show Live Conversion Window that allows tracking the ongoing conversion progress of PST files.
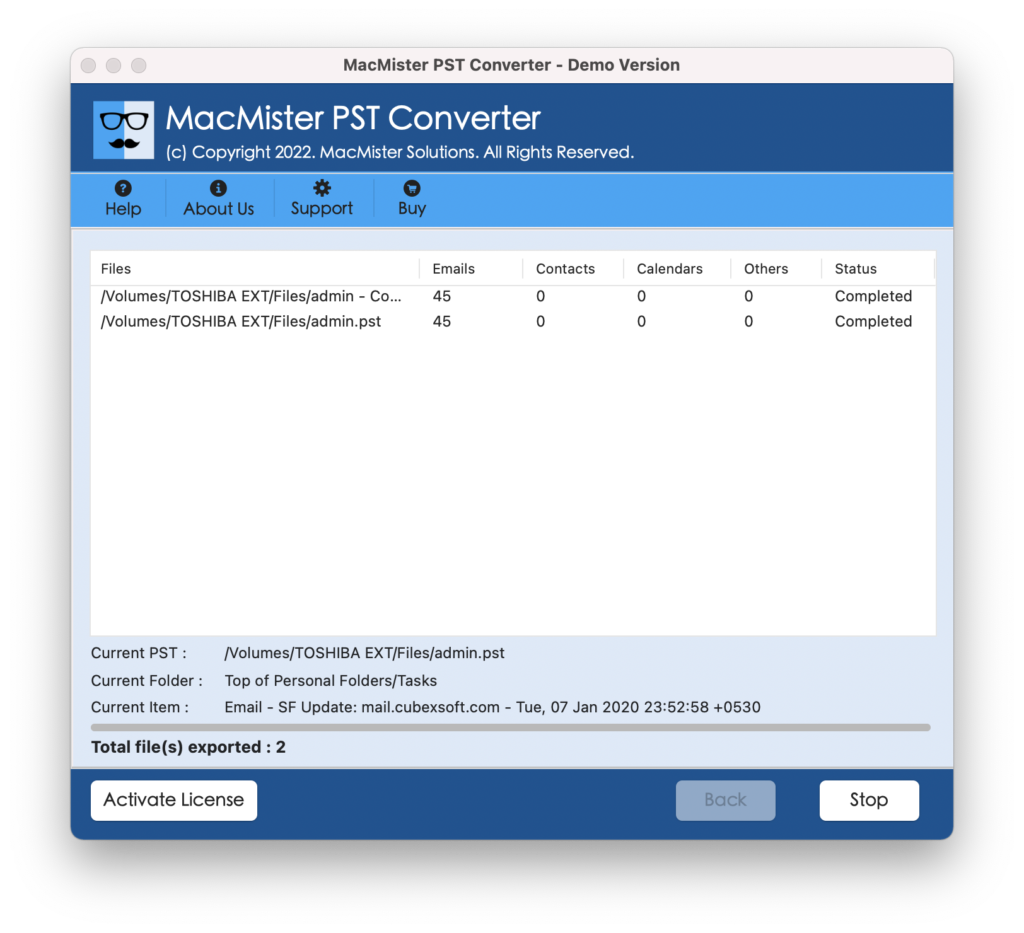
The process will finish quickly and you will encounter “Conversion Completed” message which will confirm that the conversion is done successfully. Tap OK button and go to location you have selected earlier for resultant files. However, you can open the required file to check the results.
The folder structure will appear in correct order and their data will also remain accurate during the process. You can use its trial edition for proper evaluation and analysis of a software.
Epilogue
The write-up here provided two different approaches to fix “how to copy Outlook PST file to flash drive?” In the first approach we have discussed the manual process which is free but has few drawbacks. And, in the second approach we have utilized the recommended tool which is cost-effective, secure, and easy-to-use and provides the free demo which allows to save first 25 PST files to flash drive free of cost. You can opt for a suitable solution and perform the process accordingly.