How to Import MBOX to Dovecot Server? – Migration Guide [2025]
When we think about moving a file from one email platform into another, it somehow becomes a challenging task. And the same goes when it comes to migrating MBOX files. In the write-up, we will highlight important reasons as well as corresponding solutions to import MBOX to Dovecot Server. In case you are new to this, then we have described a remarkable approach that will help you to migrate MBOX files into Dovecot server with ease.
Here, we will be exploring different approaches; first we will make use of server-side command for technically proficient users. Next, we try to import MBOX to Dovecot Server using widely used email client i.e. Thunderbird. And if you find them challenging, then not to worry anymore as here we have offered a professional tool which will quickly import MBOX files into Dovecot Server with 100% accuracy.
Overview – MBOX & Dovecot Server
MBOX is a simple file type specially designed to preserve multiple email messages in a single file. The MBOX files were first introduced for UNIX system. It is a plain-text file type and usually separate emails with a separator, e.g. From line that indicates the start of a new message. This line holds the address of a sender as well as the time of message when being sent. The text is a part of a file followed by the separator.
Dovecot is an open-source server programmed for Linux, supported by IMAP and POP3. It is recognized for its performance, security, and simplicity. And just like any other email server, it also acts as a mail storage server. The server receives emails from Mail Transfer Agents such as Postfix, Dovecot, and Exim. It delivers a way for users to access as well as manage mailboxes using email application (Outlook, Mozilla Thunderbird, or a Webmail).
Why Dovecot is Popular among Users?
- Dovecot supports both the protocols i.e. IMAP and POP3 that means users will be able to receive the emails easily through different email applications and servers.
- Dovecot Server is designed with security and provides features such as SSL/TLS encryption and secure authentication.
- Dovecot is a resourceful mail server which is useful for both small and large size email systems.
How to Import MBOX to Dovecot Server?
Dovecot support Maildir format that preserve emails and individual files in a directory. Thereby, it is important to convert MBOX to Maildir first. However, the challenge is how to convert or import MBOX files into multi-file Maildir structure. Therefore, we have discussed different methods to perform the same – manual with command line method & automated approach.
Method 1. Import with the help of Server Side-Command Line
The method is implementable using Dovecot inbuilt administrator tool, doveadm. Below are the needs discussed to carry out the procedure –
- SSH Access: Login to Dovecot with SSH.
- MBOX File Location – Ensure MBOX files are uploaded to reachable location.
- Dovecot User: Must know the complete email ID or username of Dovecot account while importing MBOX files.
Step 1. Run the Command
The “doveadm import” command enables users to mention the source format as well as destination user to import MBOX mailboxes into Dovecot Server. Source is offered as a mailbox format: path.
Command
doveadm import –u <destination_user> mbox: <path/to/your/mbox_file> <target_folder>
Example: To import a download.mbox into user user@abc.com INBOX:
doveadm import –u user@abc.com mbox:/home/user/download.mbox INBOX
In case you are looking to import MBOX into new subfolder, such as “New MBOX Folder”
doveadm import –u user@example.com mbox:/home/user/download.mbox “New MBOX Folder”
Step 2. Wait until process completes
The command will run and take few seconds to complete depending on the MBOX file size. doveadm import command takes care of the reading and conversion of .mbox files individual messages into Dovecot users” native format that usually is Maildir or dbox.
Method 2. Import MBOX to Dovecot by making use of IMAP Client
Here, we will go through the most common way of importing email files into Dovecot server account. We will use Thunderbird email client to connect with Dovecot and carry out the migration through IMAP protocol. This is best when there are only few files left for migration.
Step 1. Import MBOX Files
- Run Thunderbird email client.
- Go to Local Folder, right-click on it.
- Choose ImportExportTools NG and select Import MBOX file.
- Select the option “Import one or more MBOX files directly” and select MBOX files.
- Selected files will display in Thunderbird.
Step 2. Add Dovecot Account with IMAP Configuration
- In Thunderbird, navigate to Menu and select Account Settings.
- Tap New Account and select Mail Account.
- Specify the Dovecot account details.
- Add the below specified IMAP details.
Incoming Mail (IMAP)
- Hostname: Add server address (e.g. mail.yourdomain.com)
- Port: 993
- Connection Security: SSL/TLS
- Authentication Method: Normal Password
- Username: Full email address
Outgoing Mail (SMTP)
- Hostname: Add server address (mail.yourdomain.com)
- Port: 587
- Connection Security: STARTTLS
- Authentication Method: Normal Password
- Username: Full email address
After configuring the account, implement the next procedure.
Step 3. Import MBOX to Dovecot Server
- Navigate to new imported folder.
- Choose the required emails to move.
- Drag and Drop the chosen emails to required folder appearing under Dovecot IMAP account.
Step 4. Synchronization
The MBOX files are not uploaded to Dovecot Server by using IMAP protocol. The Dovecot Server will discover the messages and save them in a Maildir or dbox structure.
Method 3. Automated Way to Import MBOX to Dovecot Server
Make use of MacMister MBOX Converter for Mac & Windows to import MBOX files into Dovecot Server by choosing IMAP as a saving type. The tool is user-friendly and is programmed with a GUI that is operable by all users effortlessly. And with IMAP, the application also contains 15+ more saving types to import the same. The best part is the application is equipped with three operational clicks that will save the time and efforts of users.
Furthermore, the tool is programmed with matchless incredible features with the help of users can import MBOX to Dovecot Server according to the requirements. However, a freeware version of the software is also present which allows users evaluating and analyzing the detailed process for free.
Software Tutorial to Import MBOX to Dovecot Server on Mac
Step 1. Download, launch, and run the software on a Mac machine.
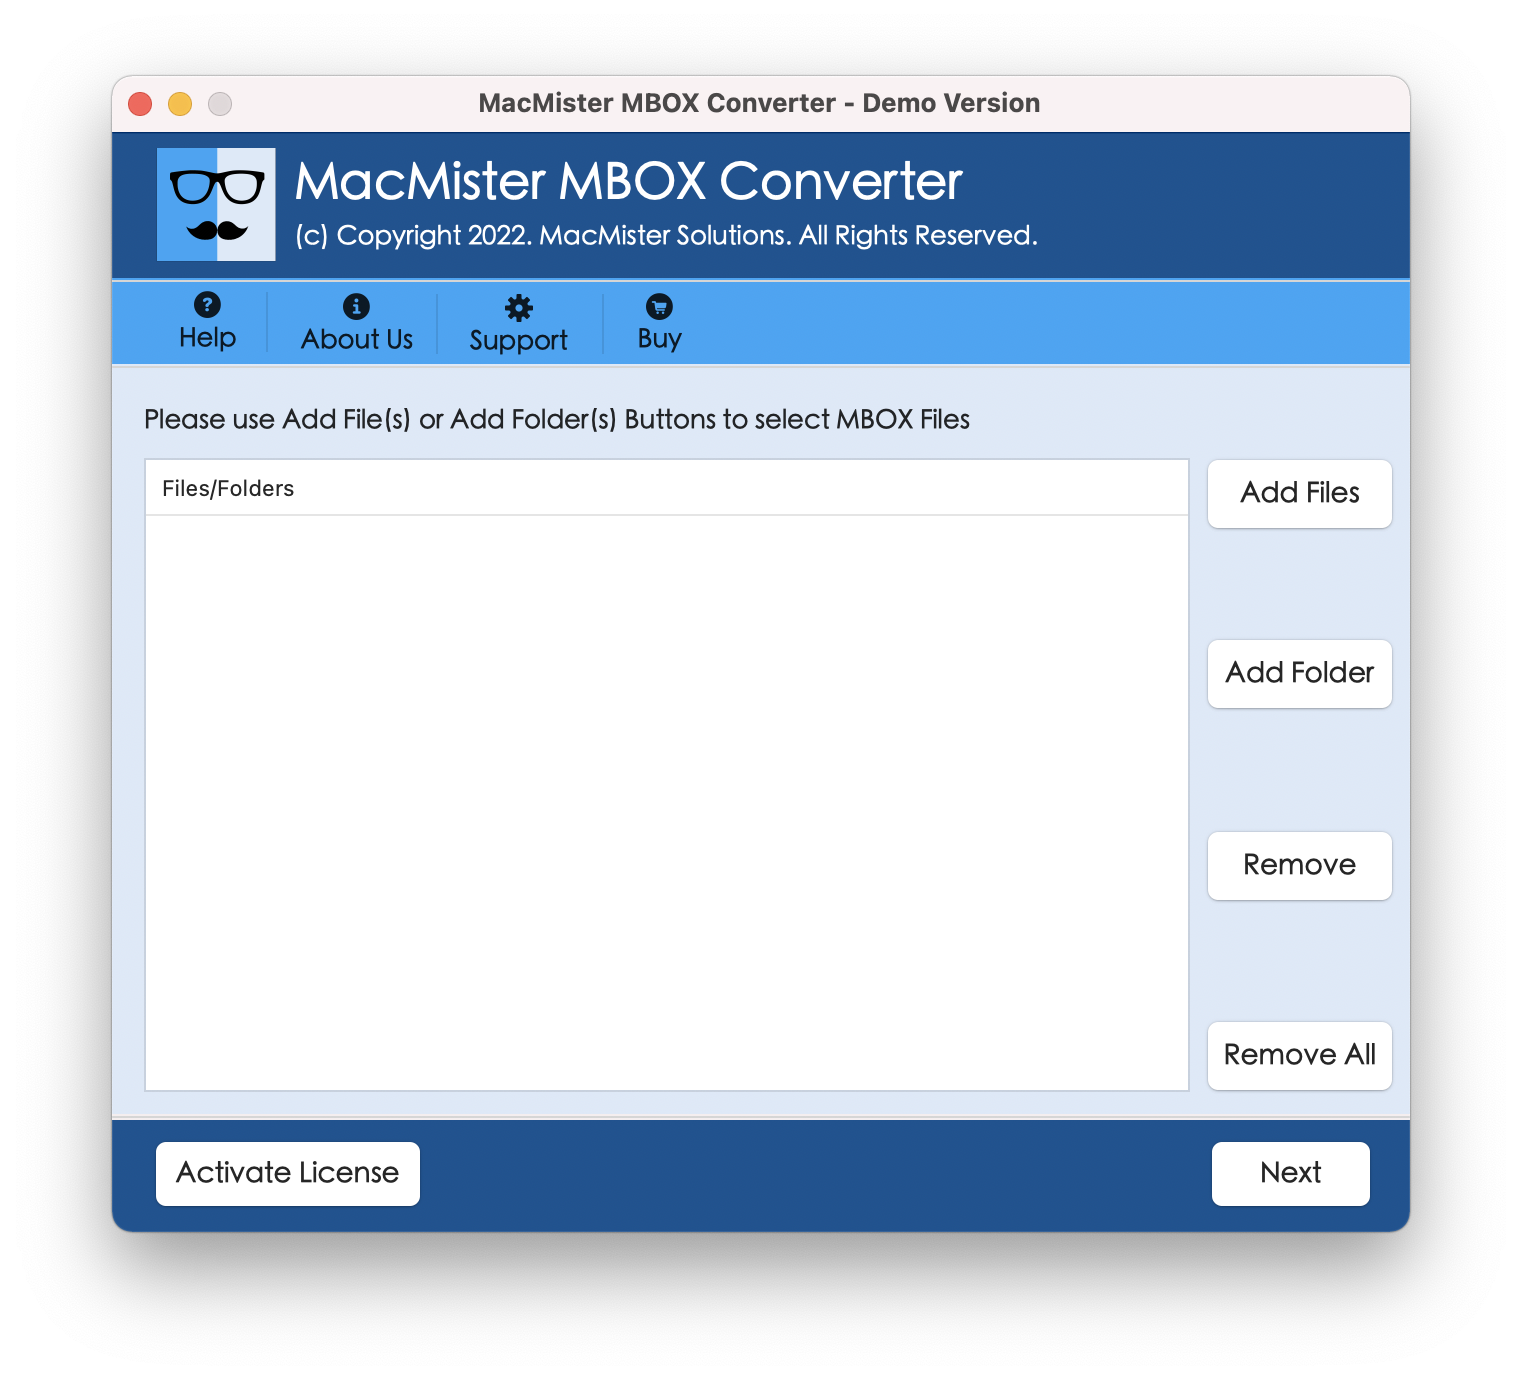
Step 2. Add MBOX files with the help of Add File(s)/Add Folder buttons. The Add File(s) button will help in adding the essential .mbox files on the tool. And the Add Folder button allows users loading MBOX files folder to batch import MBOX files into Dovecot Server at once. Click Next to continue.

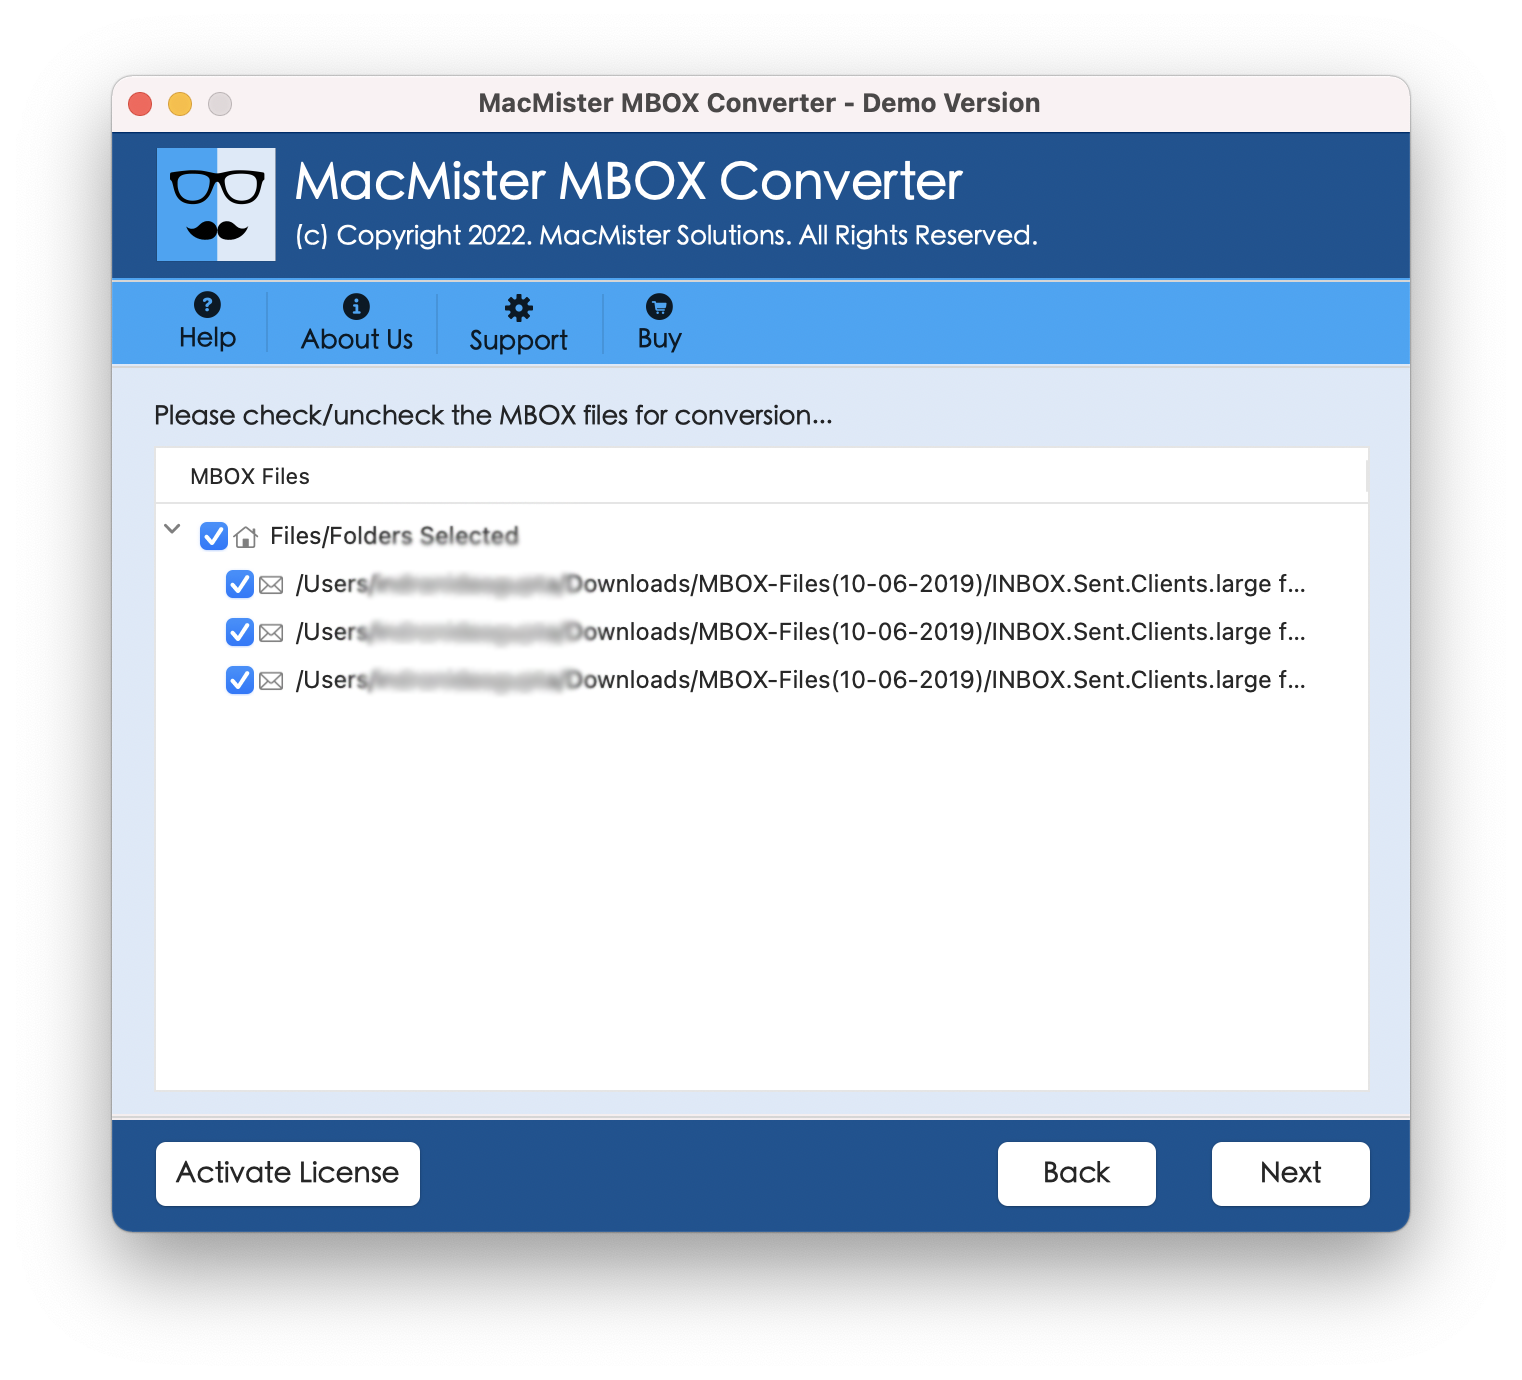
Step 3. Now, the software will show MBOX files with checkboxes on the panel one-by-one. By default they will be selected. However, users can deselect them and select the checkboxes again to import selected files, if required. Otherwise, tap Next to proceed.
Step 4. Click Select Saving Options and select IMAP saving type.
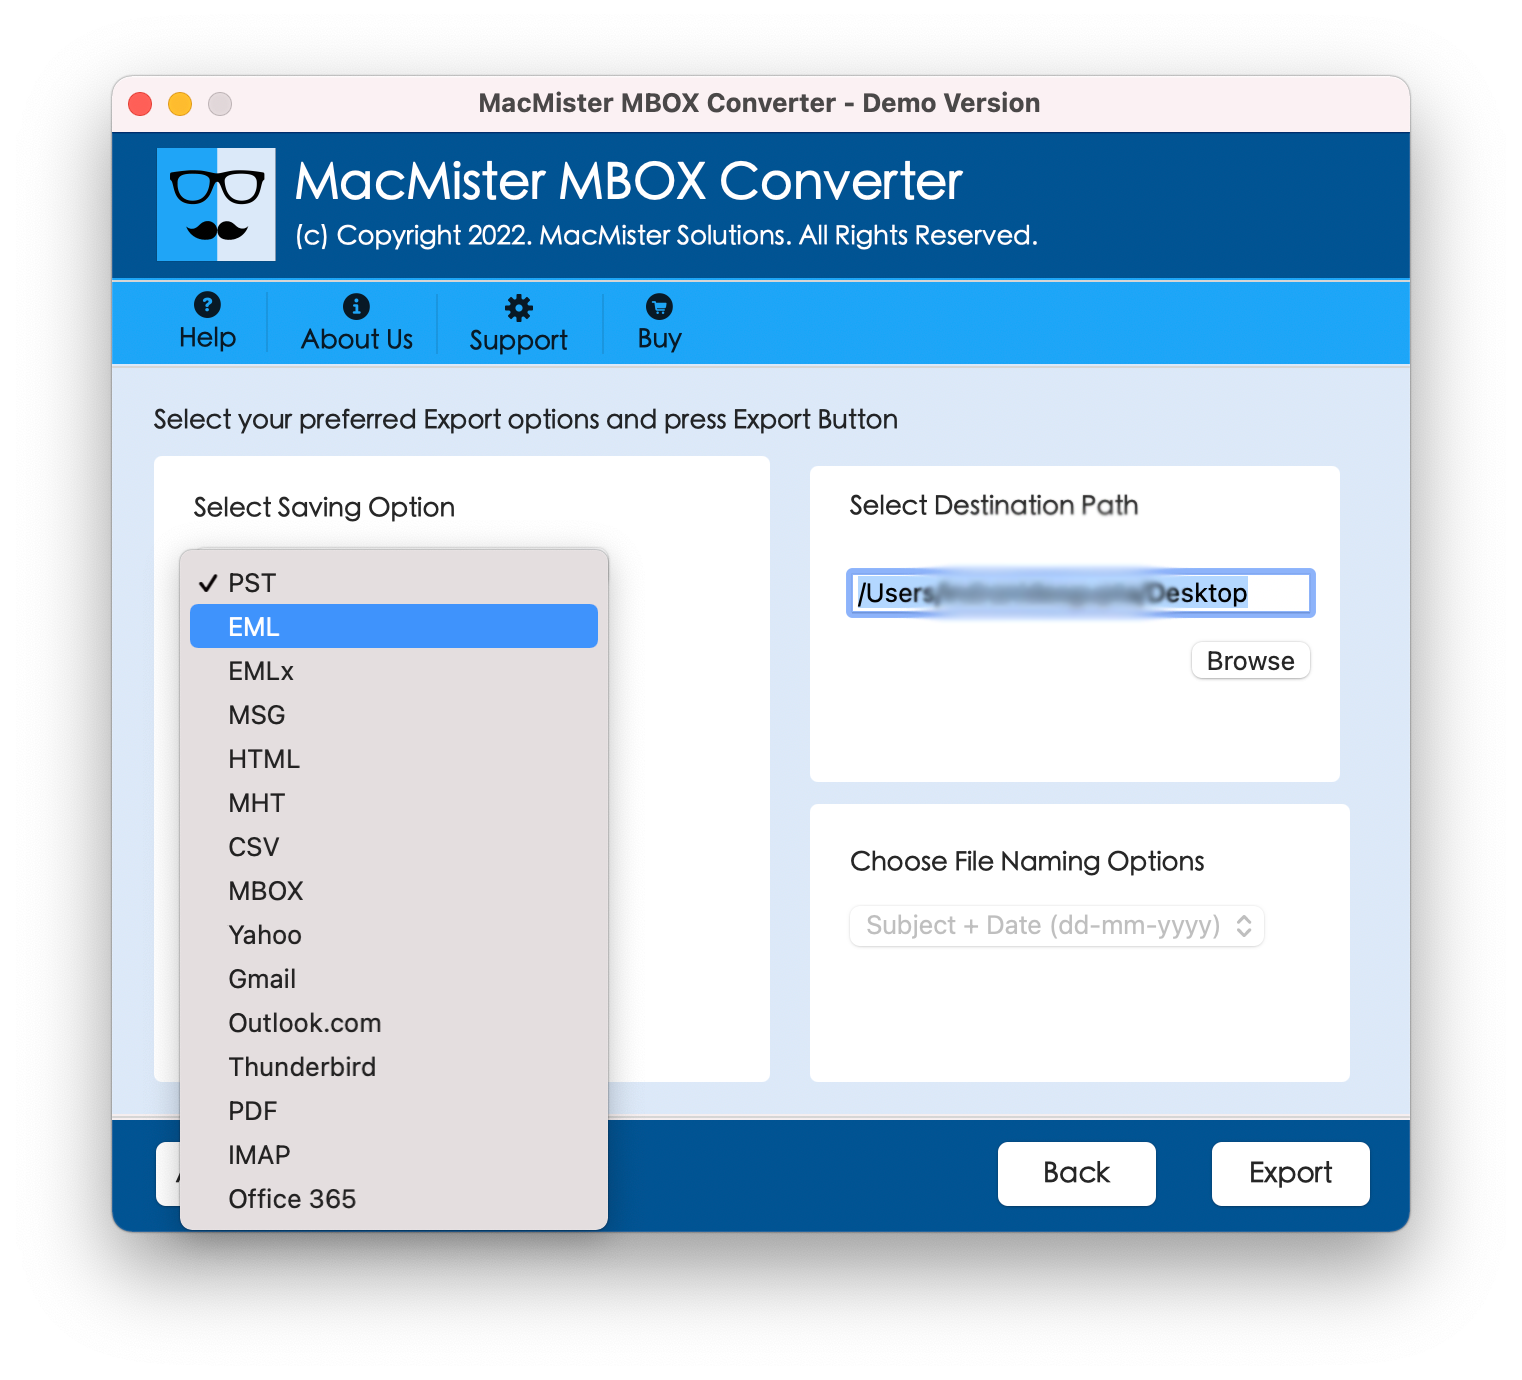
Step 5. Enter all the details and tap Export.
Step 6. The Live Conversion Report screen displays that show the ongoing import progress of MBOX files to users.
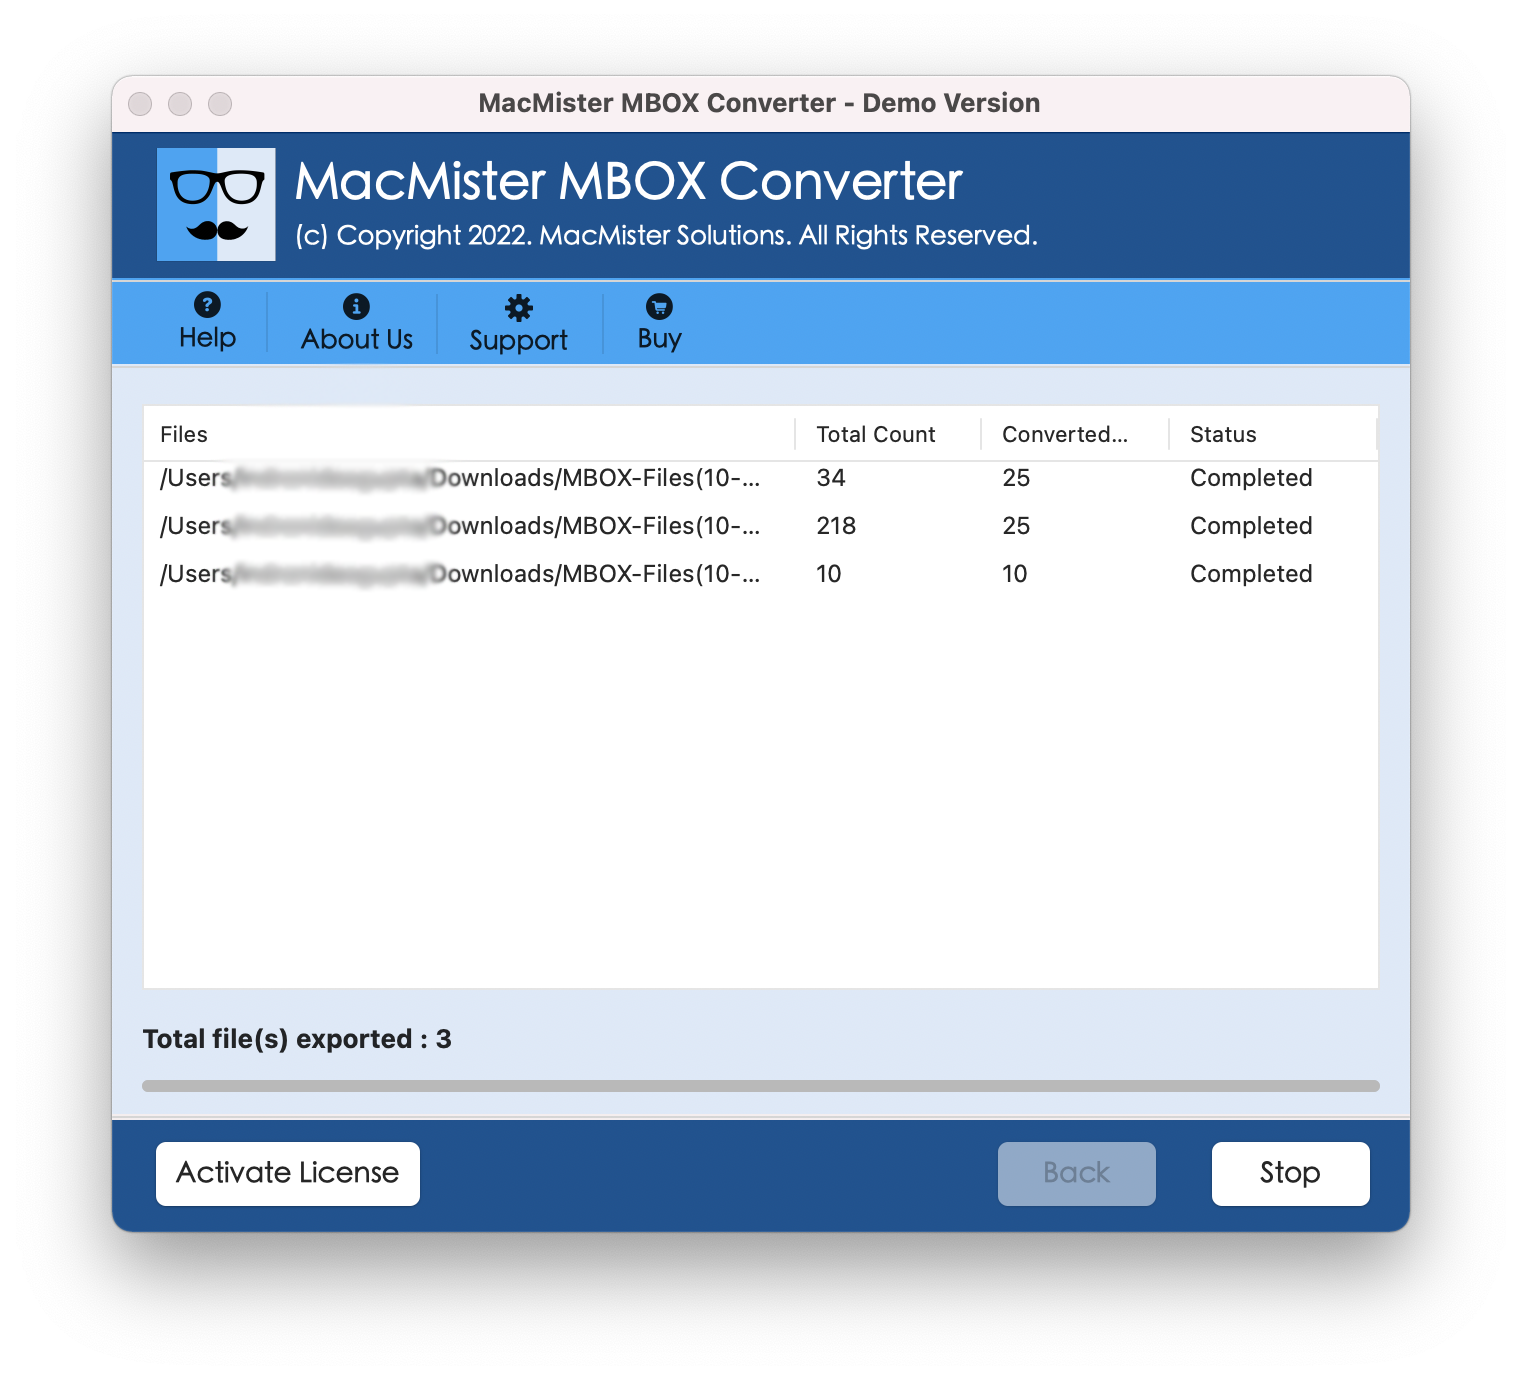
Within seconds, the task will finish and then “Conversion Completed” notification appears on the screen. Tap OK to close the message box. You may now go to Dovecot Server to cross-check the imported files. However, you will see that the application has perfectly imported MBOX files into Dovecot Server. The email messages will display with correct text, metadata properties, and layout.
Epilogue
The write-up here offered different ways to fix how to import MBOX to Dovecot Server. The first method possesses manual procedure. The steps are lengthy and require technical knowledge. But it is free to use. The second method is direct, budget-friendly, and easy to use. It can be utilized by anyone without any trouble. Additionally, the method contains wide ranging features which will help users obtaining the required results in less time. Download its free demo and import 25 MBOX files for free.