How to Migrate from Fastmail to iCloud on Mac & Windows?

Are you a Mac user who is having email account on Fastmail but now want to move the same into iCloud? Having critical data in Fastmail profile that you want to immediately access in iCloud? Wondering how to migrate from Fastmail to iCloud on Mac without losing the data of a single file? Searching a suitable approach to implement the same? If yes, then not to worry, go through the section discussed here in which you will find a solution with the help of which anyone can directly migrate Fastmail emails to iCloud with 100% accuracy.
Detailed Overview of Fastmail & iCloud
Fastmail is a private email hosting platform that delivers reliable, secure, and ad-free email service to its users. It is based in Melbourne, Australia & was first introduced in 1999 with servers located around the world. The service provides different email plans such as personal and business plans and each contains different storage and feature options. Fastmail is a feature-rich platform that includes functions like customizable email domains, two-factor authentication, advanced spam filtering, contacts syncing, calendar, and more.
The company mainly focuses on user privacy and security. It makes use of end-to-end encryption to safeguard user data and follows industry-standard security protocols. Moreover, Fastmail respects user privacy and does not scan user emails for targeted advertising. Overall, it is a reliable and secure email hosting service that delivers a complete range of features as well as options for both personal and business users.
iCloud, on the other hand, is another widely used cloud storage and computing service that is offered by Apple Inc. in 2011 and is specially designed to support Apple devices such as iPhone, Mac, iPad, and Apple Watch. It allows users to save their critical data such as photos, videos, documents, and music, and access them from any location at any time. The service provides features like an automatic backup of device data, syncing of calendars, notes, and contacts, and the ability to share the stored files with others.
One of the main features of iCloud is the ability to of storing and synchronize data between devices in a real-time. For e.g. if an iPhone user is taking a photo, then the photo will automatically synchronize to the iCloud account and the user can access it from other Apple-supported devices. Not only this, the two-factor authentication system is also present which will protect the database of users. It even, it uses encryption to secure the data of a user while data is being transferred. Overall, iCloud is highly popular among Mac users because it provides good storage capacity where they can store their important data.
Why to Migrate from Fastmail to iCloud?
There are several reasons why users need to sometimes migrate from Fastmail to iCloud. Without a doubt, Fastmail is an amazing service but the biggest drawback that forces users to perform the migration from a Fastmail account is its complicated GUI and privacy. However, Fastmail is not recommended if you are looking for privacy. It is based in Melbourne, Australia and so it is not end-to-end encrypted.
Whereas, iCloud is completely secure when it comes to users’ private databases. It keeps their data up to date on all devices automatically. Also, it offers a free email account with 5GB of free storage space. Some of its wonderful features are listed here:
- Offers seamless integration facility.
- Data stored on iCloud is easily accessible on any device.
- iCloud for Windows is available which help Windows users in accessing the required iCloud files on Windows.
- iCloud data is encrypted and also provides a two-factor authentication feature to users that keep their account protected from unrecognized access.
- Easily collaborate with others and share iCloud data.
How to Migrate from Fastmail to iCloud on Mac & Windows?
There are different ways to migrate Fastmail emails to iCloud account i.e.
- Migrating Emails from Fastmail account to iCloud Manually
- Accessing Fastmail emails to iCloud using MacMister Email Backup Tool
Let’s discuss both the ways one-by-one and then you can decide the suitable method and carry out the migration accordingly.
Method 1. Manually Migrating Emails from Fastmail Account to iCloud on Mac
Migrating from Fastmail to iCloud includes transferring of email messages, contacts, and other data from one email service to another. Follow the general steps and migrate Fastmail to iCloud:
- Open the web browser, go to Fastmail, and log in to the required Fastmail profile.
- Navigate to Settings and then choose Migration. Click the Export tab.
- Choose New Mail export and after that follow the steps that will display on the screen to select the folder & date range. Once the export process is finished, click Download.
Mail will be downloaded in a .zip file on the desktop. However, one folder can be downloaded at a time. So, you need to repeat the same steps to download other required folders. Moreover, the export limit is 4GB.
- Now open an iCloud account.
- Directly drag the newly downloaded .zip file from the system to any folder icon in the iCloud drive window. If you are dragging it to a folder icon then it will be highlighted to confirm that the item you are dragging will move into this folder. Or follow,
- Click the icon of the cloud with the arrow upwards appearing in the iCloud Drive toolbar, choose the required file to upload, and then follow the instructions that appear on the screen.
Method 2. Access Fastmail Emails in iCloud using Direct & Safe Method
MacMister offers Email Backup Software for Mac & Windows with the help of which users can directly migrate Fastmail emails to iCloud with attachments. The software GUI is easy, secure, and reliable. Also, its easily manageable environment is accessible by all professional and novice users. Even, the steps are also easy and time-saving. They help users to perform the whole task with 100% accuracy in a minimum time.
Moreover, the solution delivers innumerable solid features that help users to migrate Fastmail emails to iCloud accounts with attachments as per their requirements. However, users can test the complete software functioning by utilizing the free demo of the application.
Working Steps to Migrate from Fastmail to iCloud on Mac
Step 1. Download, launch, and run Fastmail to iCloud Backup Tool on macOS.
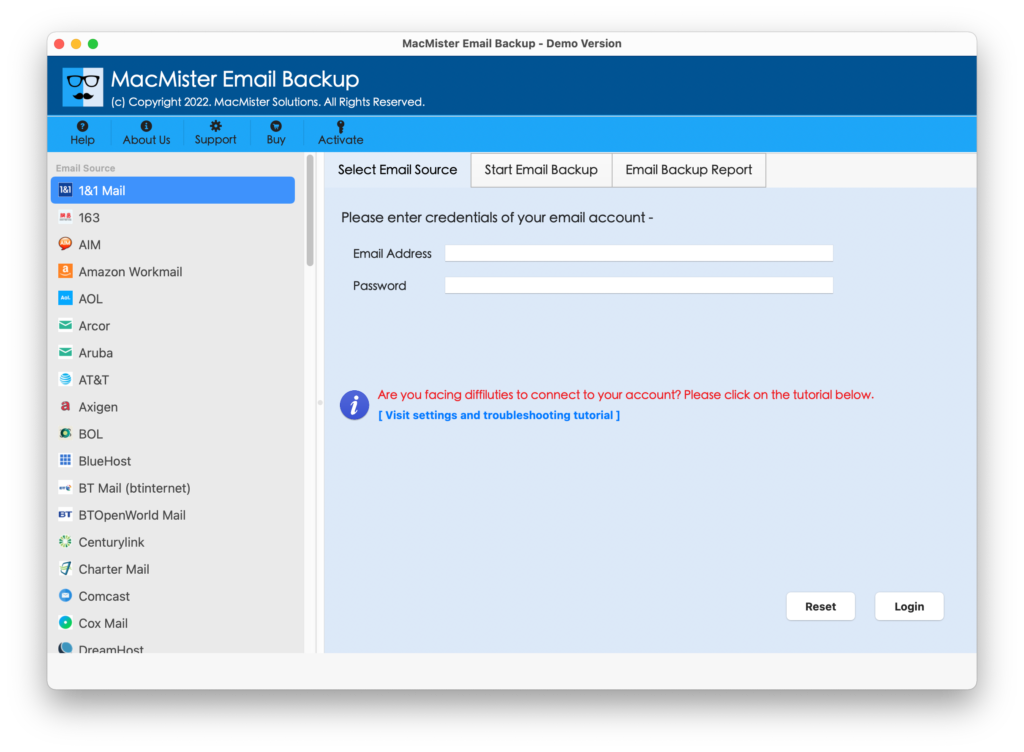
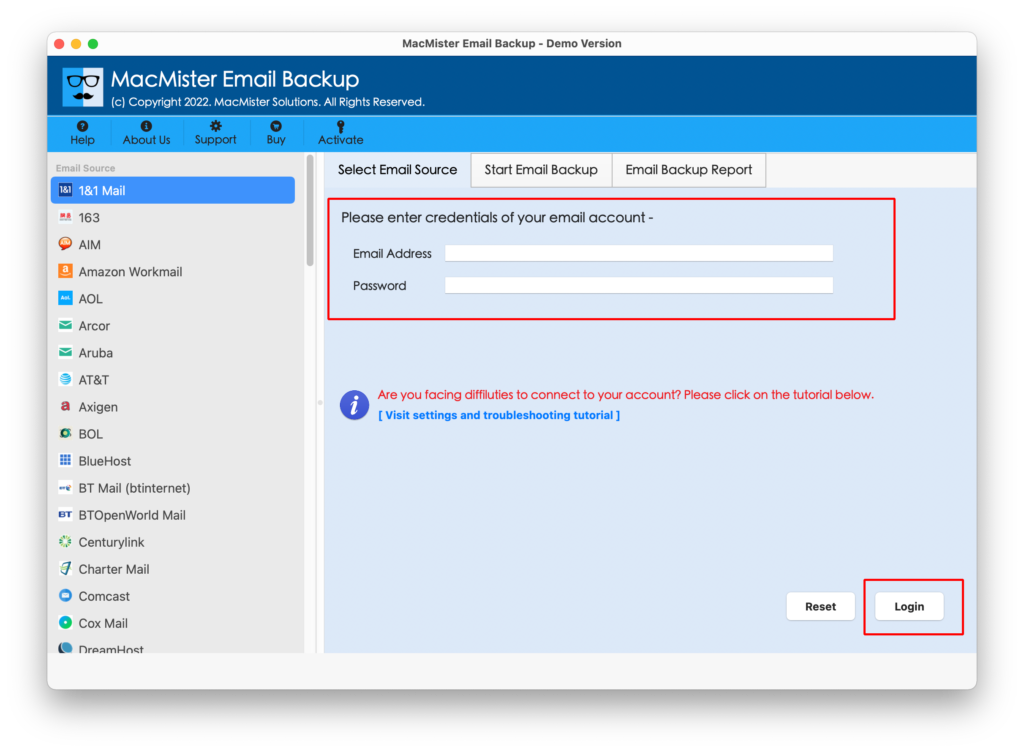
Step 2. Select the Fastmail option from the left and specify Fastmail credentials in the required fields. Click the Login button.
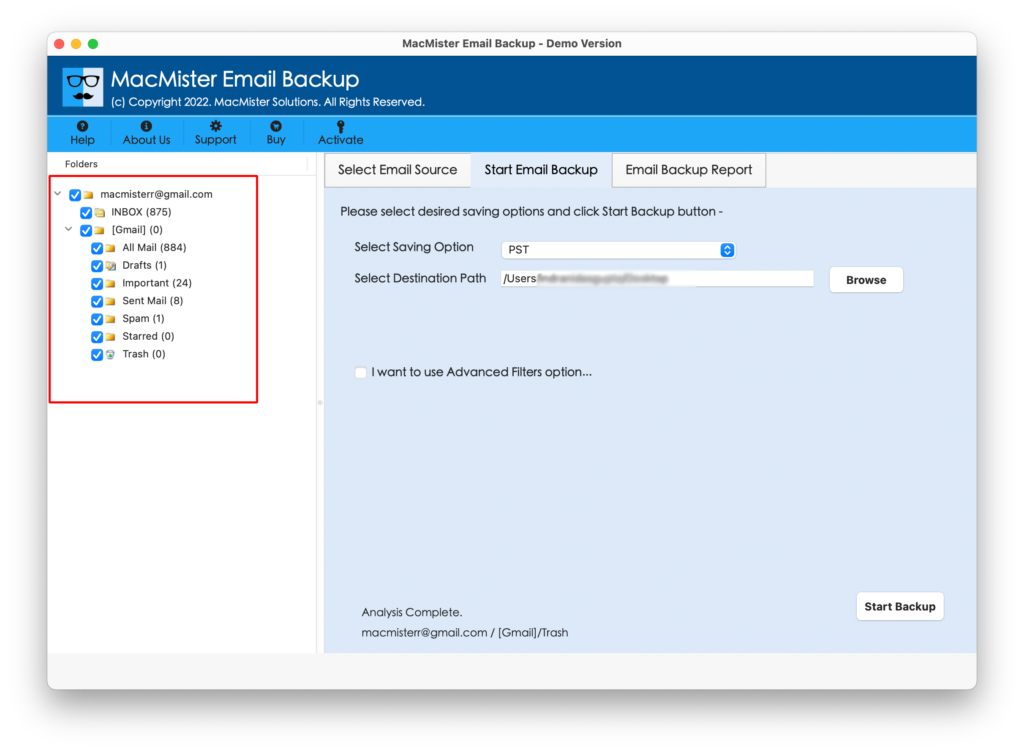
Step 3. The specified Fastmail account will connect with the tool and its related mailboxes will start to list on the software.
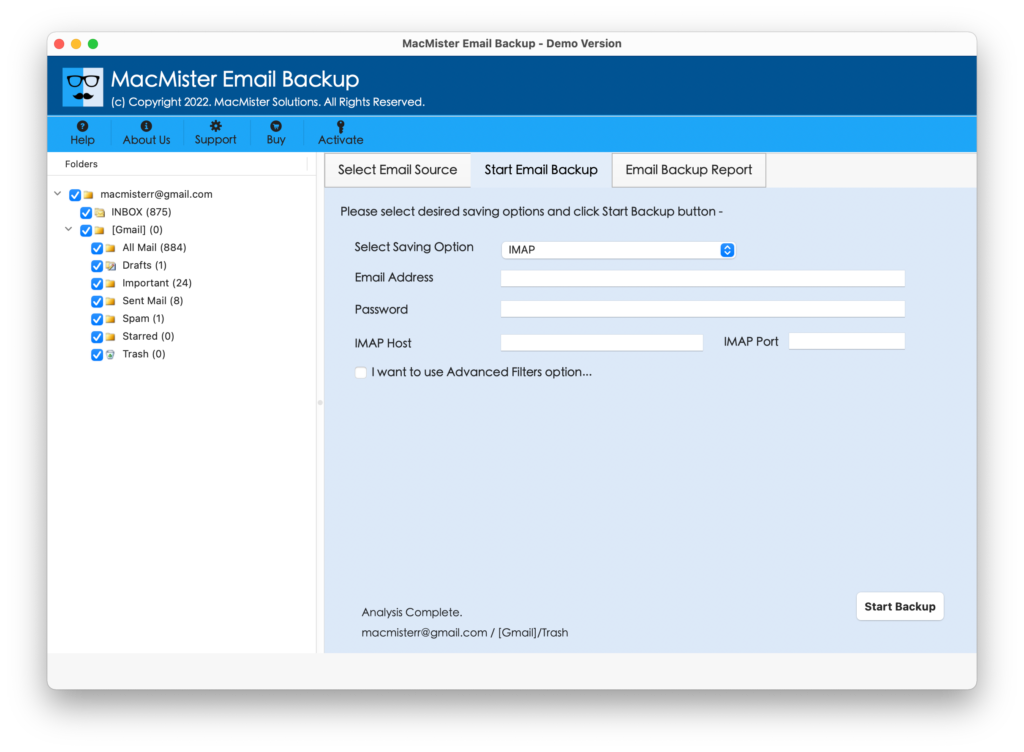
Step 4. Go to Select Saving Options and pick IMAP Server saving type from the list.
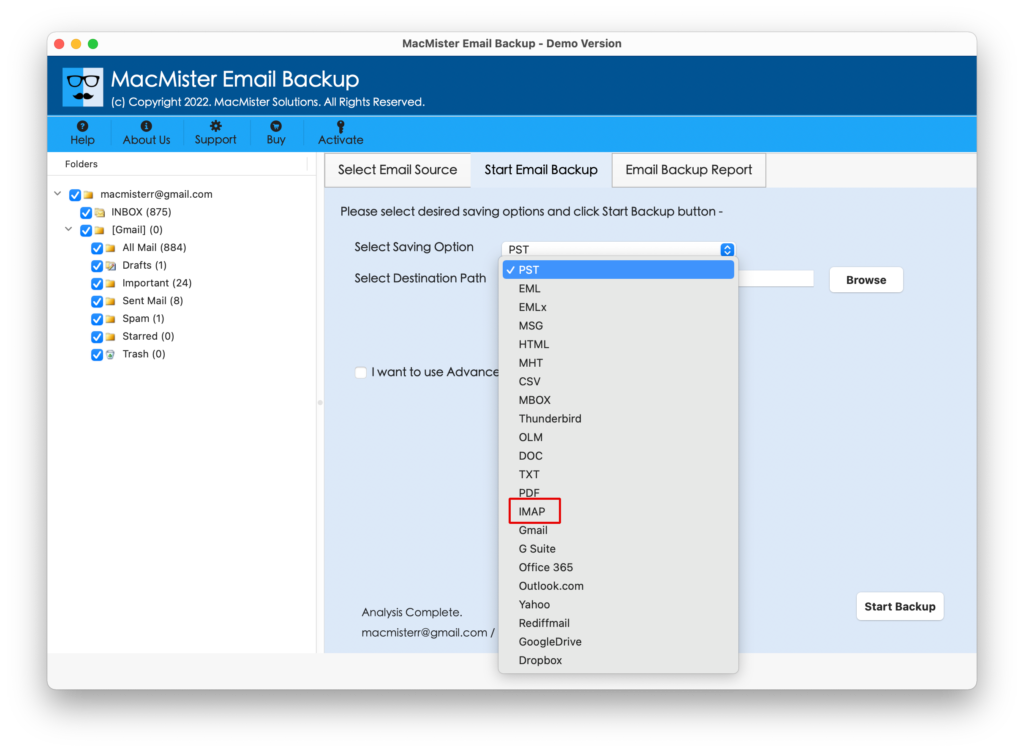
Step 5. Enter iCloud details i.e. email address & iCloud password with IMAP host and port number. You can also set Filters if you want to migrate selective Fastmail emails to an iCloud account. Last, click the Start Backup button.
Step 6. The Fastmail to iCloud migration will be live and then the application will show Email Backup Report on the screen from which users can track the ongoing export status of Fastmail emails.
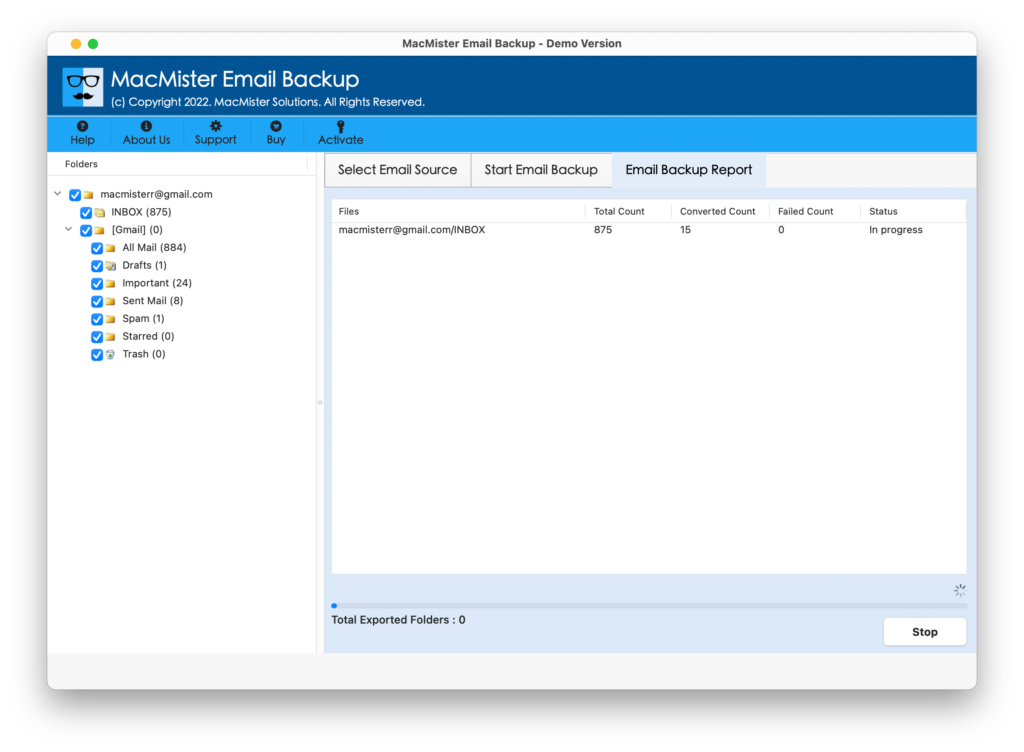
The entire migration of FastMail emails to iCloud will be complete within seconds and then a message will appear showing Process Completed on the screen of users. Tap the OK button and then log in to your iCloud account to check the result. However, you will see that the migrated data is accurate and each email file is appearing without any modification.
Epilogue
The blog has offered multiple approaches to migrating from Fastmail to iCloud on Mac. The first method is manual and totally free. But, requires the support of skilled professionals. Also, the process can take a lot of time. So, before implementing the manual process, make sure that you are free. The second method is direct. It is safe and highly secure. Moreover, anyone can operate it effortlessly and import unlimited Fastmail emails to iCloud at once. Also, you will be able to test the software steps as it has a free demo that allows migrating the first 25 Fastmail emails to iCloud free of cost. Quick Note. For any software assistance, contact MacMister Support.