Importing Airmail to Apple Mail is Now Easier with MacMister
Many users are currently moving back from Airmail to Apple Mail due to several reasons. Some are switching to experience a different GUI and some because of the official requirements, and some due to ease of email management that Apple Mail delivers. The migration from one email platform to another is easy. The challenge that arise is how to move files of one email client to another. So, in the section we will be discussing how to import Apple Mail to Airmail directly.

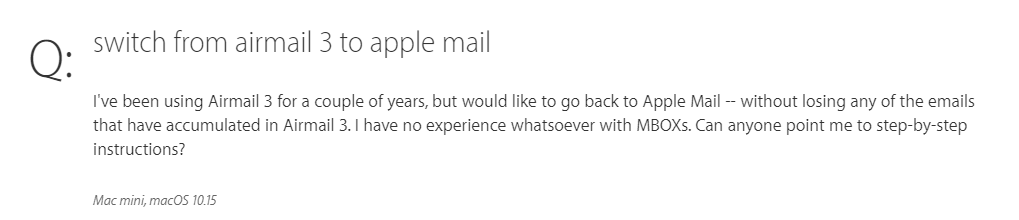
Let’s move ahead by first discussing about a query that lot of users asking nowadays.
Airmail is a popular and considered as a powerful email client of Mac OS. It allows to optimize email workflow with wide-ranging customizations, deep integration, custom actions with an extensive range of Apps and Services. Features such as Multi Account, Privacy Mode, Smart Inbox, Snooze, Send Later and Unified Inbox makes the email client highly useful in many ways. However, Airmail is a fast and responsive application that believes in delivering consistent experience whether using single account or multiple accounts. It is a clean email providing service that help you to get emails without any interruption.
Apple Mail is another most used email application that is stable, good and programmed with in-built Exchange Support. It is simple but possesses solid environment. A quick setup save lot user’s time. Moreover, the basic email application supported by several services such as iCloud Mail, Yahoo!, AOL Mail, Exchange and Gmail. It enable users to connect with IMAP and POP3 accounts supporting S/MIME for end-to-end encryption.
Why to Choose Apple Mail over Airmail?
Apple Mail contains numerous key benefits due to which users are choosing Apple Mail over Airmail email client.
- Apple Mail includes integration between multiple devices.
- The built-in Mark-up Tools help to illustrate and highlight facets of the attachments.
- Access multiple ways to sort emails for easy management.
- Includes Smart Mailboxes (folders) with set rules that regulate the direction of emails.
- Make use of Intelligent Search to find the required emails.
- Automatically include large attachment in cloud to avoid inbox clogging.
- Able to send replies directly from Notification center.
Besides this, there are lot other reasons as well due to which users nowadays want to move back to Apple Mail from Airmail.
How to Move from Airmail to Apple Mail on Mac?
There are multiple ways you can adapt to migrate Airmail to Apple Mail on Mac. You can use EML Converter for Mac that can be used when you extract emails from Airmail in .eml file type. And, another is Email Backup Software Mac which offers IMAP Server saving option using which you can directly transfer Airmail emails to Apple Mail. So, let us discuss them one by one.
Solution 1. Migrating Airmail to Apple Mail using Mac EML to MBOX Tool
The application is user-friendly, easy and securely export all Airmail EML files to Apple Mail in a single time. Thus, technical and novice users can perform the process with total accuracy without asking any experts help. The trouble-free solution comes with lot of features as well that eases the conversion and save user’s time. However, the process is explained in two stages:

- Extract EML Files from Airmail
- Import EML to MBOX
Stage 1. Extract EML Files from Airmail
There are two different way to import emails from Airmail to EagleFiler. Both approaches can save Airmail messages in .eml file format.
First Approach
- Open Airmail.
- Choose the required messages to extract.
- Go to File and choose Export to EML.
- Save Files in the “To Import Folder” or “the Files Folder”.
Second Approach
- Open Airmail.
- Drag and Drop messages in EagleFiler Window (not the Dock icon).
Note. It does not work on macOS 10.14. Whereas, in macOS 10.15 and other versions, it will work when dragging a single email message. If you try to drag multiple messages, only single will be given to EagleFiler.
Stage 2. Use Professional EML Converter Mac Solution
Step 1. Run Mac EML Migrator on macOS.
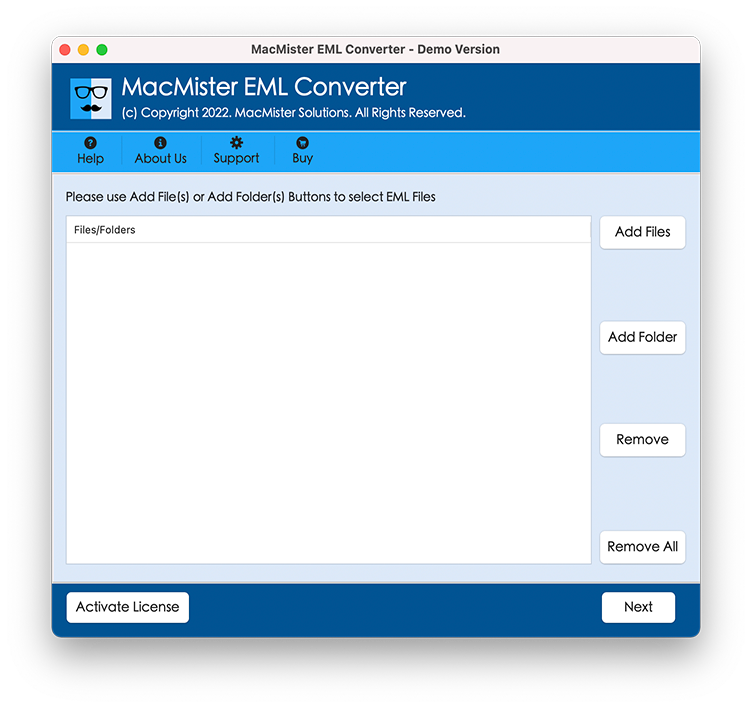
Step 2. Load Airmail .eml files or folder by using Add Files and Add Folder and click Next.
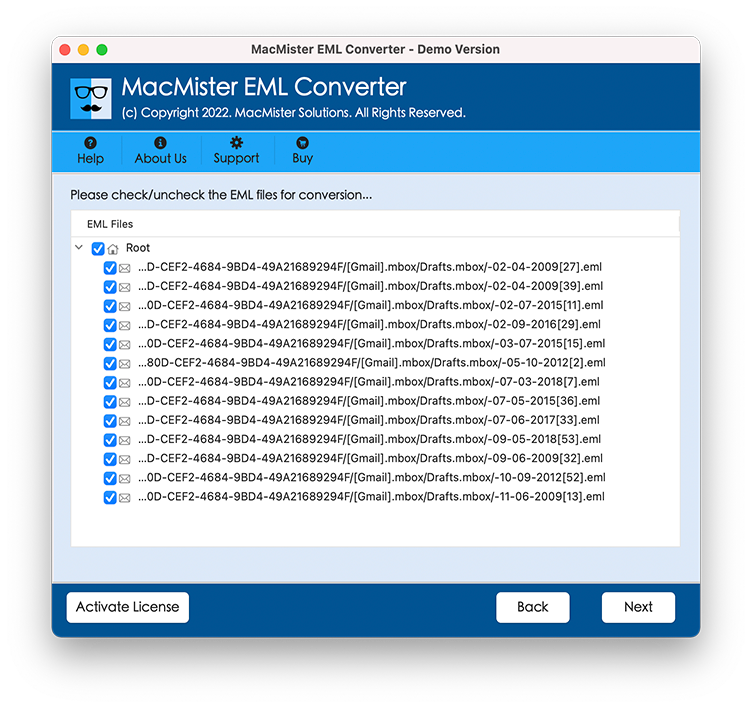
Step 3. Airmail EML files start listing and will appear with checkboxes. The checkbox has been added so that required user can perform selective conversion otherwise press Next.
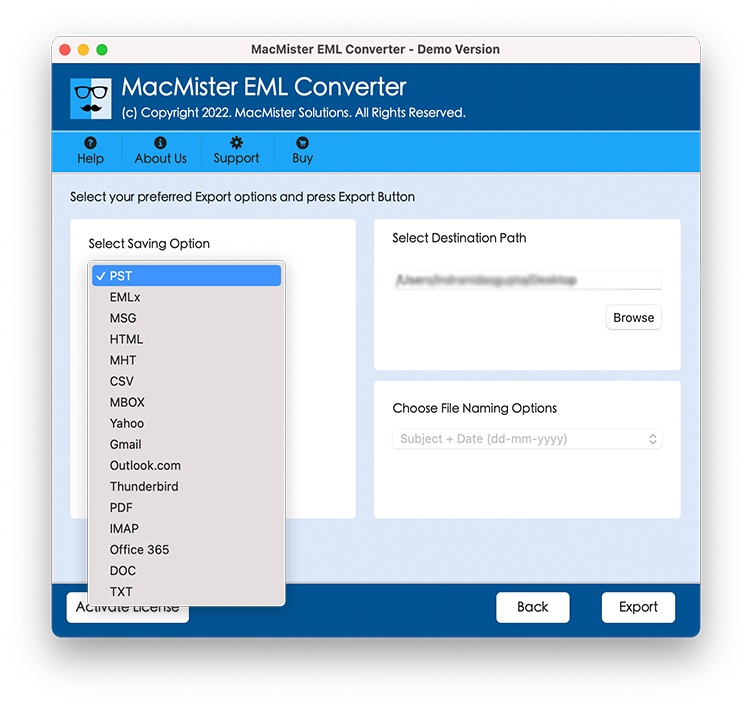
Step 4. Choose Saving Type as per need by clicking Select Saving Option.
Step 5. Apply other options accordingly as per need and press Export button.
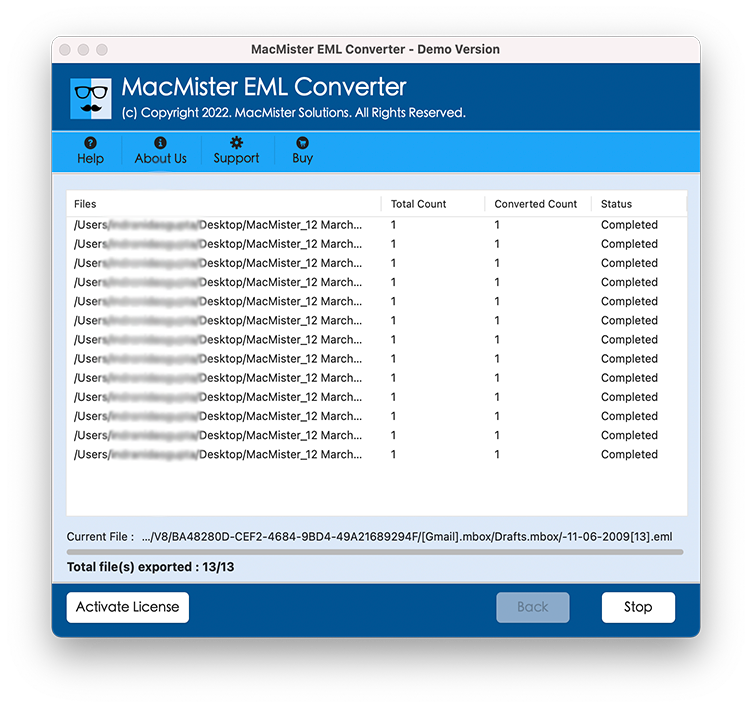
Step 6. The Live Conversion window will be displayed that will show the on-going migration process. You can track and view the status from the same. The entire procedure will take few minutes to complete. Once all files are transferred, tool will show “Conversion Completed” message on the screen.
Solution 2. Export Airmail to Apple Mail using Mail Backup Software
You can export Airmail to Apple Mail directly by using Email Backup Software for Mac. The software includes IMAP Server option that you can choose and provide the required details i.e. Email ID, Password, IMAP Host and Port Number. Once done, click the Login button. Tool will connect to Airmail account and list its files on the software pane. After this, you can choose the saving type and click the Backup button for direct migration. It does not require any installation of extra program. Just have good internet connectivity and perform the process without interruption.

Note. Both application supports trial edition. You can download it and experience the migration process. It will allow you to transfer 25 Airmail mails to Apple Mail with attachments free of cost. For any assistance, contact MacMister support team.
Final Words
In the section, we tried best to offer multiple possible solutions to save Airmail mails in Apple Mail account. You can use the suitable method and perform the process accordingly. Both carries simplified GUI and easy steps that any organization as well as user can access to get the job done. Moreover, no worries about your data. You will receive 100% accurate output.