How to Deal with Huge Excel Files? – Try Best Fixes!

Do you have plenty of large Excel files on the system that you find difficult to manage? Wondering how to deal with huge Excel files on Mac or Windows? Busy searching for a solution to implement the required task? No worries, read the article and a solution will appear in front of you with the help you can successfully manage large Excel files properly.
Excel performance is dependent on its file size. If it is large, then it can badly affect Excel’s performance. It reduces work accuracy and at the same time, annoys the users when they deal with large Excel files. So, the article here will provide some methodologies to improve the performance of large Excel files.
Summary
- Managing the file size will improve Excel speed and ease the process of file sharing with others.
- When building financial models, Excel file size can be decreased by erasing unnecessary data, formatting, worksheets, formulas, and Pivot Cache.
- The Excel file size can be compressed further by saving the file in a binary form or compressing it to a zip archive.
- Despite the advantages of smaller file sizes, there are some drawbacks as well associated with the above-mentioned methods.
Different Ways to Reduce File Size
Delete Unnecessary Worksheets, Formulas, and Data
The number of worksheets and amount of data included in an Excel file are directly linked to the file size. Discarding non-essential worksheets and data is one of the simple and effective ways to shrink the size of large Excel files.
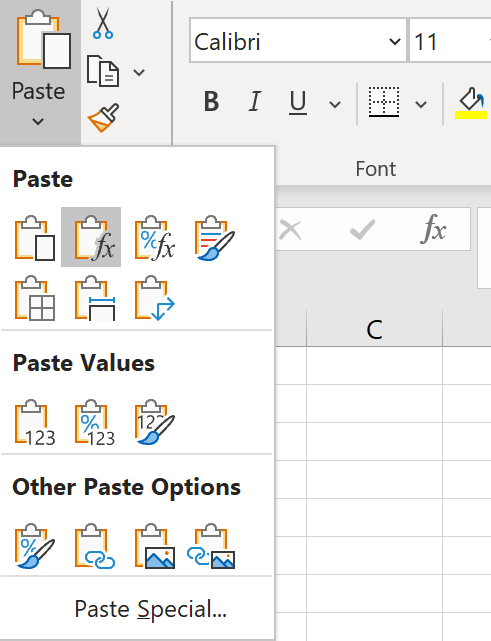
Moreover, converting unnecessary formulas into values will also help to decrease the file size. This can be implemented by copying the selected cells and pasting the same as Values under the Paste Options tab. You can also try it out using the shortcut key “Ctrl + Alt + V + V.
Financial models should remain dynamic and adapt to changes in inputs. Thus, it is necessary to recognize whether the number in the cell is subject to inputs or assumption changes before the conversion of formula into a fixed value.
Remove Formatting
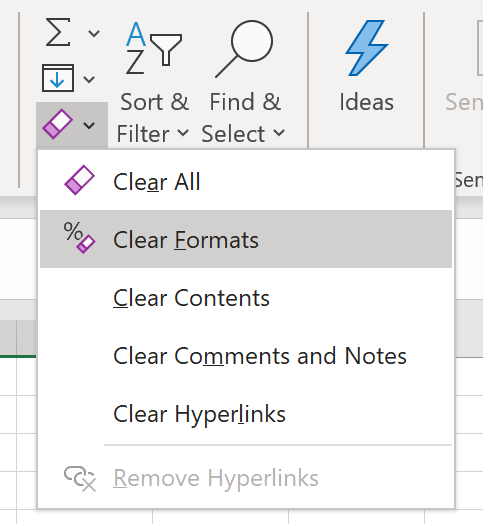
While formatting such as conditional formatting, highlights, borders, etc. enhance the visualization of an Excel sheet. It also expands the file size. You can try the “Clear Formats” button present in the “Editing” section under the “Home” tab to clear the format of required cells.
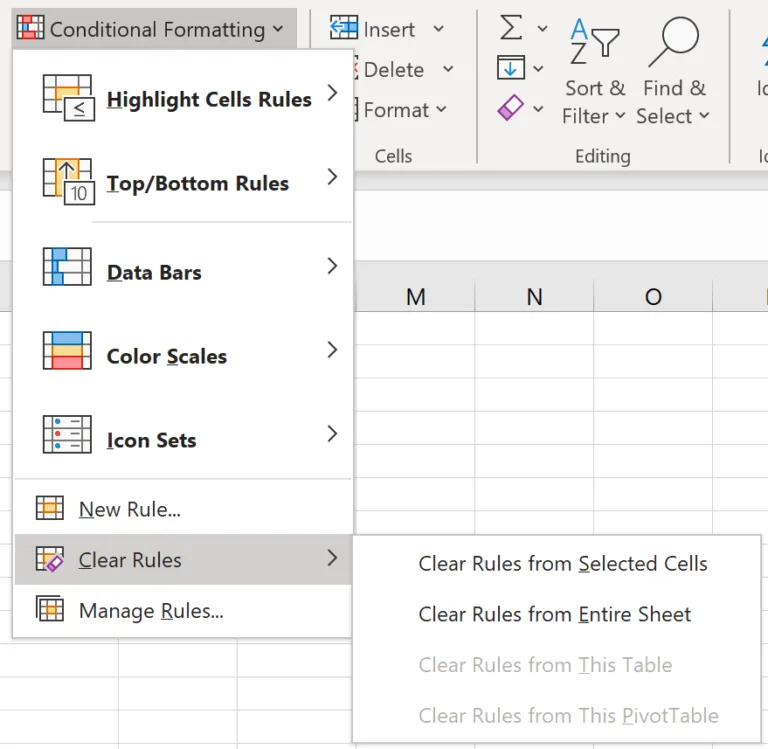
In order to clear conditional formatting, use the “Clear Rules” button in the “Style section” appearing under the same tab.
Remove Pivot Cache
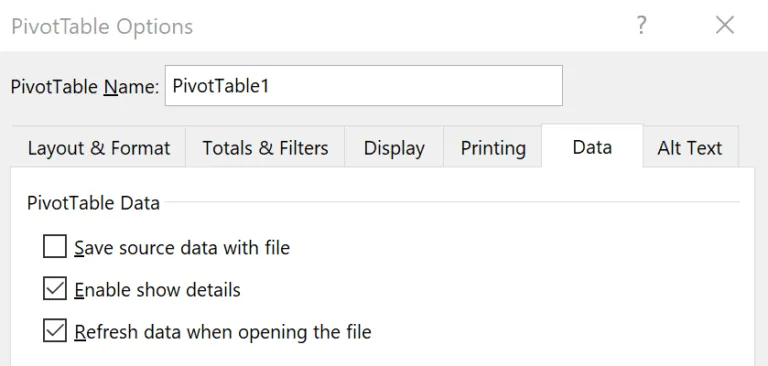
Excel will automatically generate a Pivot Cache that carries the copy of the original data source after the Pivot table is inserted. Any changes performed in the Pivot Table are not directly linked to the source data but connect to the Pivot Cache. Removing the replicated data before saving can manage the large Excel file size.
One way is deleting the Pivot Cache while keeping the source data. This can be performed by deselecting the option of Save Source data with file” under the “Data” tab in “PivotTable options”. Select the checkbox “Refresh the data when opening the file” under the same tab that allows Excel to automatically general a Pivot Cache while the file is open or refresh the pivot table manually.
Another easier way is to clear the source data while maintaining the Pivot Cache. The original data set can be re-created by double-clicking the “Grand Total” cell in the Pivot Table.
Save the File in Binary Format (.xlsb)
Excel files are generally saved in XML formats (.xlsx or .xlsm) without specifying. Apply the binary format (.xlsb) when saving an Excel file can dramatically decrease the Excel file size.


However, you will find some limitations when saving files to binary format. The binary format failed to display whether the Excel file involves a macro as this can lead to some risk as well as malfunctioning.
Additionally, unlike XML format binary format is not open-source readable. Thus, XML format is widely used as it is easily adaptable to third-party tools. Therefore, saving the Excel file in binary format is not a recommended choice when the file size is small.
Compress Excel File
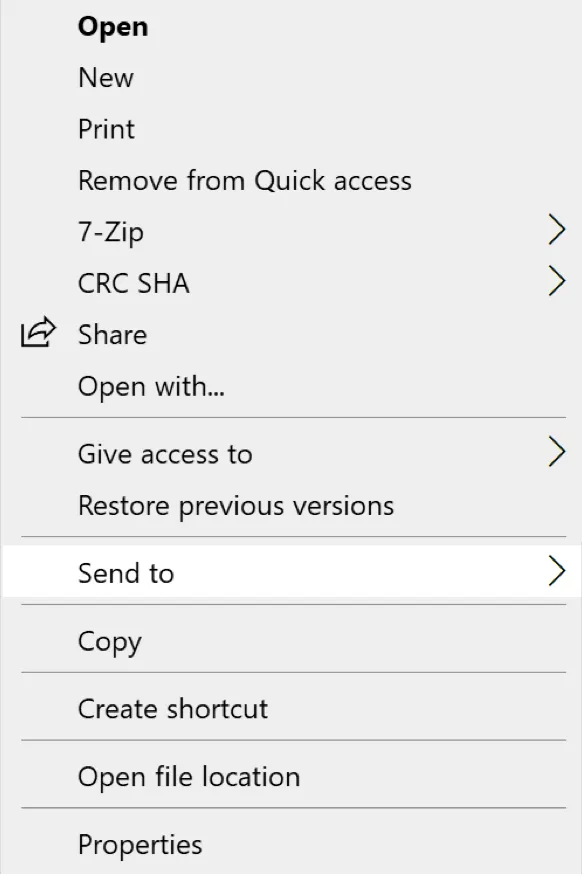
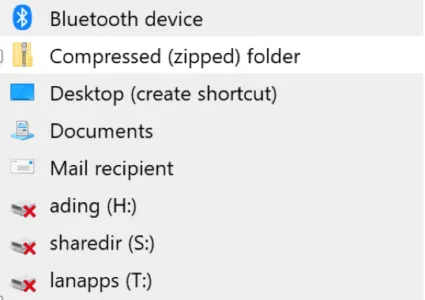
Creating a .zip file of a large Excel worksheet can help in decreasing the file size by 10%-15%. However, this irrelevant method will not make the Excel Worksheet work faster. But, it makes document sharing easier. This can be completed by right-clicking the Excel file and selecting “Compressed (zipped) folder” displayed under “Send to” tab.
Easy and Secure Approach
Try Mac CSV Splitter by MacMister to break large CSV into smaller files on Mac. The app has a simple GUI that can be easily utilized by all types of professional and non-professional users. Even, a few operational steps will take a few seconds for users and perform the process within seconds.

Moreover, the app is equipped with features that can be used to get the desirable results in a short time. One can download the free demo and check the process for free.
Working Guide to Deal with Huge Excel Files on Mac
Step 1. Download and run the software on any Mac OS platform.
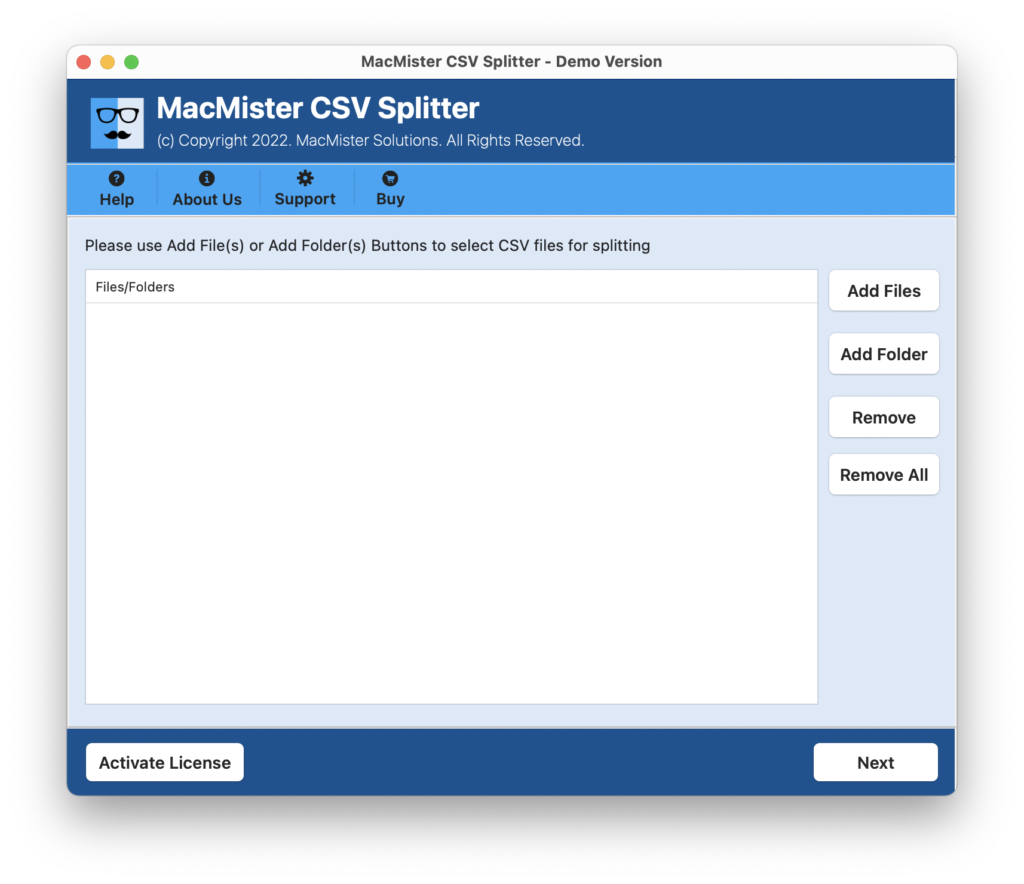
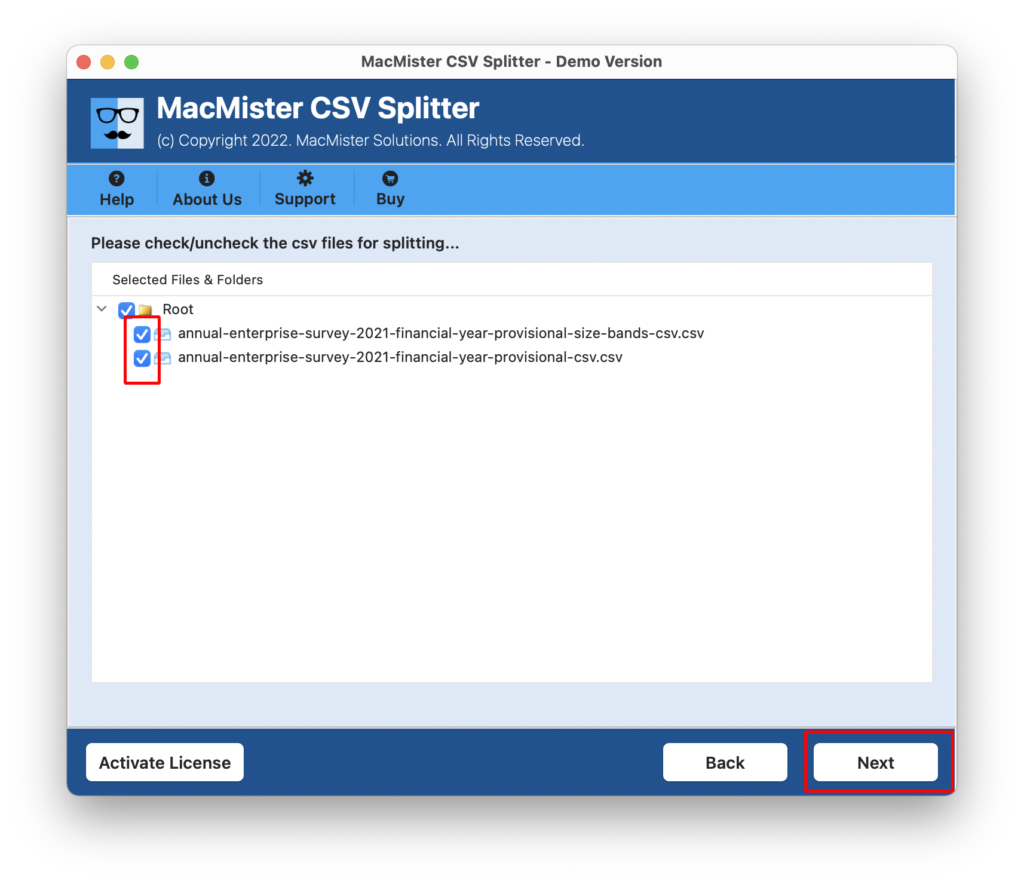
Step 2. Load essential CSV files on the tool by using dual buttons i.e. Add File(s)/Add Folder buttons and click Next.
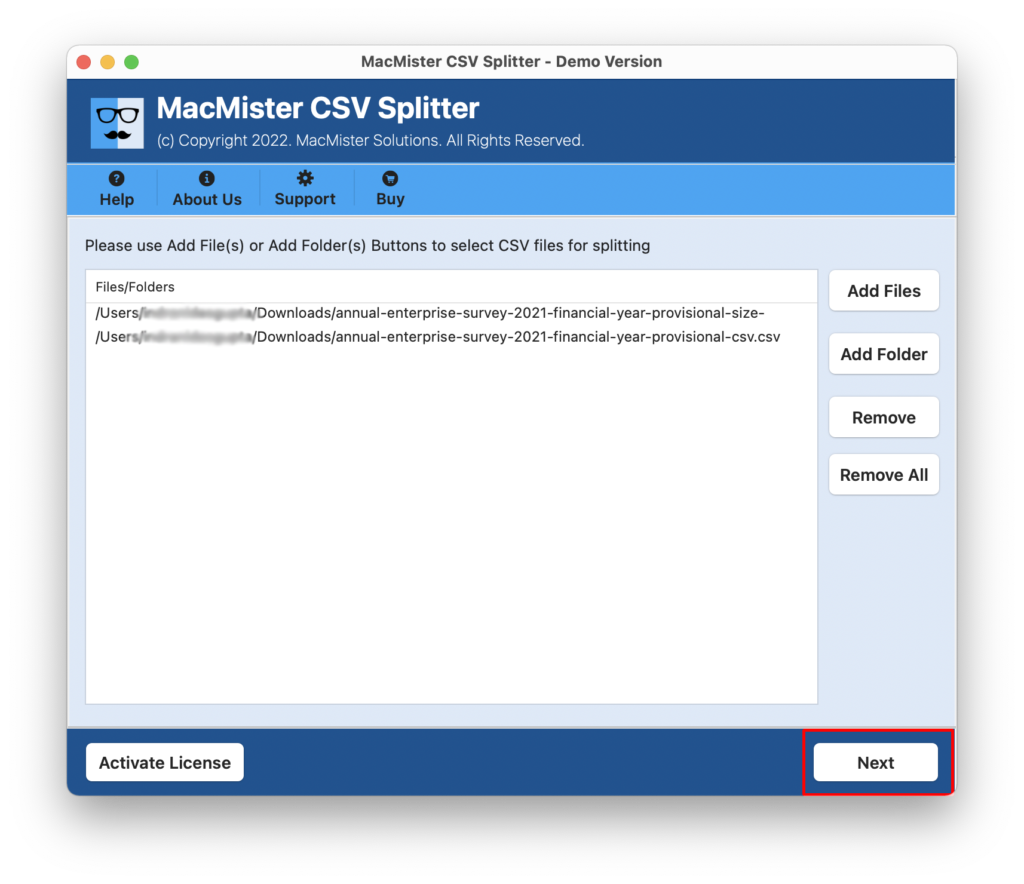
Step 3. The software will start adding the selected Excel files on the application one by one with checkboxes. However, the checkbox can help to select/deselect the checkboxes of necessary files for implementing the selective split process. Click Next.
Step 4. Click on the Browse button to set the destination path of your choice to save the resultant files.
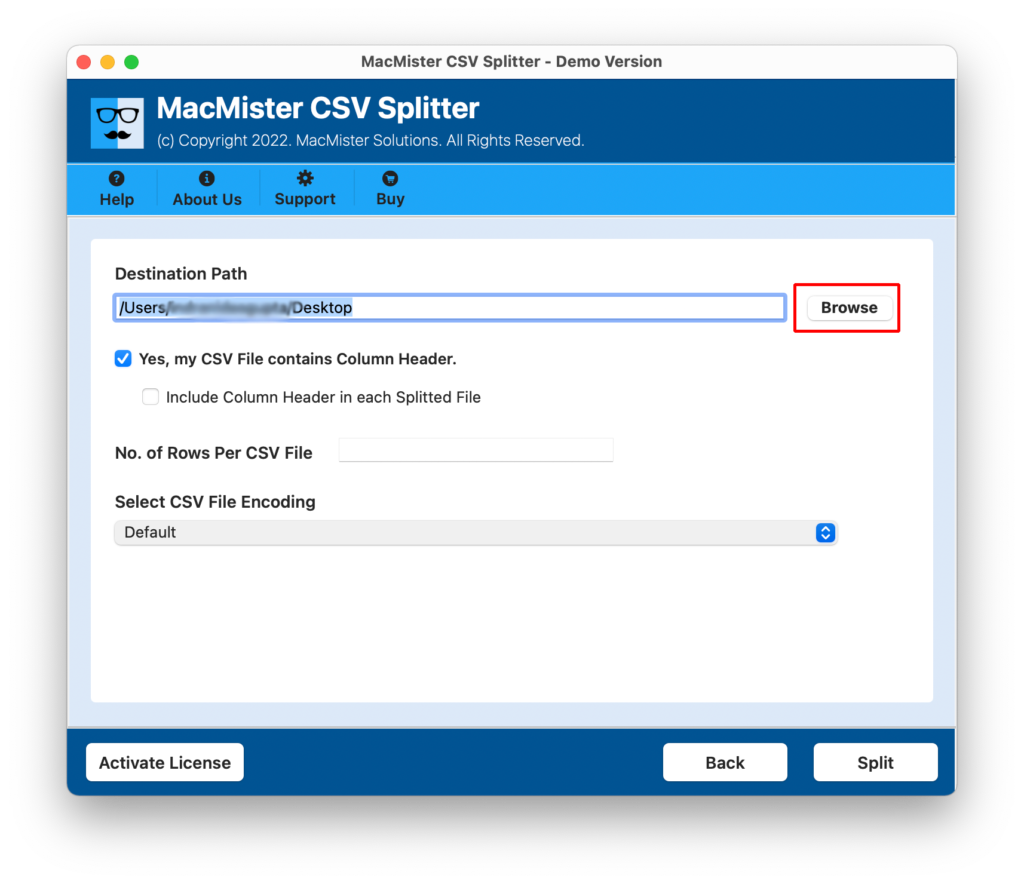
Step 5. Select the checkbox of Include Column Headers if you want to add a column header in every file.

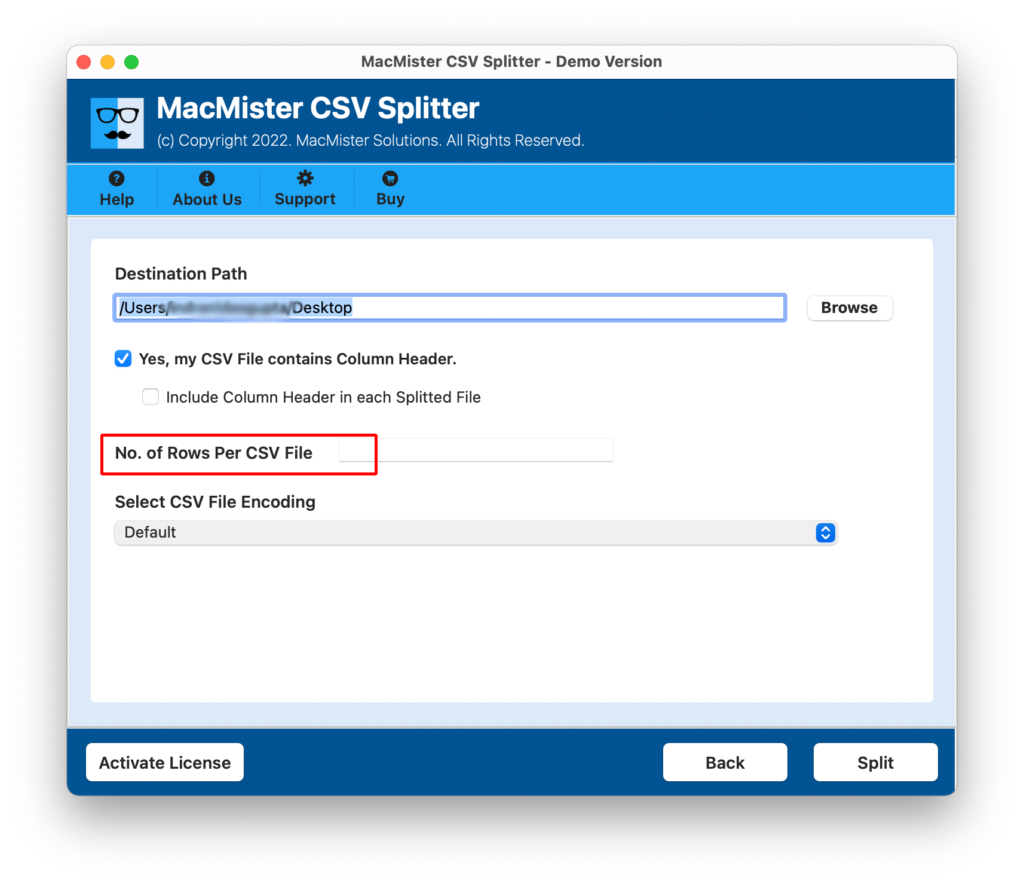
Step 6. Provide the row count if you want to perform the process according to the specified row count.
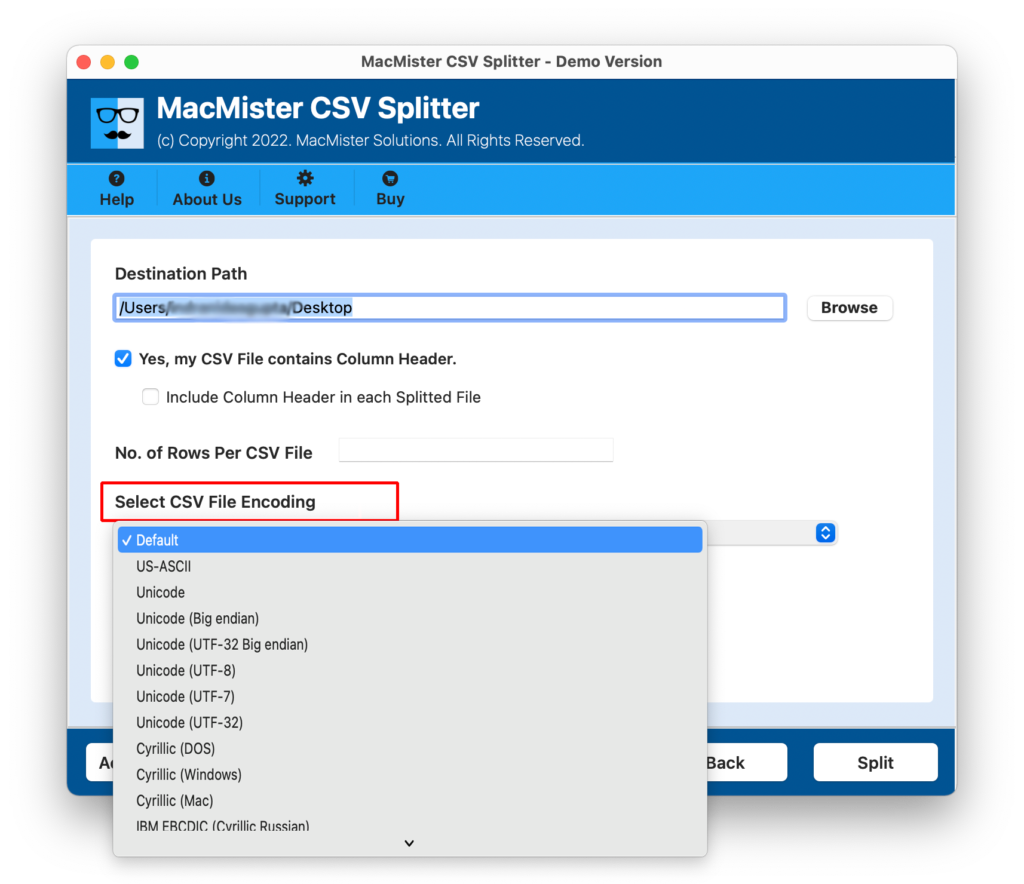
Step 7. Tap CSV File Encoding Option property and select the necessary encoding type, if you needed and click Split button.
Step 8. The process will start and a Live Progress Report will be shown to you on the screen that will help in tracking the ongoing process.
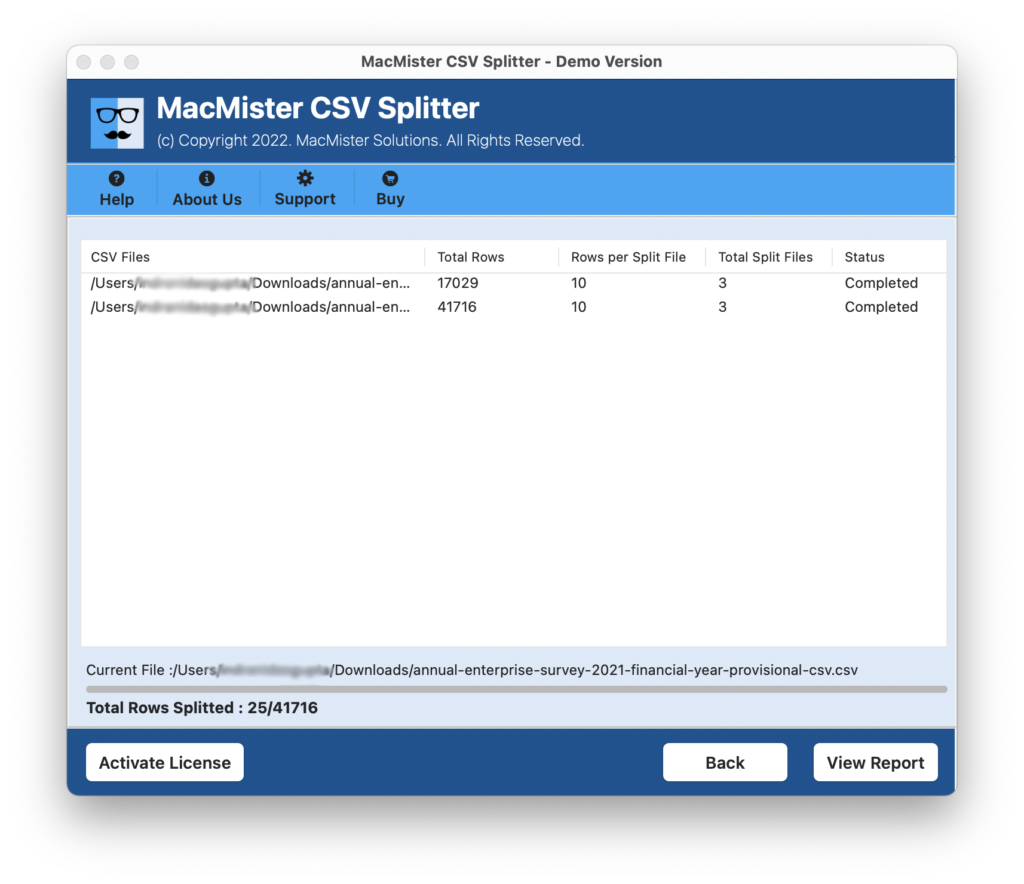
The entire task will finish with a successful message confirming that the process successfully completed. Click on OK and go to the location where the resultant Excel files are saved. You can open the required file to verify the output. However, you will see that the process is accurately performed without altering the contained database.
One can use the free demo of the app and analyze the complete procedure of the tool to split CSV into multiple files with header on macOS for free. Also, it will help to divide first 25 large Excel files into smaller multiple files free of cost.
Epilogue
The blog has mentioned different fixes to resolve “how to deal with huge Excel files” on macOS devices. One can opt for a suitable fix and perform the task the way they want. But, it is recommended to go with the method that has a guarantee to avoid data loss. For any assistance, contact MacMister Support.