How to Backup Apple Mail Messages to an External Hard Drive?
In the modern era, emails are more than just correspondence; they are a database of your professional history, personal moments, financial transactions, and important documents. If you use Mac computers, then Apple Mail is your primary source to access this huge collection of emails. However, it may be not enough to keep everything only on cloud services and your computer since your data is at risk in case of no backups. You risk to lose all your important emails due to such problems as hard drive failure, accidental deletion, malware attack, or any other system-related problem.
Thus, in order to find the most reliable and efficient method of protecting your emails, you should start making backups of your Apple Mail messages to an external hard drive. The following article will explain why this is so crucial and will provide an overview of primary macOS backup options as well as a third-party utility.
Why You Need an External Hard Drive Backup for Apple Mail
Before getting down to the “how,” it is necessary to consider the “why.” Many people believe that by having their emails synced through iCloud, Gmail, or Exchange, they are sufficiently secure. The problem is that cloud syncing is nothing but mirroring. If an email is mistakenly erased on one of the devices, it will be erased from all of them. Moreover, there is always a risk of server problems, hackings, or even shutting down your email provider for good.
- Backups of your Apple Mail to an external hard drive allow you to do the following:
- Have complete control over your data, which means that your information will be physically with you, regardless of any internet connections and third-party cloud services.
- Ensure safety in case something happens to your Mac’s internal SSD.
- Make some space free by transferring your emails off your computer.
- Easily migrate from one Mac or operating system to another.
Understanding Default Apple Mail Backup Methods
Time Machine by Apple is an automatic solution where the whole system is backed up by the application, including your Apple Mail databases that exist in your user Library (~ /Library /Mail).
Method 1: Time Machine
The Time Machine that is built into Apple is an automated backup that takes all of your system, even your Apple Mail databases that are found on your User Library (~ / Library / Mail).
- Pros: It works in the background, is fully automated when setup, and is easy to restore full system states or even individual file versions.
- Cons: Backups made by Time Machine may be cumbersome and time-consuming if you only require one mailbox folder. Furthermore, trying to locate Apple Mail databases inside a Time Machine backup can be quite troublesome and complicated.
Method 2: Manual Export via Apple Mail
Exporting of the mailboxes may also be done manually through the application itself via the option “Export Mailbox…” after right-clicking on the mailbox which exports it to an .mbox file.
- Pros: It is cost-free, easy, and offers granular control of certain folders.
- Cons: It is time-consuming and difficult if there are a number of folders that contain many messages. In addition, the native .mbox format could sometimes be problematic when opening and reading it outside the Apple environment.
Backup Apple Mail Messages to an External Hard Drive using Professional Solution
Since native methods usually have trade-offs regarding ease and fine-grained access to the data, many experts and professionals would rather use third-party software tools to do the task. Among such third-party tools, one stands out in particular, and that is the MacMister Apple Mail Converter.
The tool is a dedicated software program which will allow for the safe conversion of the Apple Mail messages on external hard drives, USB flash drives, and cloud storage.
Important Features of the Application
- Unlike .mbox file formats that are only compatible with the Apple Mail application, MacMister enables you to export your emails in different universal formats such as PDF, PST, EML, MSG, MHT, HTML, CSV, and TXT.
- When doing backups, preserving the metadata is crucial. MacMister makes sure all the necessary components of your email are preserved, including to, from, cc, bcc, subject lines, inline images, hyperlinks, and dates sent/received.
- Having a disorganized backup is just as good as not having any backup at all. The program will ensure that all the folders and sub-folders from your Apple Mail account are perfectly maintained in your external hard drive.
- You can select whether you want to do “Files” or “Folders” backup depending on whether you want to selectively back up some parts of your clients’ archives or all of your emails at once.
- With its user-friendly dashboard requiring zero knowledge about computer programming, MacMister will make professional data archiving easily attainable for everyone.
Step-by-Step Guide of the Tool to Backup Apple Mail Messages to an External Hard Drive
Making a secure backup of your emails on the external hard drive using the application is pretty easy. Do it following these instructions to secure your emails:
Step 1 – Preparation
- Attach your external hard drive to your Mac using USB, USB-C, or Thunderbolt connection. Then make sure that it has enough free space to store your mail archive. The recommended format is APFS or Mac OS Extended (for Mac-specific backups).
- Terminate Apple Mail in order to avoid locking database while exporting messages.
Step 2 – Starting MacMister
- Install the software on your macOS device.
- Launch the program. The user-friendly welcome screen will let you load your mail archive.
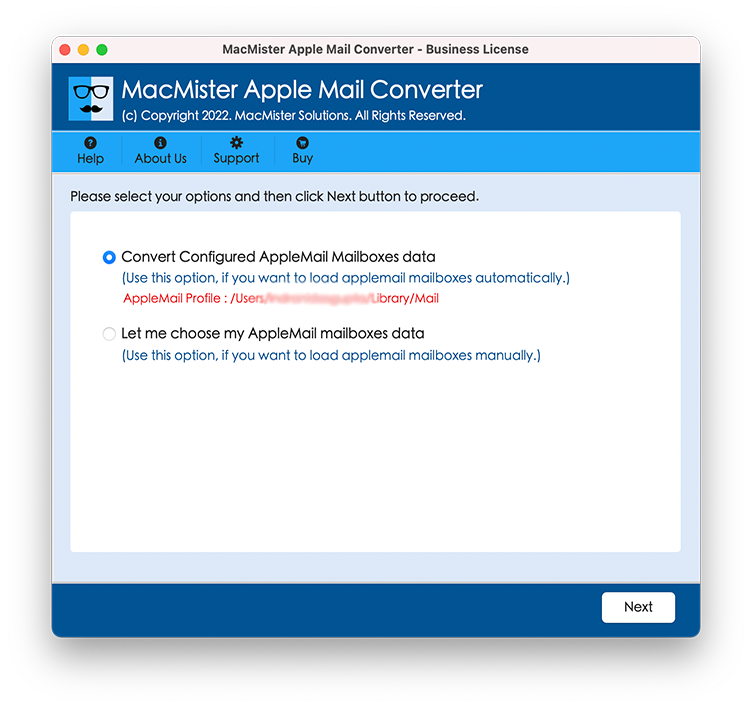
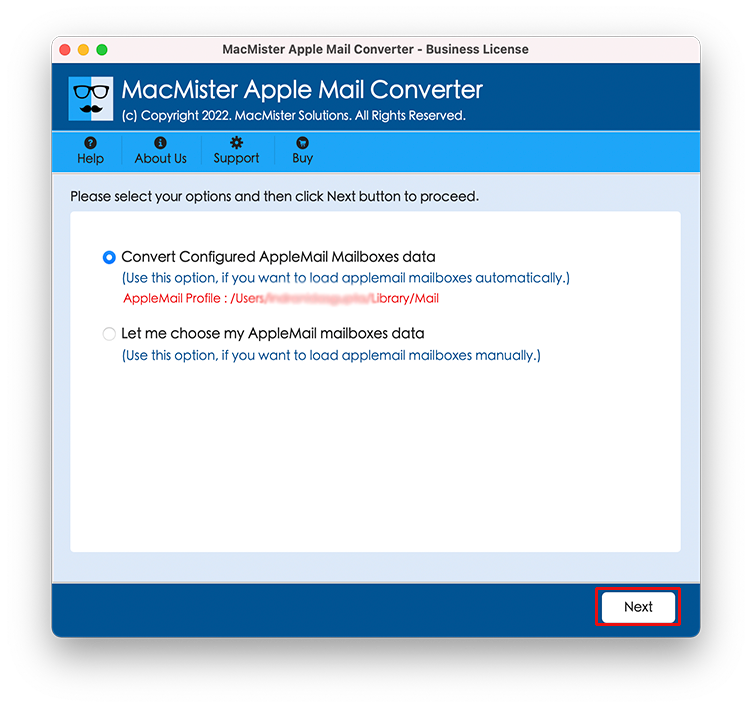
Step 3: Select Apple Mail Data
- Use the automatic detection facility in the software, which smartly detects the Apple Mail identity and database files stored on your local user library folder.
- In case your mail archives are saved at any other location on your system, you may manually search for the folder containing the mail archives and select it.
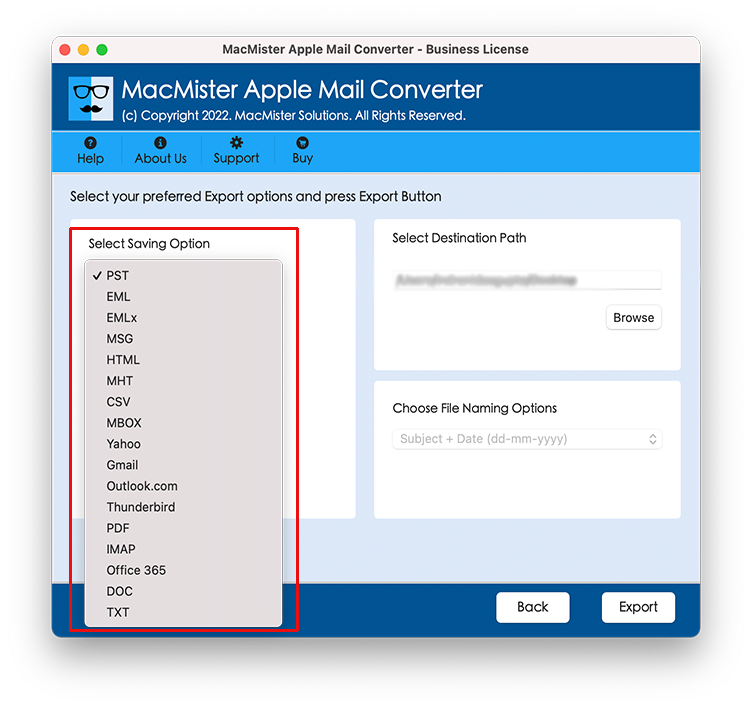
Step 4: Choose Your Output Format
Step 1: Go to the menu where you will select your format.
Step 2: Select the format of your choice depending on your future intentions:
- If you want your emails in a universal and printable format, select PDF.
- If you want your emails in their email format, select EML or PST.
- If you simply wish to have an exact duplicate of your mailbox structure, select MBOX.
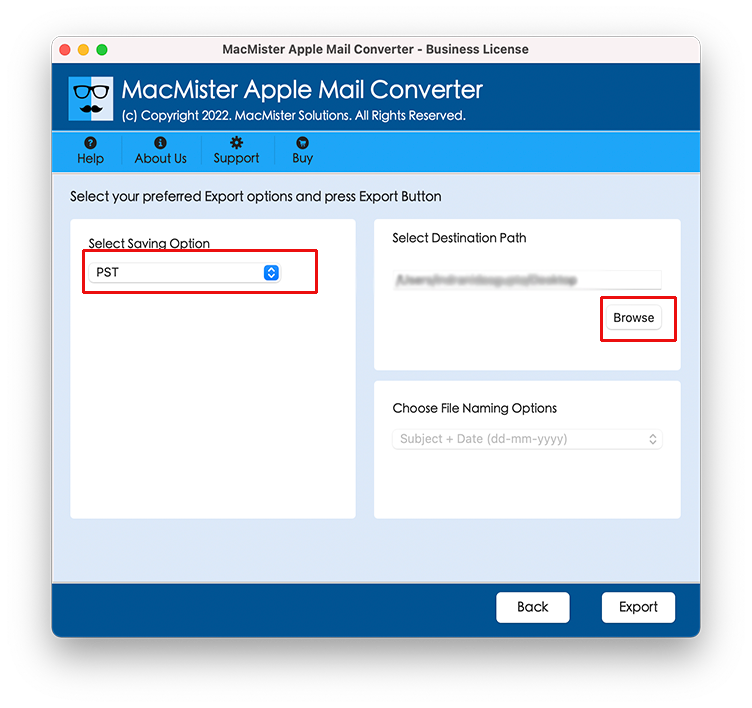
Step 5: Set Destination Path to Your External Hard Drive
- Click on the “Browse” or “Destination Path” button.
- Choose the connected external hard drive as the destination folder. It would be advisable to create a folder within the external hard drive and name it accordingly, e.g., Apple_Mail_Backup_2026.
Step 6: Execute the Backup
- Check your settings and press the Start Conversion or Export button.
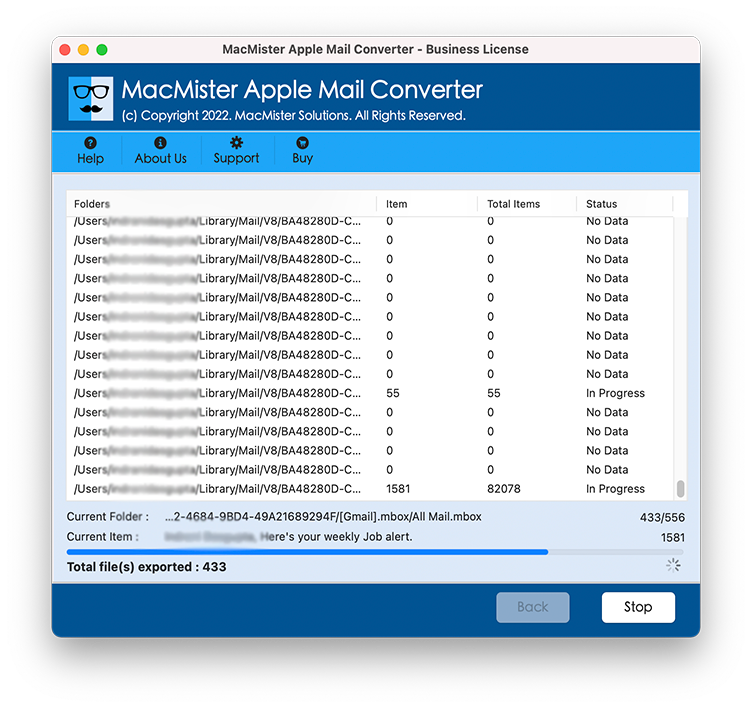
- Watch the progress bar in real time. The process take only few minutes to complete the whole process. However, the time depends on the amount of your mail database (a few megabytes to hundreds of gigabytes).
- When the process is done, remove the external drive from your computer.
Epilogue
All the messages that come through your email account are the chronicle of your personal life, career and work. It will not be wise to take such a risk. Because exposing your emails to unforeseen computer problems or even accidentally deleting them. While the emails are backed up using the standard time machine provided by Mac, combining it with the advanced professional tool takes care of all your needs. The tool will convert and export your emails in versatile formats on the external hard drive.