How to Migrate EML Files to Mailcow Server on Mac? – Guide
In this guide, we will explain how to import EML files to Mailcow Server, discuss the manual method, and introduce advanced EML to Mailcow Server for Mac solution.
EML files are widely used to store individual email messages with their sender details, recipients, subject lines, message body, and attachments. Users often save emails in this format for backup, sharing, and migration purposes. However, when someone wants to access previously saved EML messages through a self-hosted email platform, moving them into a compatible mail server becomes necessary.
Mailcow is a popular self-hosted email server solution that provides email management through a web-based interface. It allows users to manage their mailboxes and access emails through compatible email clients. If you have multiple EML files stored on your Mac and want to move them to Mailcow, you need a suitable migration approach.
What Is Mailcow Server?
Mailcow is an open-source, self-hosted email server solution based on Docker. It provides several email management features, including mailbox administration, webmail access, spam filtering, and email communication through standard protocols.
Users can configure their Mailcow mailboxes with compatible email applications using IMAP and SMTP settings. It is suitable for individuals and organizations that prefer managing their email infrastructure on their own servers.
Why Import EML Files into Mailcow?
- Centralized Email Management – Store existing email messages in a single Mailcow mailbox.
- Self-Hosted Email Access – Access previously saved emails through a self-managed email server.
- Email Organization – Manage old and new email messages through one platform.
- Long-Term Accessibility – Keep important email conversations available through a configured mailbox.
- Business Email Management – Maintain previous email records alongside ongoing business communication.
How to Import EML Files into Mailcow Server Manually?
One way to move EML files to Mailcow is through an IMAP-compatible email client, such as Mozilla Thunderbird. The process involves configuring your Mailcow mailbox and importing the saved messages. Follow these steps –
Step 1 – Install and open Mozilla Thunderbird on your Mac.
Step 2 – Add your Mailcow email account using the server’s IMAP settings.
Step 3 – Enter your email address, password, incoming server details, and outgoing server information.
Step 4 – Open the configured Mailcow mailbox in Thunderbird.
Step 5 – Install a compatible EML import add-on or use an available import method to load your saved EML messages.
Step 6 – Select the required EML files and import them into a suitable folder in Thunderbird.
Step 7 – Move or copy the imported messages into the corresponding Mailcow IMAP folder.
Step 8 – Allow the email client to synchronize the messages with the Mailcow server.
After synchronization, sign in to Mailcow webmail and verify the imported emails.
Limitations of the Manual Method
Although Thunderbird provides a way to transfer EML messages through IMAP, the process can become time-consuming when handling a large number of files. Importing individual messages, organizing folders, and checking synchronization requires additional effort.
The process may also depend on compatible import extensions and correct IMAP configuration. Therefore, users managing bulk EML files may prefer a dedicated migration solution.
How to Migrate EML Files to Mailcow by EML to Mailcow for Mac Tool?
MacMister EML Converter for Mac provides smart way for users who want to manage and migrate multiple EML files to Mailcow without manually importing every message. It allows users to add individual files or complete folders and process email data in batches. For EML migration to Mailcow, users can use the supported IMAP/server migration option, where available, and configure the destination using their Mailcow mailbox and server credentials.
 |  |
Steps to Migrate EML Files
Step 1 – Download and install the EML to IMAP for Mac tool.
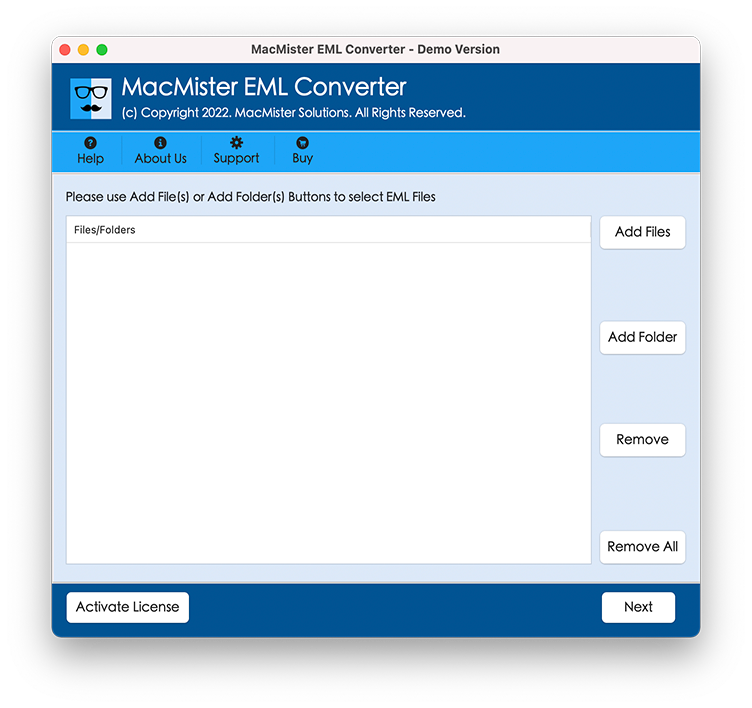
Step 2 – Select the Add EML Files & Add Folder option to add EML files or folders. Browse your Mac and load the required EML messages into the application.
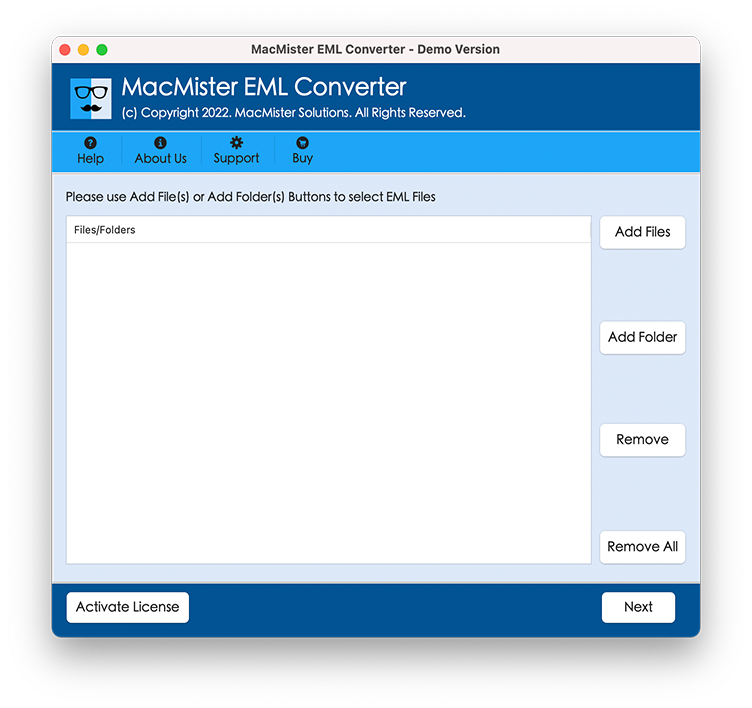
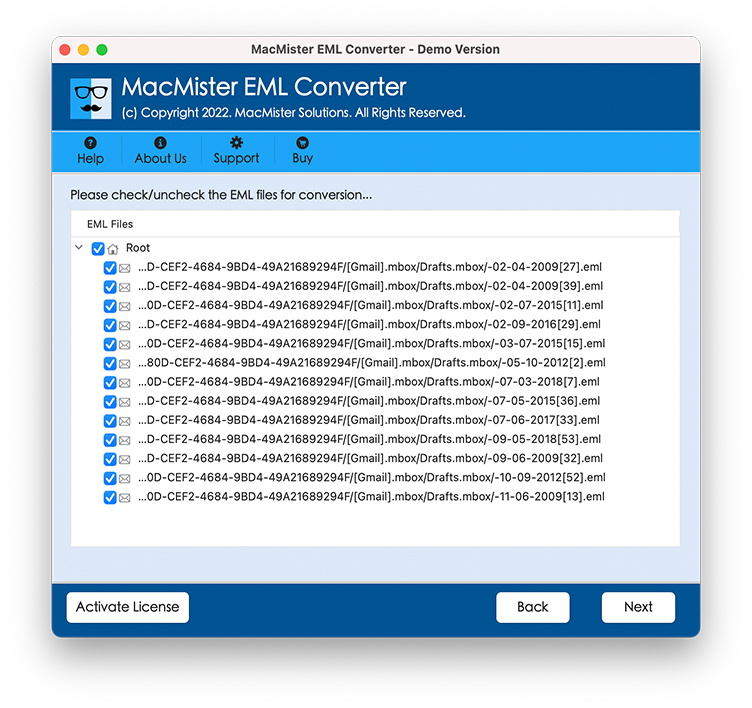
Step 3: Select the loaded EML messages you want to migrate.
Step 4: Choose IMAP as your saving option for migration to Mailcow.
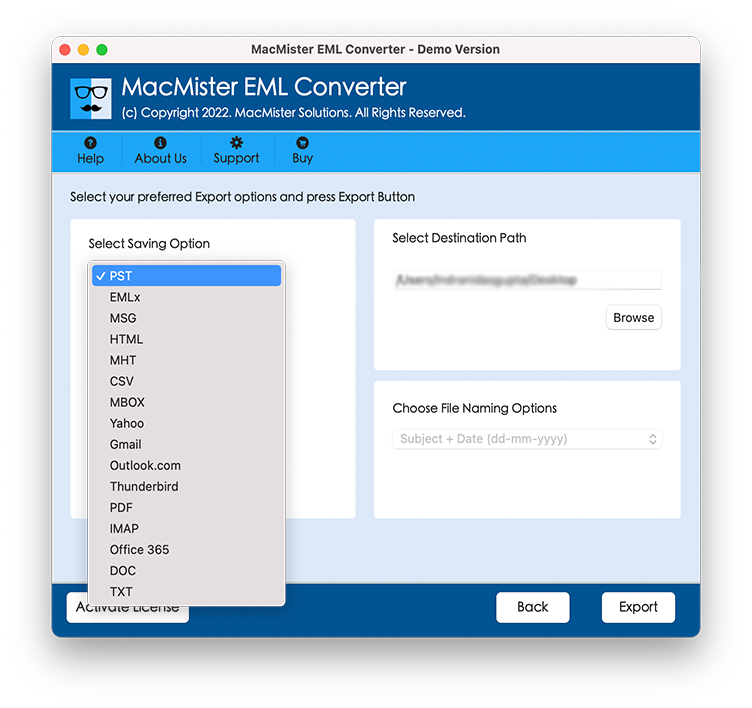
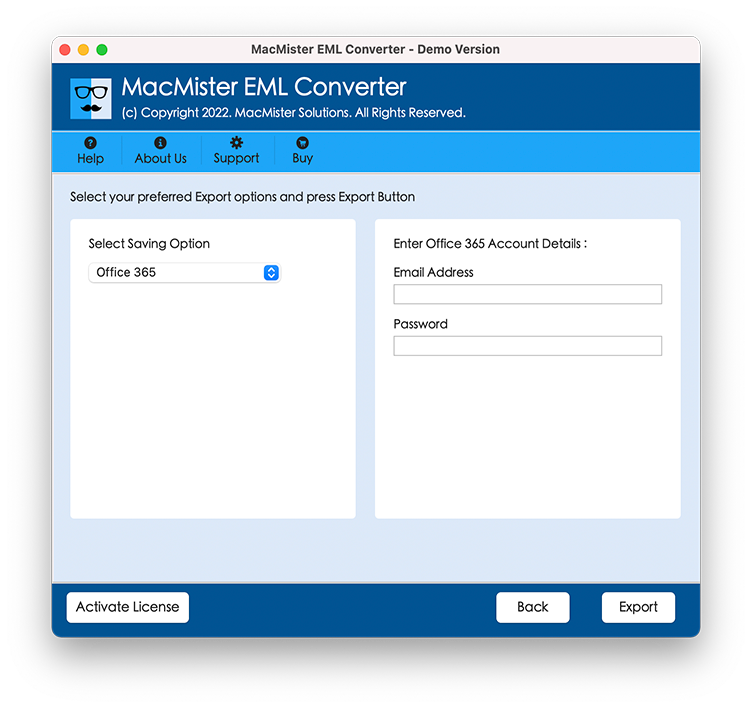
Step 5: Enter the required Mailcow account details, including the email address, password, IMAP server address, and port.
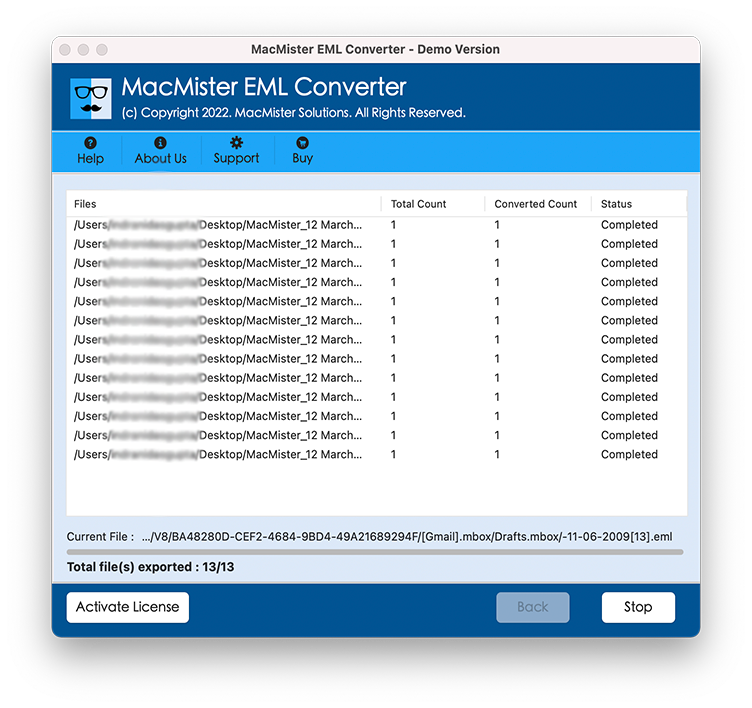
Step 6: Start the migration process and allow the software to transfer the selected messages.
Why Choose the EML to Mailcow for Mac Tool
- Batch Processing – Add multiple EML files and folders for simultaneous processing.
- Attachment Support – Retain supported attachments during email conversion and migration.
- Multiple Export Formats & Webmail – Save EML messages into formats such as PDF, MBOX, PST, MSG, HTML, Gmail, Office 365, Exchange Server, IMAP Server, Yahoo Mail, and other supported options.
- Email Properties Preservation – Maintain important details such as sender, recipient, subject, and date.
- Selective Migration – Apply available filters to process the required email messages.
- Mac Compatibility – Use the software on supported all macOS editions.
Conclusion
Migrating EML files to Mailcow Server allows users to access previously saved email messages through their self-hosted email environment. While Thunderbird offers a manual IMAP-based approach, handling large collections of EML files can require additional time and effort.
The software provides useful options for bulk EML file processing, email conversion, and migration to supported email platforms. Users can maintain additional email backups in formats such as PDF, MBOX, PST, and MSG while managing their migration requirements through compatible server options.