How to Force Delete Files on Mac that won’t delete?
We’ve all had this experience. You move a file or folder that simply does nothing for you into the Trash, empty it, and… nothing happens. All you get is an annoying error message. Sometimes it tells you that the file is “in use,” sometimes that you don’t have “permission,” and some other times, it just sits there ignoring your orders.
It is truly a nuisance when stubborn files won’t be deleted on Mac OS X, because they are just wasting your time and taking up disk space.
The good news is that macOS has multiple methods of fixing such problems. Here you’ll find everything you need to know about force deleting files on Mac OS X, going from fast native methods to command line techniques and special software solutions.
Why Won’t My Mac Delete This File?
Prior to hitting any keys, however, it is essential to get an idea of why macOS does not allow the deletion of the file. Indeed, Apple provides numerous safety and stability measures in order to make sure that you do not unintentionally destroy anything important by using their operating system. Typically, a file does not want to be deleted because of one of four reasons:
- The file is currently in use: an open program or a background process accesses it.
- The file is locked: in other words, its properties contain either “Read-Only” or “Locked”.
- Insufficient permissions: your user account does not possess necessary administrative access rights.
- System Integrity Protection (SIP): the file belongs to macOS itself, which means that even admins cannot modify or delete it.
Having identified the enemy, we can proceed.
Step 1: The Quick Fixes (Try These First)
Before diving into complex workarounds, let’s rule out temporary system glitches.
Force Quit the Responsible App
If your macOS says the file is in use even though you believe you’ve closed the program, there could possibly be some sort of background process running for that application.
- Hold down Option + Command + Escape keys to bring up the Force Quit Applications dialog box.
- Force quit the corresponding application linked to your file (such as Word, Preview, or Photoshop).
- Empty your Trash once more.
Relaunch Finder
In rare occasions, Finder can have some confusion regarding the status of files.
- Hold down Option + Command + Escape keys.
- Roll to the bottom and choose Finder from the list.
- Click on the Relaunch button.
Step 2: Unlock the File and Change Permissions
If the file isn’t in use, it might simply be locked.
How to Unlock a File
- Right-click the troublesome file and choose Get Info (or Command + I).
- Scroll down until you see the General information.
- If the Locked box is checked, uncheck it.
- Delete the file.
Steps to Solve Permission Issue
In case it’s a permissions problem, scroll down to the bottom of this Get Info window to see the Sharing & Permissions option.
- Click the lock at the bottom right corner of the screen and type your admin password.
- Check your username. Change the Privileges from the list next to your name to Read & Write.
- Close the window and delete the file.
Step 3: Bypass the Trash Entirely
You didn’t know you could actually delete files straight away, skipping the Trash step? It usually circumvents small computer delays.
- Select the difficult file/folder.
- Hit Option + Command + Delete using your keyboard keys.
- A dialogue box will come up confirming whether you really want to delete the item. Just click on Delete.
Step 4: The Automated, Stress-Free Solution (MacMister Data Wipe)
In case the initial attempts at troubleshooting have not helped your Mac thaw its frosty exterior, then it is time to go beyond the glitches inherent in macOS and make use of software designed for the purpose of securely erasing files.
Sure, troubleshooting manually might be adequate for one single text file, but what about corrupted files that are leftovers from your Mac’s system, malware files, and even huge folders where the path is broken? In such cases, the best way forward would be using MacMister Data Wipe Software for Mac.
Why Use MacMister Data Wipe?
MacMister Data Wipe for Mac is not merely a basic tool to delete files; it is an advanced utility that helps overwrite and wipe out any files that are not deleted by the macOS Finder.
- Skips OS Restrictions: This program targets the structure of the files and bypasses any restrictions such as “cannot be used” or “permission denied,” posed by the macOS.
- Final Wiping: Basic deletion only deletes the pointer of the file without deleting the content. Using wiping algorithms like DoD 5220.22-M, MacMister deletes the data so that it cannot be retrieved back using data recovery programs.
- Batch Processing: In case you have many directories that are difficult to deal with, you can simply add all of them together within the software.
How to Force Delete Files Using MacMister:
Step 1. Download and launch MacMister Data Wipe Software on your Mac.
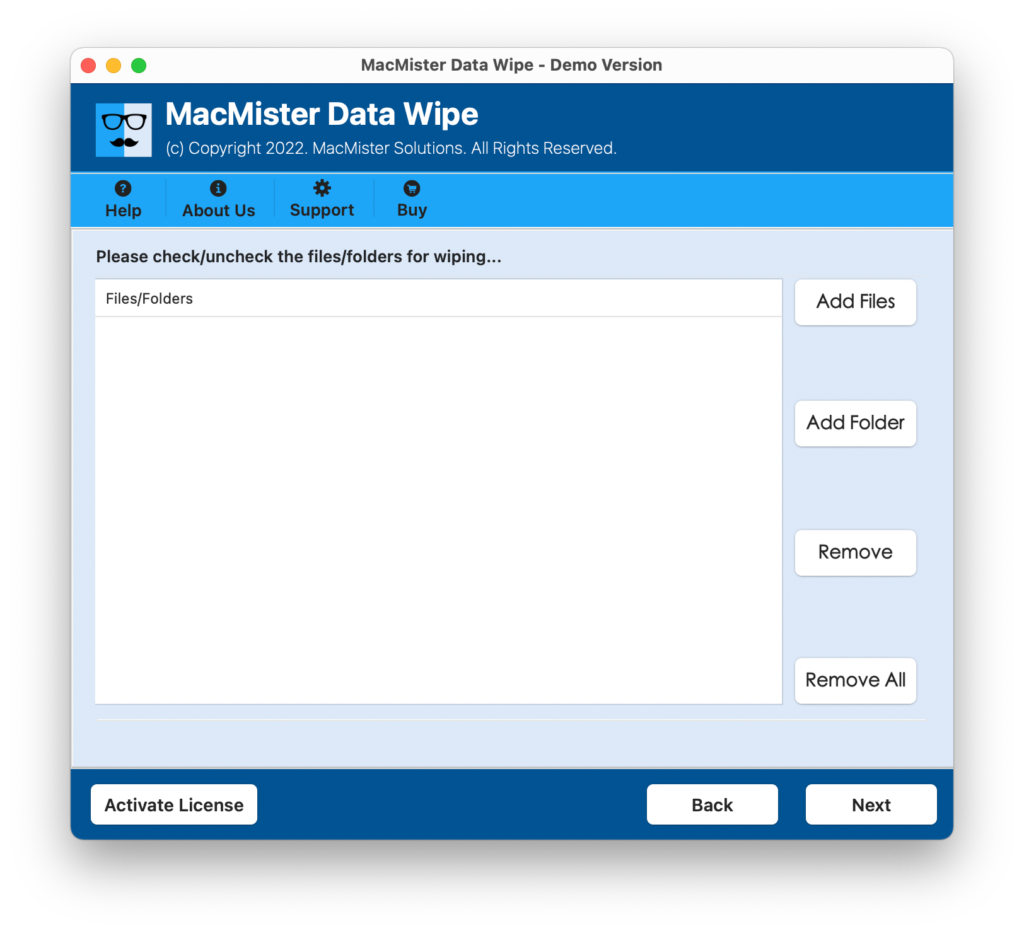
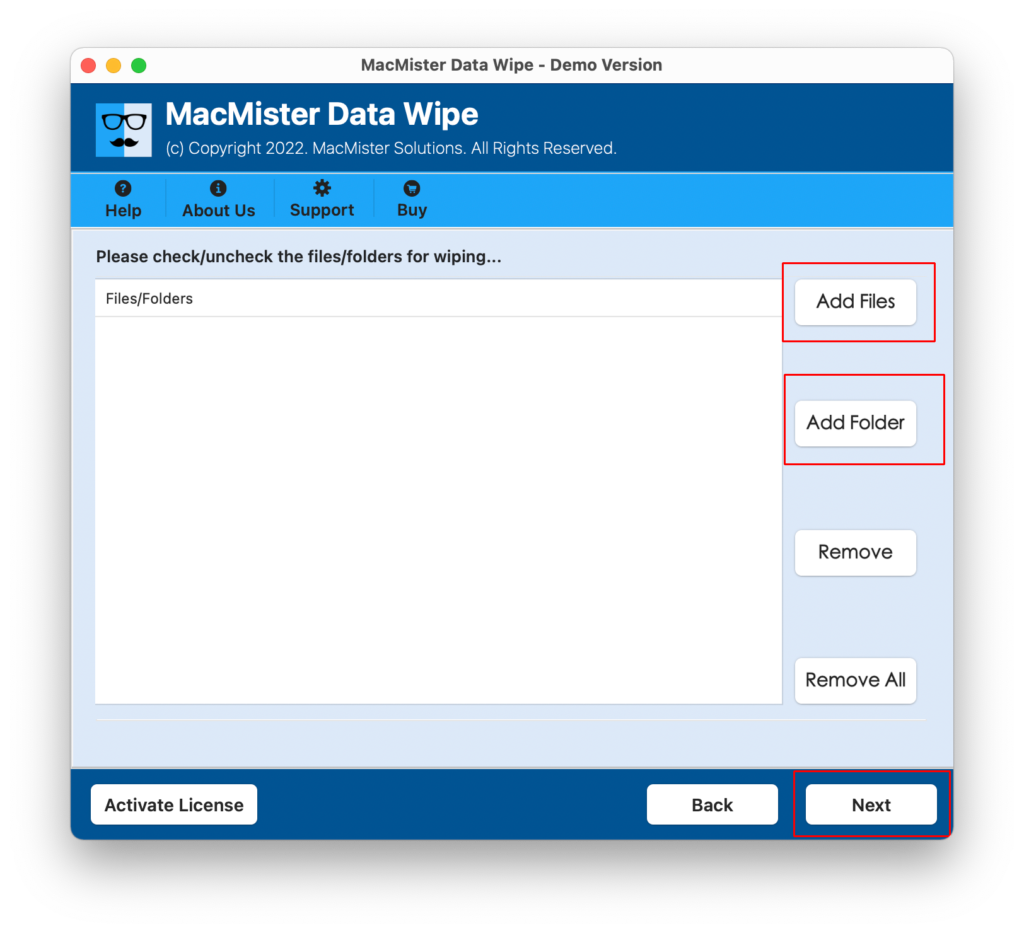
Step 2. Take help of Add Files or Add Folders options to select the items which need to be erased that are not deleting.
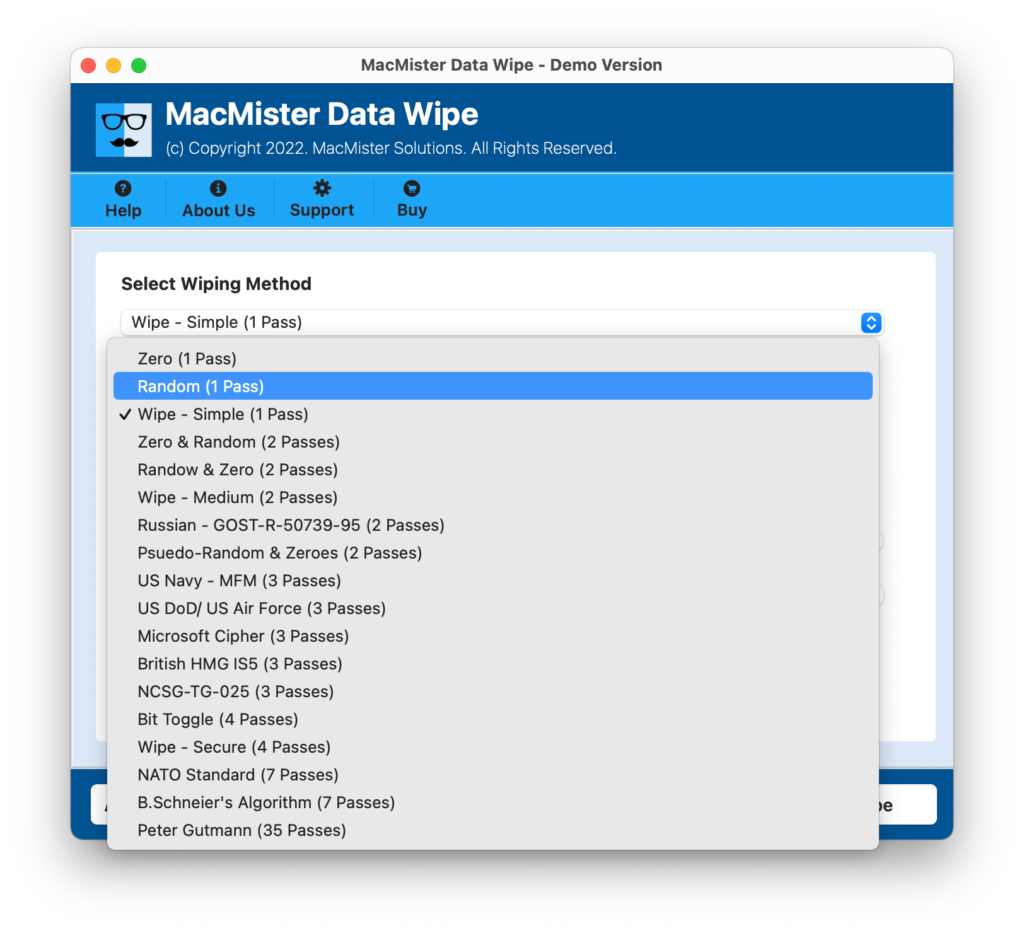
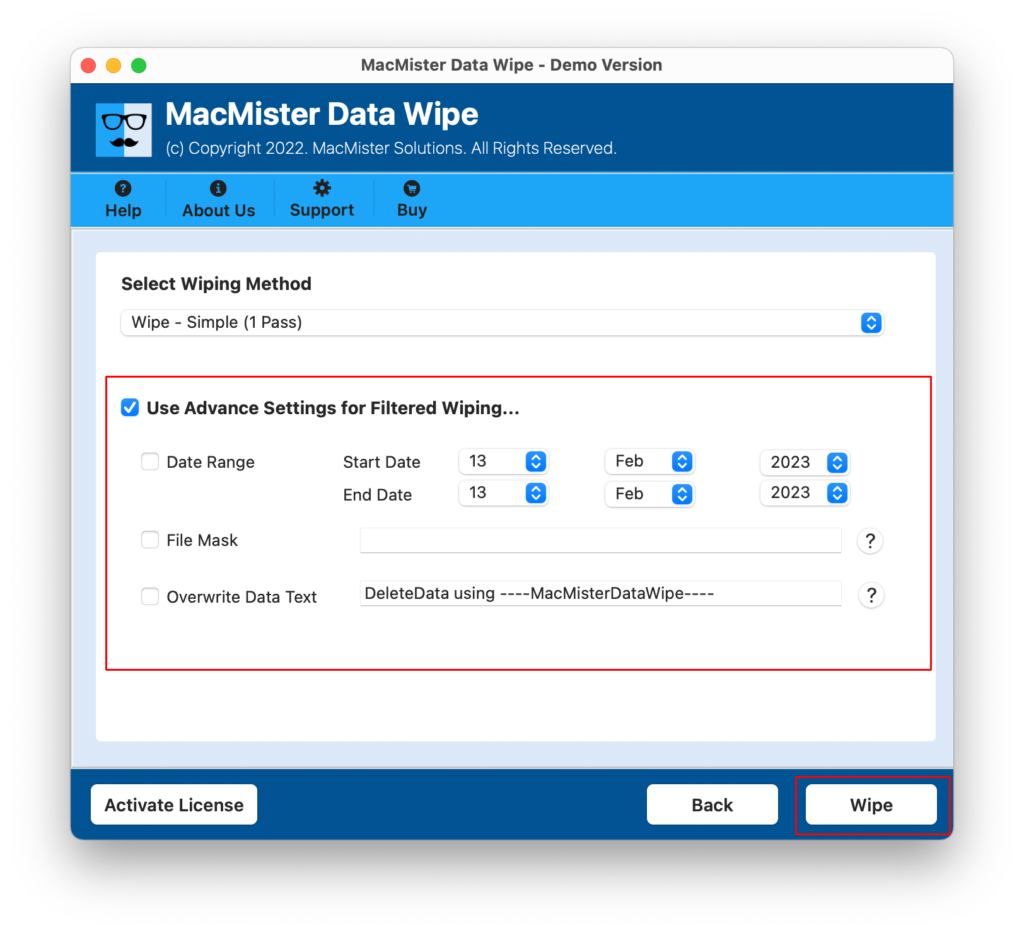
Step 3. Choose the preferred wiping method and apply filtering, if necessary.

Step 4. Tap the Wipe button. The software will cut through any system locks and permanently erase the files from your storage.
Step 5. Apply advanced filtering, if needed and hit Wipe button
Step 6. The process will immediately start and finish within seconds.
Step 5: Advanced Mode – Using Mac Terminal
But if you prefer to try something for free that is readily available within the system, and are comfortable using the command prompt method, then you may try deleting files through the Terminal.
Important Note: The rm -rf Terminal command discussed in this article is extremely powerful. It instantly deletes the files without sending them to the Trash folder. Please double check your typing, else it could have disastrous results!
How to Force Delete with Terminal:
Step 1: Open the Terminal by pressing Command + Space, then entering “Terminal”.
Step 2: Type the below command but leave out the space at the end. Don’t press enter yet.
Step 3: sudo rm -rf
Step 4: In your Finder window or the Mac Trash window, locate the file which refuses to be deleted. Drag it from the Finder window directly into the Terminal window.
Step 5: Now press Enter.
Step 6: The Terminal window will ask for the administrator password for your computer. Type in your password (remember that nothing will show on the screen as you type your password).
Voila! Your file is gone.
Step 6: Boot into Safe Mode
However, in case you receive an error message from the Terminal or MacMister happens to be unavailable to you at this particular moment, the file could have been locked by a hidden background process or startup item. In order to solve this problem, all you need to do is boot your Mac using the Safe Mode feature.
For Apple Silicon Macs (M1, M2, M3, M4, etc.):
- Turn off your Mac.
- Press and hold the Power button till you see “Loading startup options.”
- Select your main drive, then press the Shift key and choose Continue to Safe Mode.
- After logging in, click on the Trash and delete its contents.
For Intel-Based Macs:
- Make sure to shut down your Mac computer.
- Restart the computer by pressing the Shift key immediately upon start.
- Wait until you see the log-in screen and release the key.
- Delete the file from your trash bin and restart your Mac again.
Epilogue
Stubborn files on Mac can appear to be a ghost that won’t leave you alone, but rest assured, you will always get rid of them in some way. Quick solutions, such as checking permissions and performing a simple terminal bypass, may do the job once in a while. However, should you encounter many problems related to stubborn files or require an assurance that no private data will remain after deletion, then specialized software, such as MacMister Data Wipe Software for Mac, will come in handy for your needs.