How to Forward Emails from Outlook to another Email Automatically?
Emailing from several accounts may soon become a productivity tragedy. For e.g. you are using Microsoft Outlook at your job and also making use of other email clients such as Gmail or Yahoo for work and personal purposes. In this case, you cannot manually forward all the emails you get.
Automatic email forwarding will make life easier and help in receiving all the crucial emails. The main aim of this article is to describe the most effective way of automatically forwarding Outlook emails.
Method 1: Using Outlook on the Web (Outlook Web App)
The best way to ensure that automatic forwarding gets configured correctly is by utilizing Outlook on the web. The forwarding set up here is done at the server side and hence the emails will be immediately sent despite your PC not being switched on.
- Start your browser and open Outlook on the web. Sign in to the service and click the Gear icon (Settings) located at the top-right corner of the screen.
- From the list of features, click on Mail and then choose Forwarding from the drop-down menu.
- Flip the slider to enable forwarding. Provide the destination email address for your emails to be forwarded.
- If you want to keep the copies of forwarded emails in your mailbox, check the box. If not, then don’t select the box. Save the changes made.
Method 2: Using the Outlook Desktop App (Windows & Mac)
For instance, if you go for the desktop client version, you will manage to get the precise control of your emails if you create some specific inbox rules.
Step by Step Instructions for Windows Users
- Launch Outlook and go to File in the upper left corner.
- Choose Manage Rules & Alerts.
- Go to E-mail Rules tab and click New Rule.
- For the start, select Apply rule on messages I receive under Start from a blank rule, and click Next.
- If you do not wish to forward all of your incoming emails, choose certain conditions or just skip to the next step.
- Under the actions category, choose forward it to people or public group.
- Click the underlined phrase in the lower part of the window and enter your email address and click OK.
Steps for Mac Users
- Open Outlook for Mac and go to Tools>Rules.
- Choose your account (Exchange, IMAP, POP3) in the left pane.
- Click on + (plus) symbol at the bottom to create a new rule.
- Name your rule (Auto-Forward).
- In the section when a new message arrives, choose All messages.
- In the section do the following, choose Forward to and provide the email address you want to forward to.
- Check the Enable box and click on Save.
The Cross-Platform Challenge: Handling Large-Scale Email Migrations
Although built-in forwarding will be easy for future emails, it does not help with moving your history of emails. There will be certain structural limitations when individuals and companies move from Outlook to other totally separate mail systems.
Outlook saves their offline database in a proprietary format such as PST (Personal Storage Table) for Windows, and OLM on Mac. In case you move to other mail systems like Apple Mail, Thunderbird, or Google Workspace, they will not have native support for PST files of Outlook.
Try Advanced and Effective Solution
But when auto-forwarding is not an option as you have to transfer large amount of data in an Outlook archiving system into a new email system, then third-party software will surely help you out. This is where MacMister PST Converter for Mac & Windows proves to be a wonderful tool to use.
This tool does is not dependent on exporting Outlook PST files manually or on running background forwarding procedures that could fail due to timeout issues in large files. Instead, MacMister has the ability to epxport large unlimited Outlook PST file to multiple saving types such as MBOX, EML, PDF, HTML, and even transfer the same to Gmail and other cloud-based email servers.
Key Benefits of the Software
- The software offers special engines for both Windows and Mac OS platforms.
- You may convert many big PST files at once without freezing your computer.
- It maintains your original folder structure, flags, attachments, and even all kinds of headers such as To, CC, BCC, Date, and Subject.
- Date and category filters allow you to select only those pieces of information that need to be transferred to your new email box.
Working Steps of the Tool
Step 1. Install and launch the app on your PC.
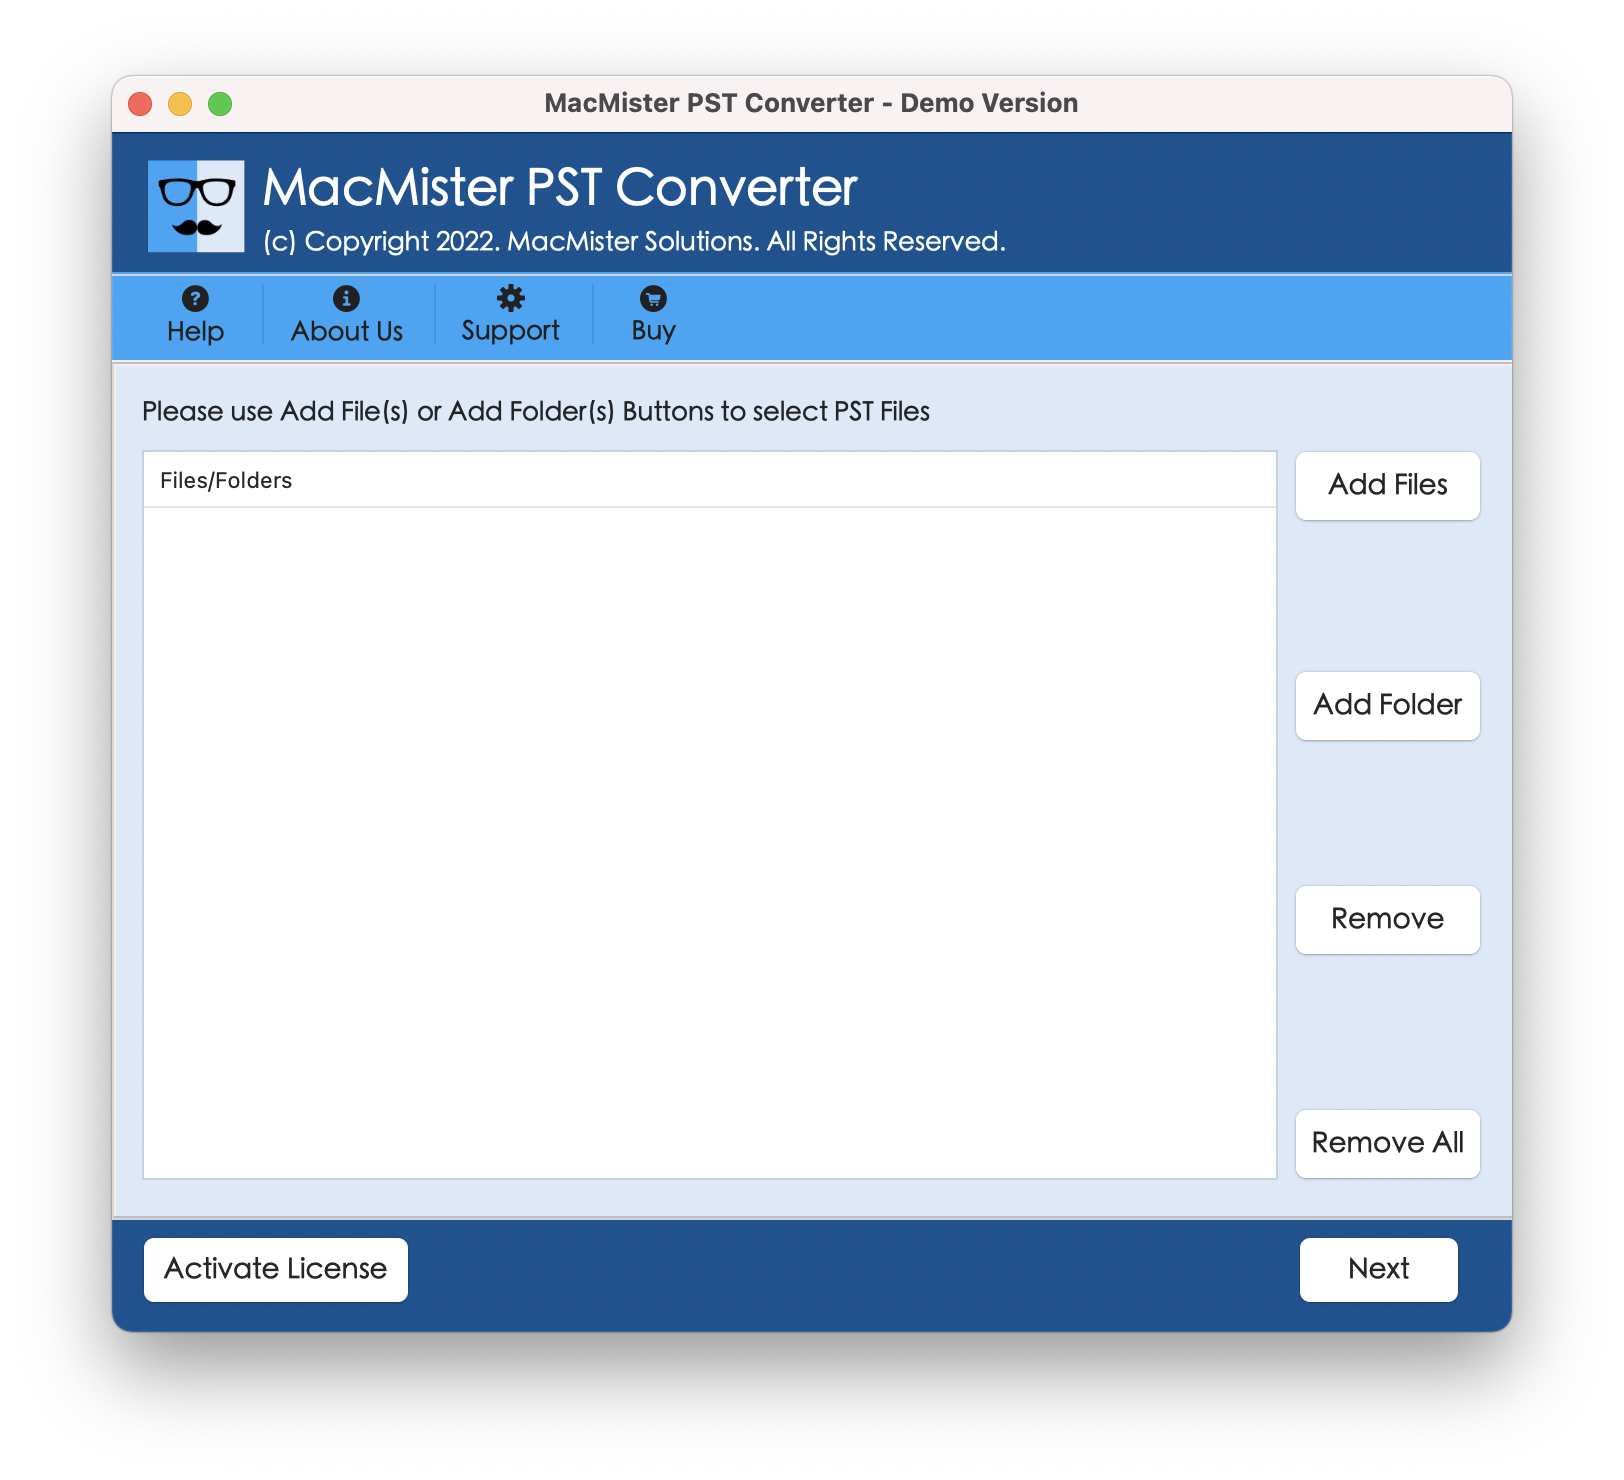
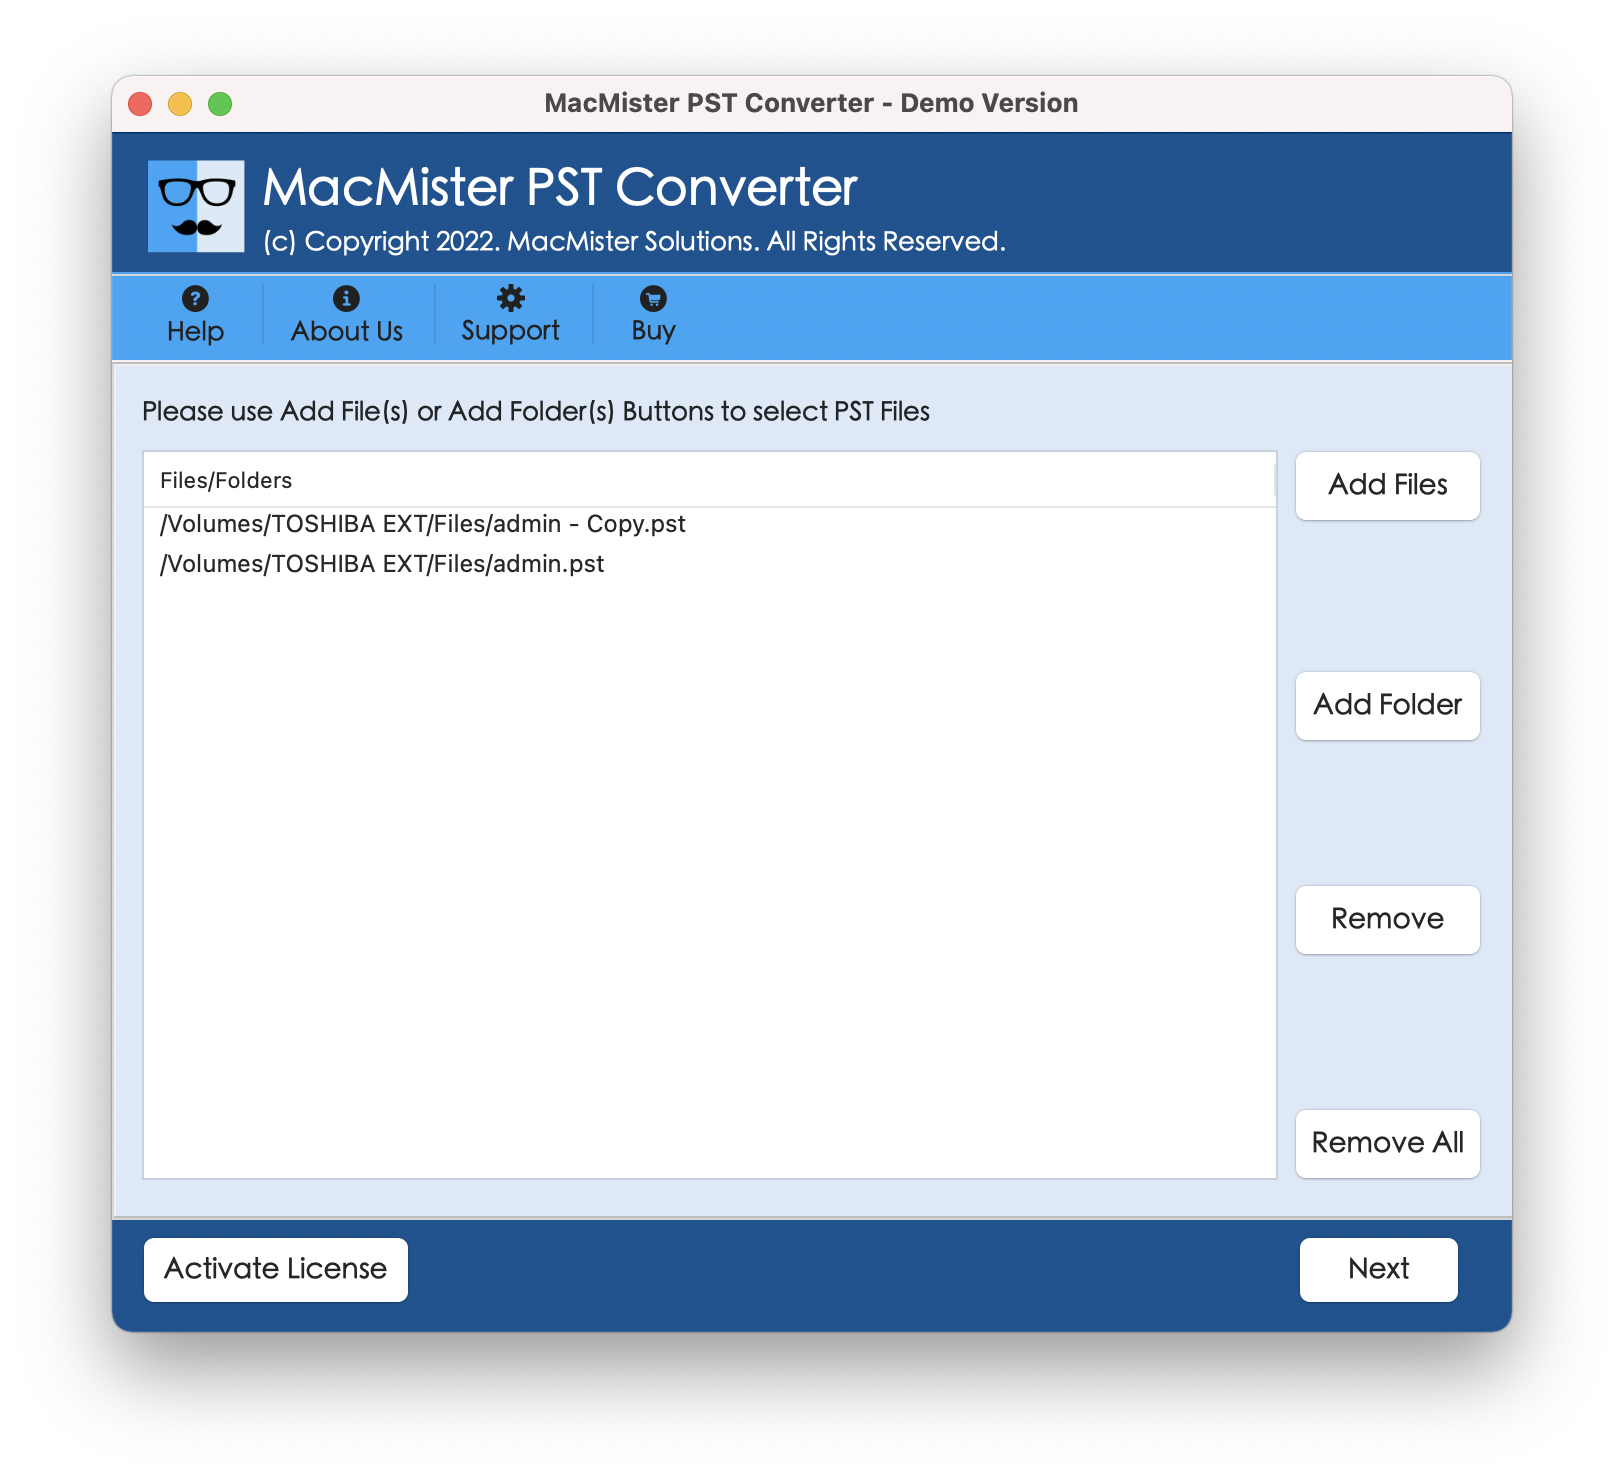
Step 2. Import the Outlook files using Add Files or Add Folder functions.
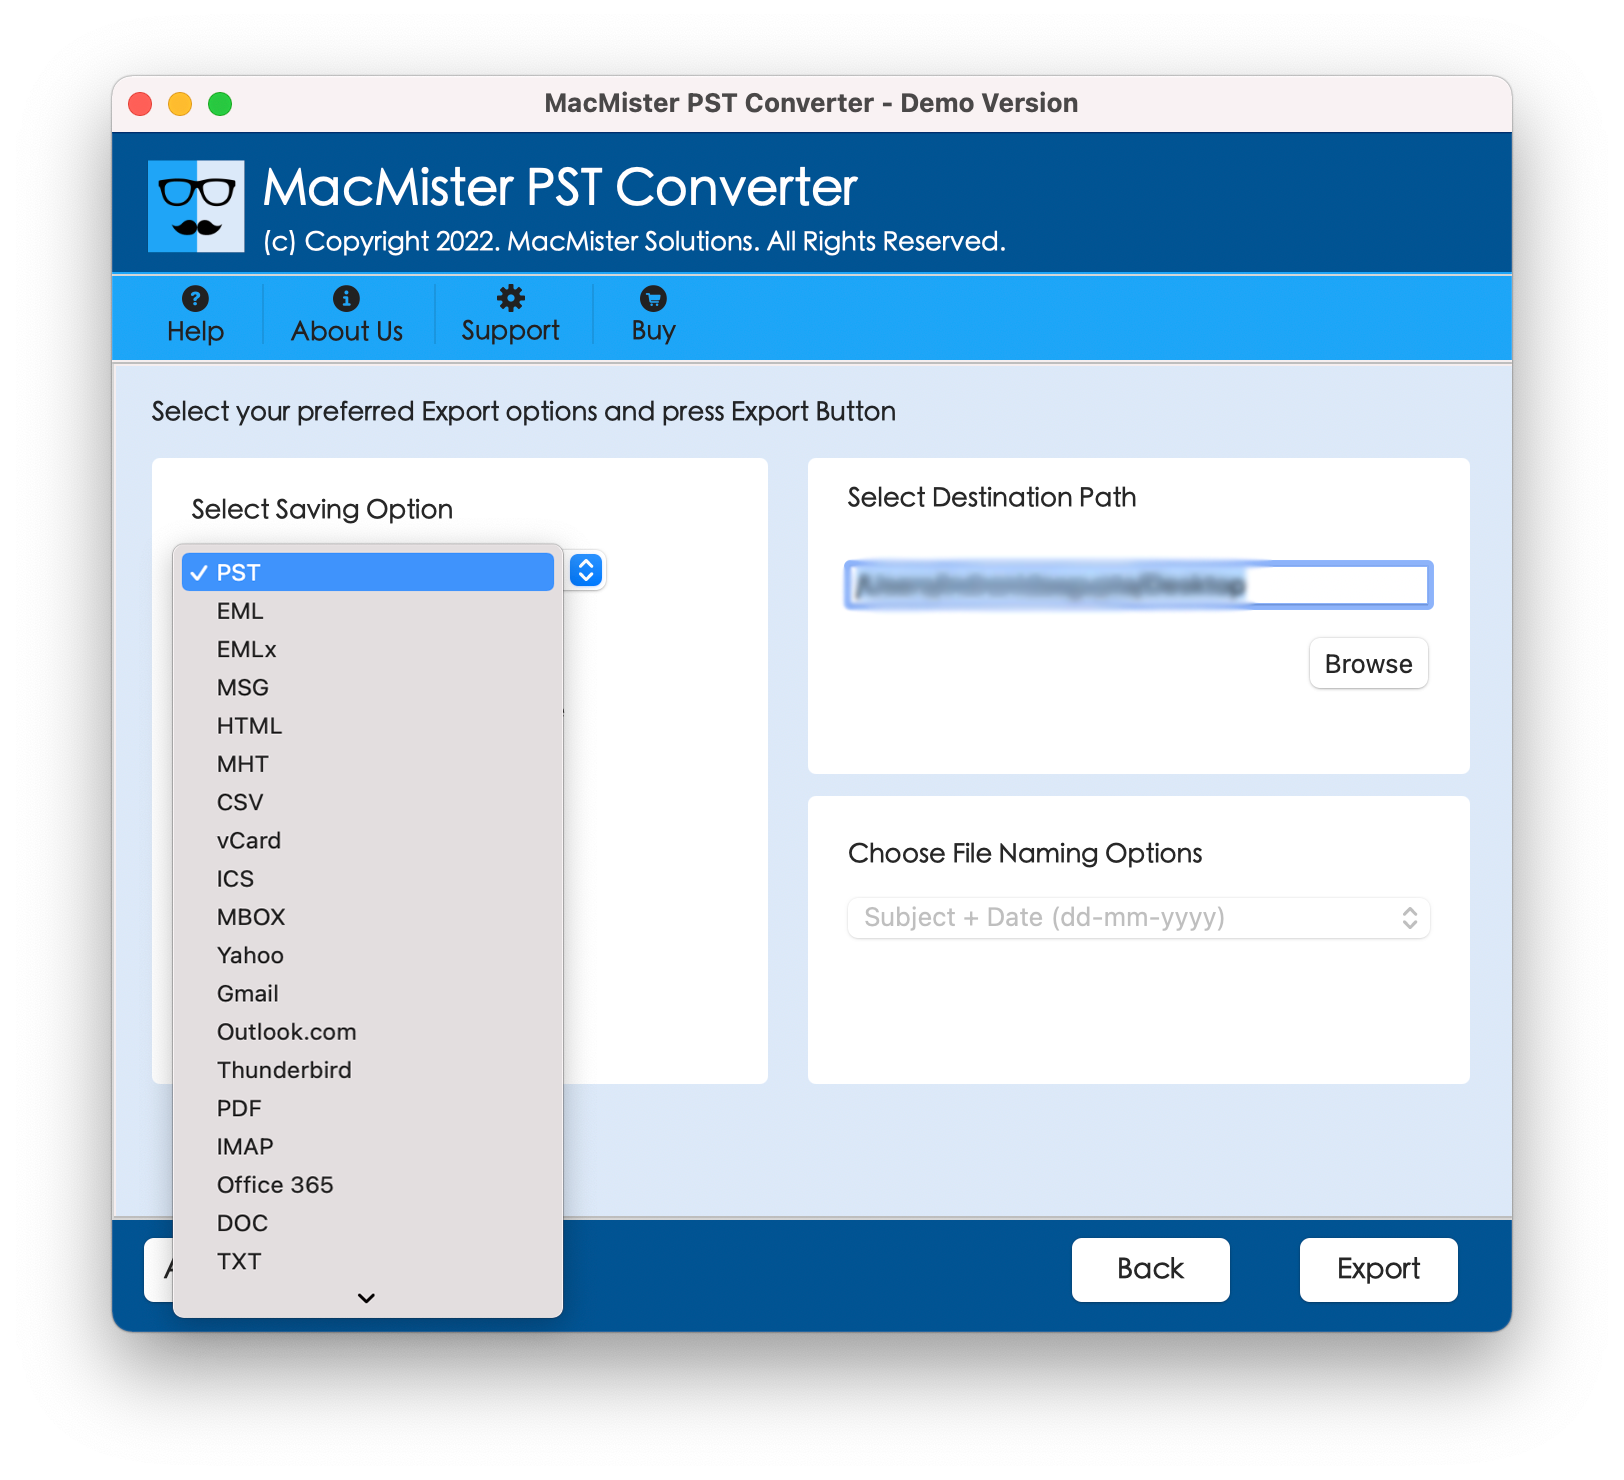
Step 3. Select the desired export format (for instance, IMAP/Gmail for transfer to the cloud directly or MBOX for other destinations).
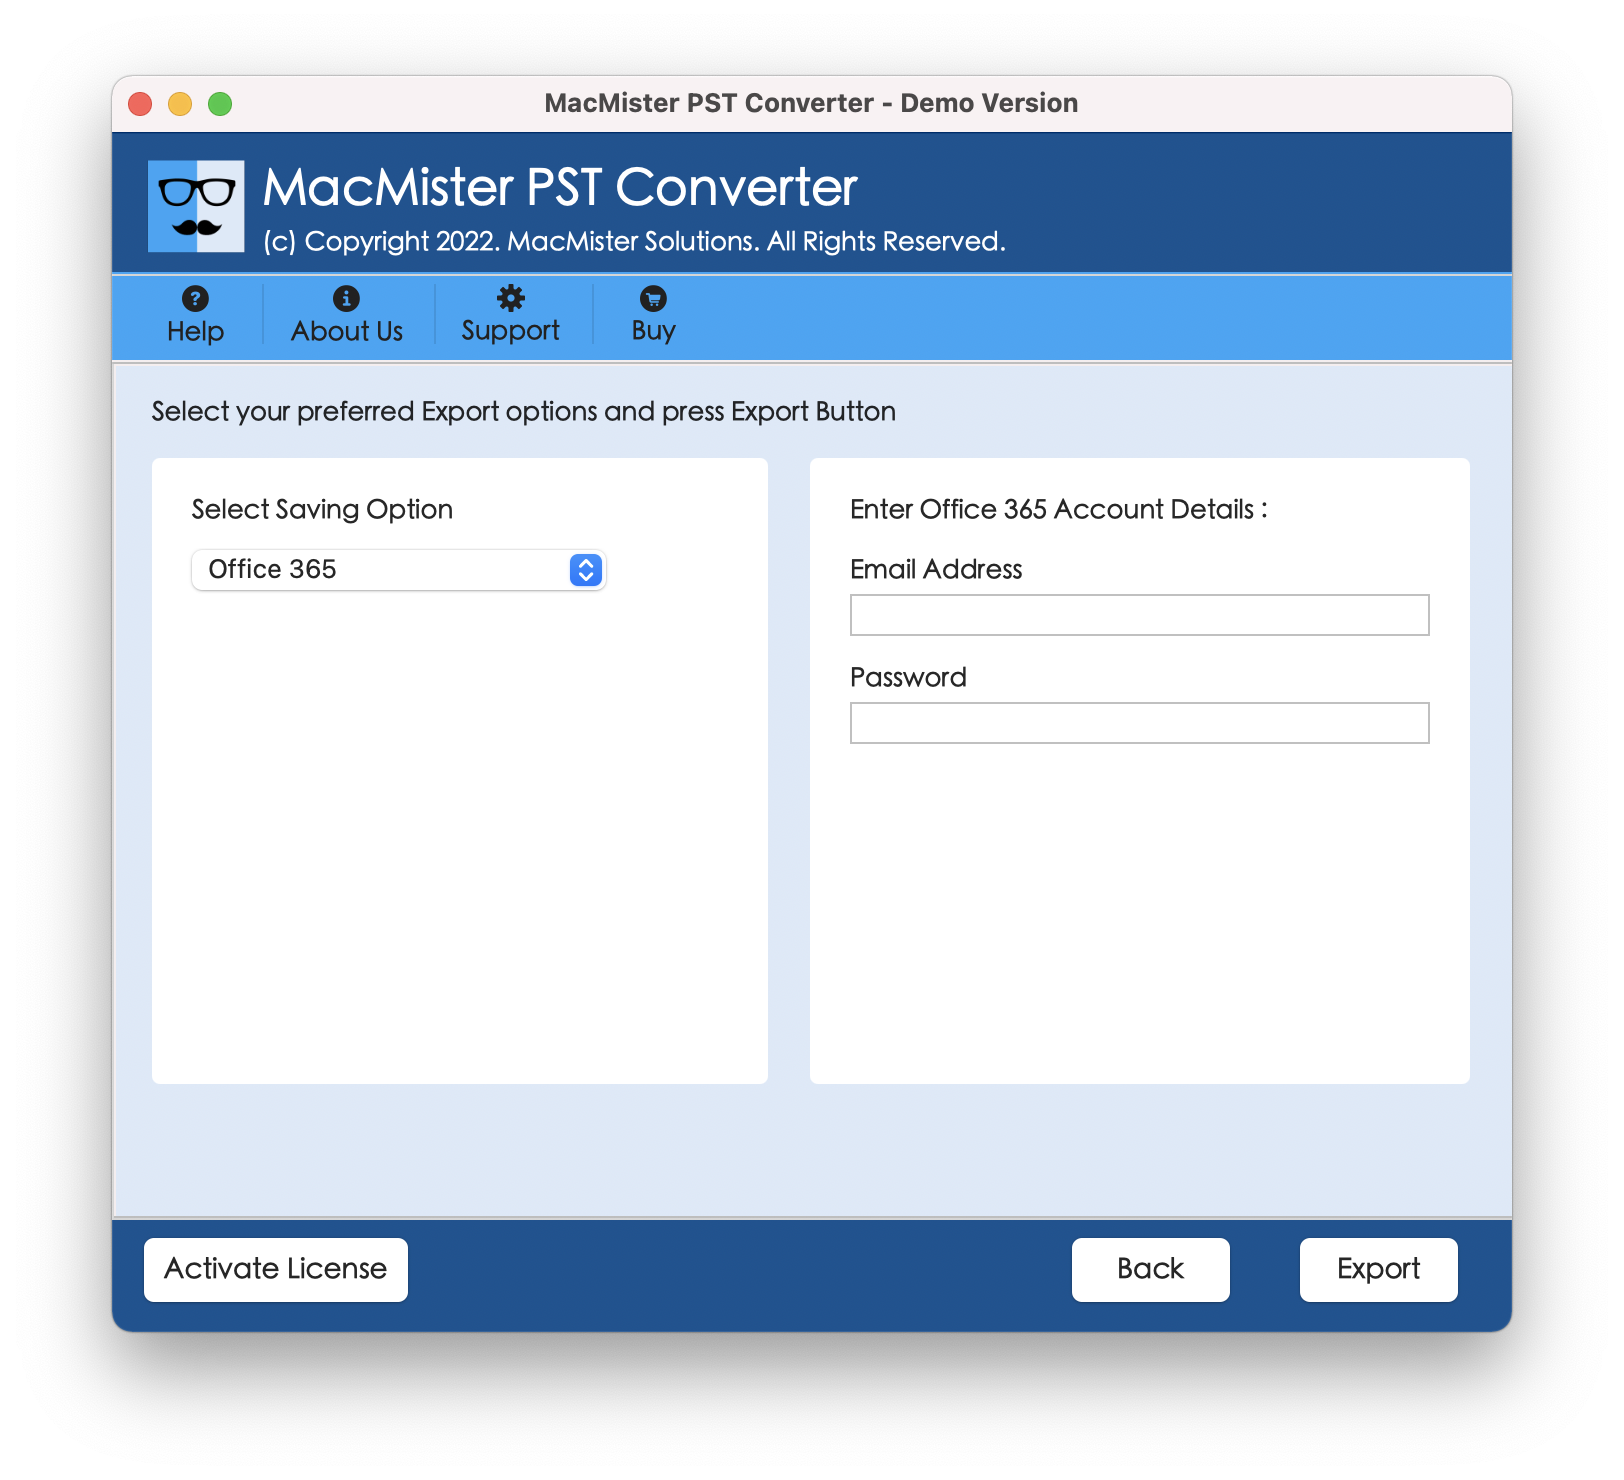
Step 4. Set sub-options, if needed and tap Export.
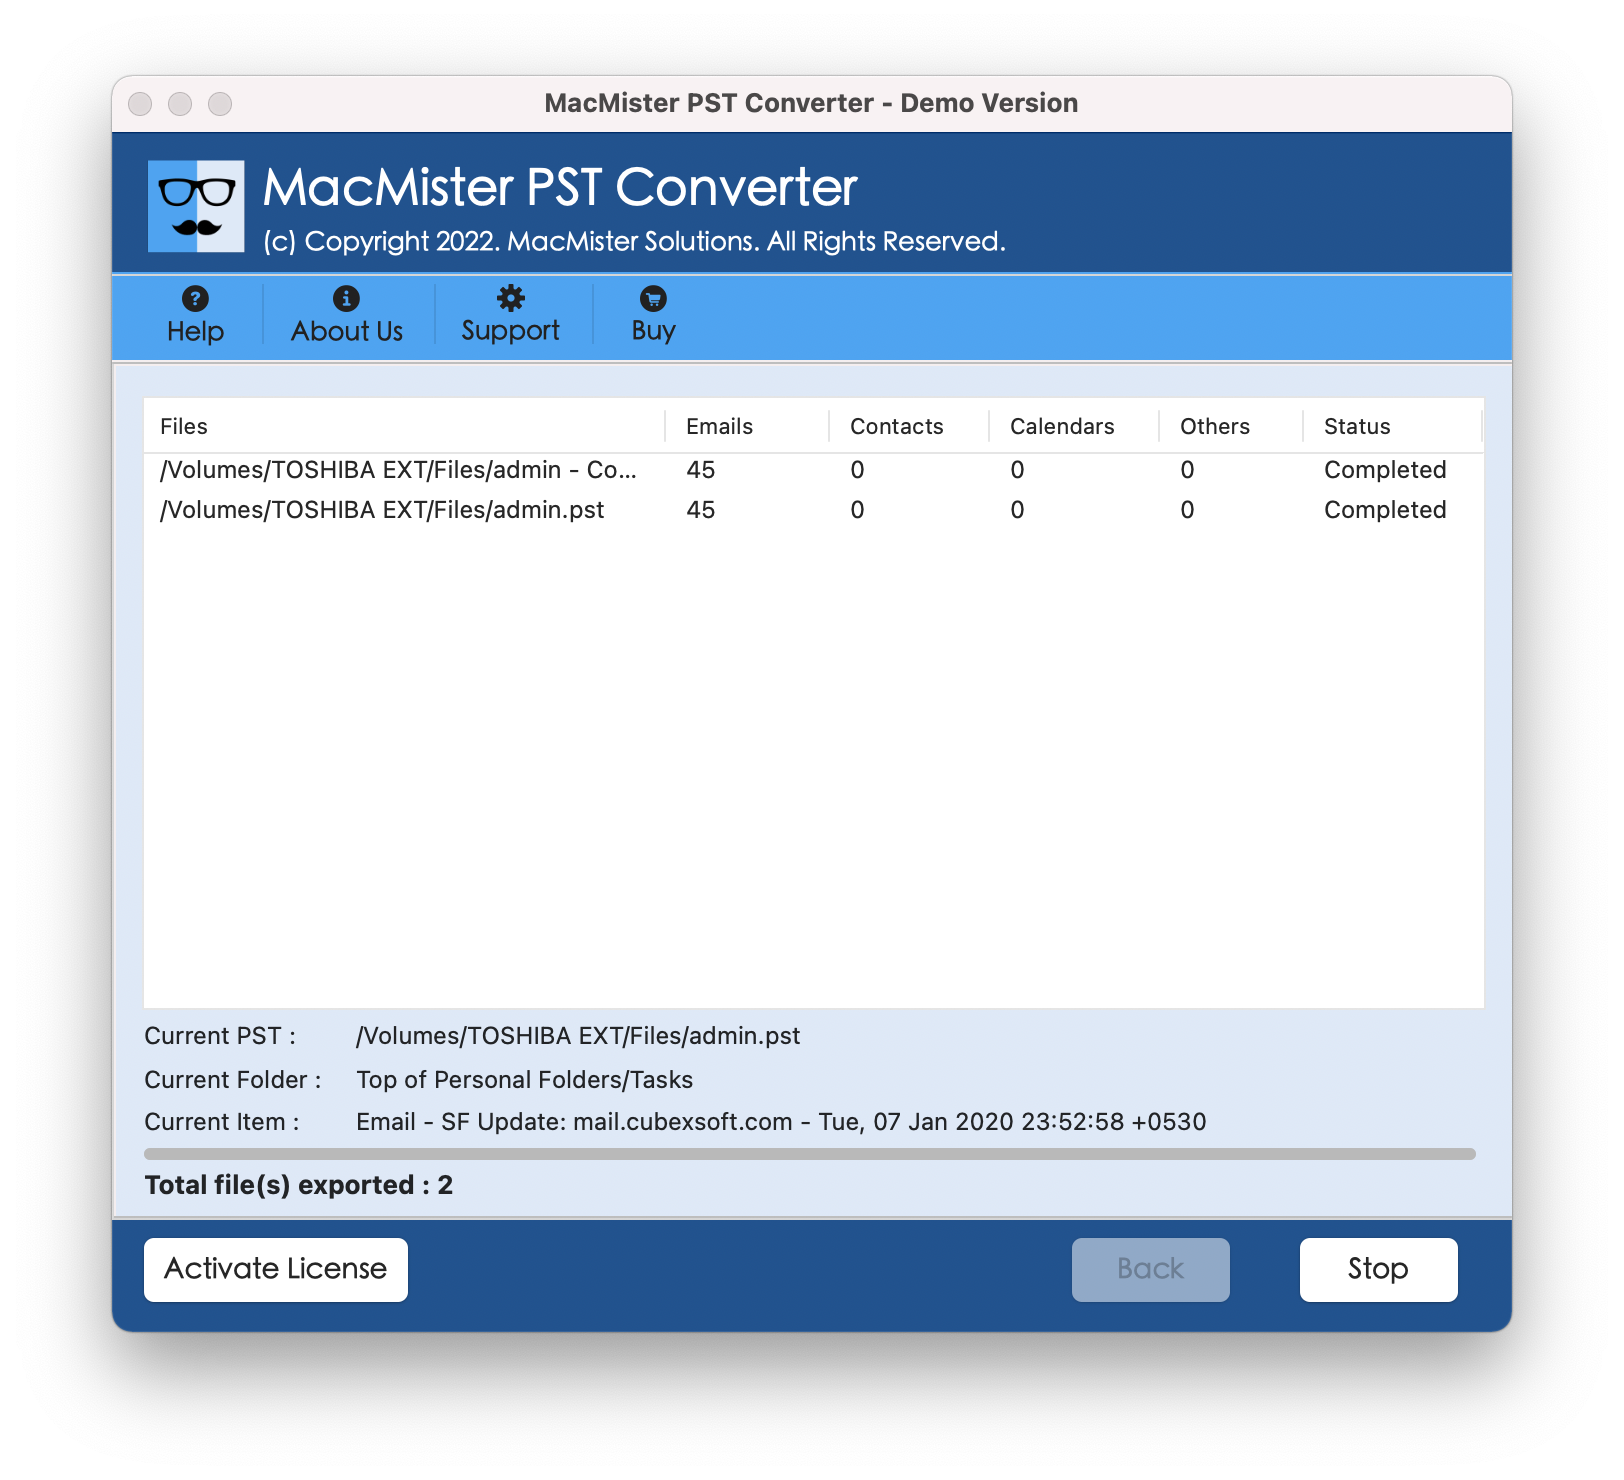
Step 5. Check Live Conversion Progress of the Tool.
Consolidation of your communications need not mean leaping through hoops all the time. By employing server-side forwarding on the web for your work process and by using a tool like MacMister PST Converter to migrate your deep data archive, you can leave Outlook behind seamlessly without losing any of your emails.