How to Transfer Apple Mail Database to a New MacBook with Ease?
Moving to a new MacBook is always an interesting process. It could be because of getting the latest MacBook with Apple Silicon technology or merely because of the need to update the machine. There are a lot of things to do when getting ready for moving to the new MacBook, but the most important thing is moving the email database.
The email database keeps many emails with professional contacts, personal memories, invoices, and documents. If you work with Apple Mail as an email client, moving its database to the new MacBook without losing any information stored there is very important. Although macOS provides some migration tools, sometimes it can become complicated.
In this tutorial, we will show you the conventional way of moving your Apple Mail database and present a powerful tool for doing it – MacMister Apple Mail Converter.
Understanding the Apple Mail Database Architecture
Before starting with the transferring process, it is useful to know where exactly the emails from macOS are stored. The Apple Mail saves its settings, mailboxes, and cache in the following location in the User Library folder: ~/Library/Mail/
~/Library/Mail/
In this folder, there are folders with names that correspond to the version of the files (V6, V8, or V10), and they include all your emails (in the .emlx format), your attachments, and indexes (such as Envelope Index).
Copying this folder to another Mac computer was the easiest solution before, but the security changes in macOS prevent the smooth operation of these indexes due to their corruption, resulting in emails being lost, the inability to use search histories, and even crashes of Mail app when opening it.
Method 1: The Primary Approach (Migration Assistant or Manual Export)
Apple comes with built-in solutions to assist in moving data from your previous Mac to the new one. The following is the way how you could do it natively.
Method A: By Using Apple’s Migration Assistant
In case you have your previous Mac right next to your MacBook Pro, then Migration Assistant is your solution.
- Launch Migration Assistant on both computers (found in Applications > Utilities).
- Follow instructions on the screen to move data from a Mac, Time Machine, or startup disk.
- Pick your user account, applications, and files/folders to migrate.
- Finish migration and log into your new MacBook Pro.
The Problem: The problem with Migration Assistant is that it moves everything, hence clogging up your new computer with old caches. Also, Apple Mail tends to re-index incorrectly.
Option B: Manual Export via Mailboxes
For selective migration without importing all the user profile data:
- Launch Apple Mail application from the old computer.
- Choose the folders you need to migrate.
- Right click and choose Export Mailbox… to save them in the .mbox format.
- Transfer these files to the new MacBook using an external hard drive.
- In the new Mac, launch Apple Mail and navigate to File > Import Mailboxes and choose the .mbox files.
Although it is a viable method for straightforward migration processes, it can become highly laborious when you have to migrate a large number of nested folders.
Method 2: Transfer Apple Mail Database to a New MacBook using MacMister’s Powerful Solution
For someone who would wish to stay away from issues such as broken index errors, missing attachments, and manual export processes, the ideal solution is a specialized software from a third party. MacMister Apple Mail Data Conversion App is one of the best utilities in this category.
Benefits of using the Application
This program is made for both general purpose and IT experts that would like a flawless migration. Some of its best qualities include:
- Not only does it migrate emails to another Apple Mail application, but also it enables conversion of Apple Mail emails to PST, PDF, MBOX, EML, MSG, HTML and CSV files.
- All email fields will be preserved such as To, Cc, Bcc, From, subject line, hyperlinks and inline pictures.
- The program maintains your original and well-organized folders and sub-folders hierarchy even after migration is completed.
- It keeps all the related attachments in perfect condition and attached to their corresponding emails.
- Designed using a graphical interface which does not require any technical knowledge.
Step-by-Step Guide: Transferring Apple Mail Using MacMister
Using MacMister Apple Mail advanced conversion utility to migrate your database to your new MacBook requires the following process:
Step 1: Install the app on your Mac (it is compatible with all the recent macOS systems).
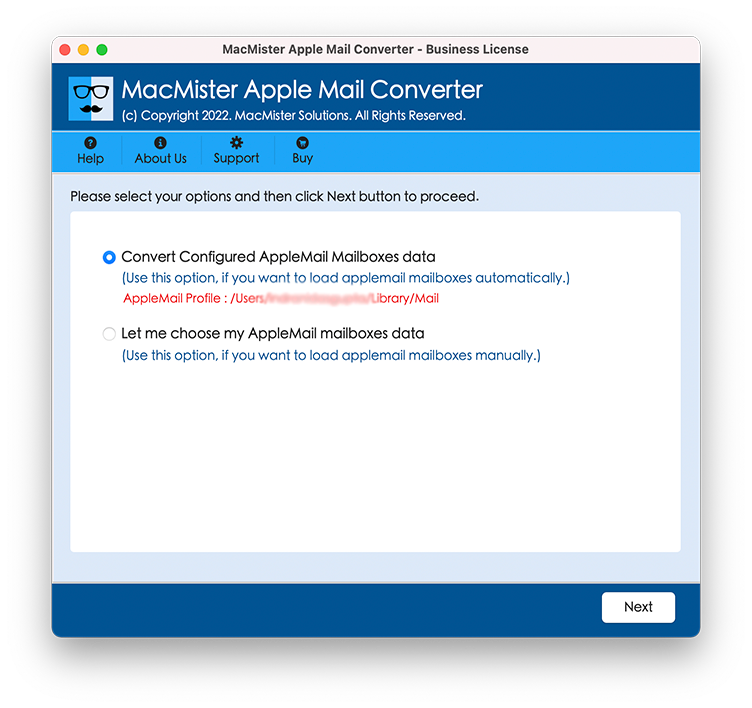
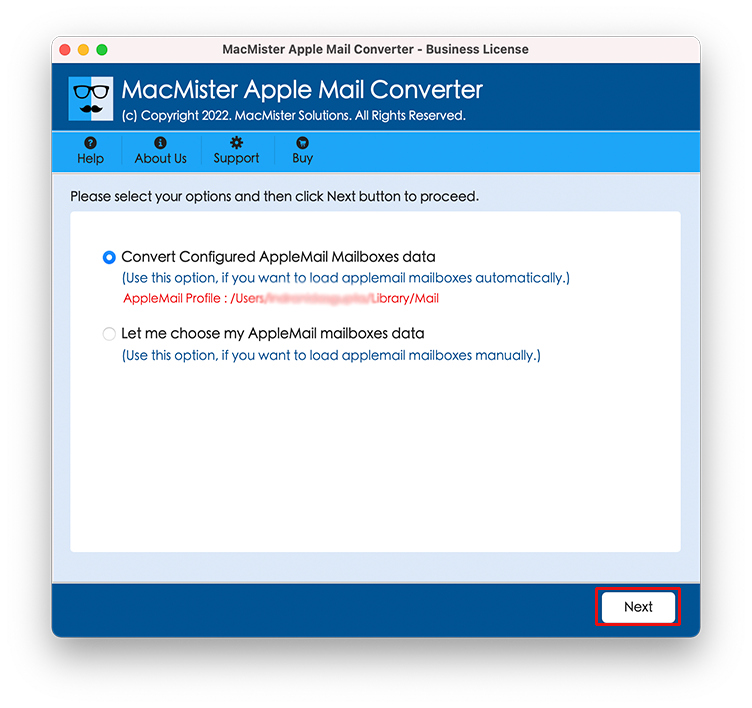
Step 2: Open the program and pick the two-way option to choose your files and folders for Apple Mail database migration or configure them from your system.
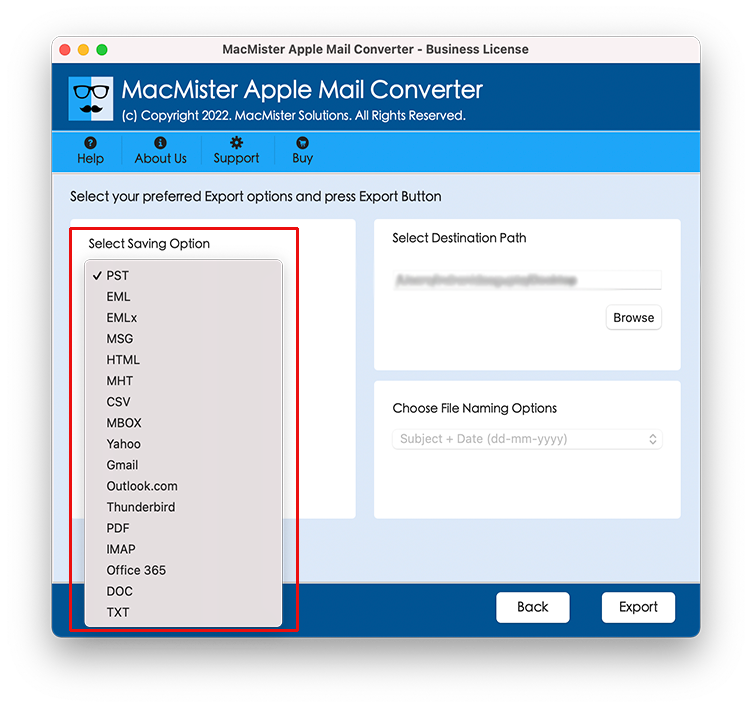
Step 3: In the list of export formats, select the format that is most suitable for you (for example, MBOX and PST, in case you need to migrate across platforms, or standard archive format).
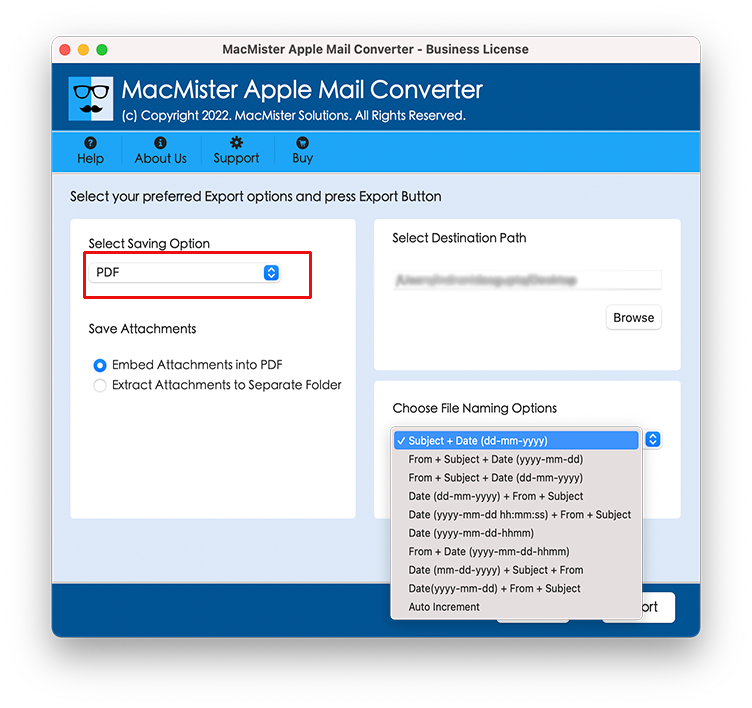
Step 4: Pick the destination folder on your new MacBook to save converted database. Set other options as per your needs. Apply file naming options (sorting according to date, sender, or message title) if needed and tap Export.
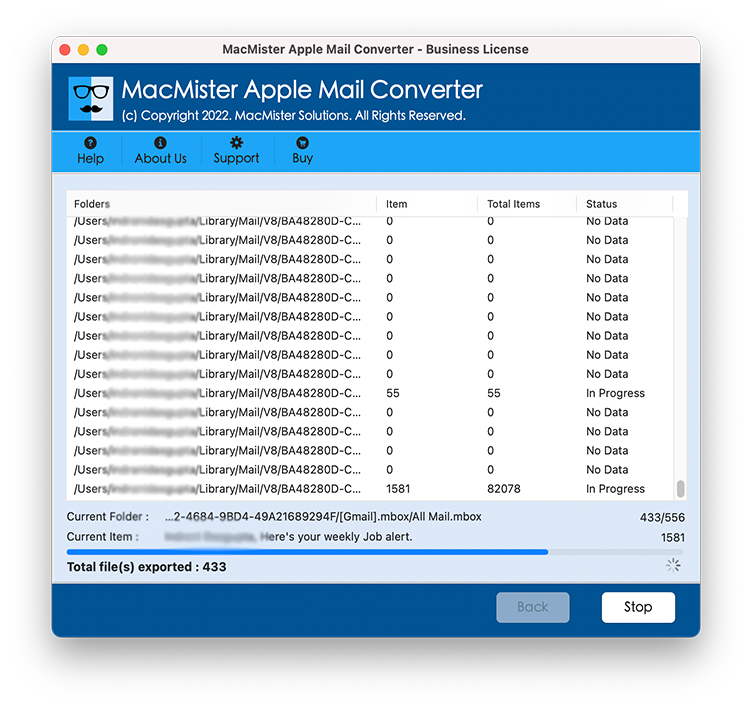
Step 5: You will see the live converting status on the screen. Upon completion of the process, you will be able to import the clean database to your new MacBook.
Things to Remember –
Now that you have managed to migrate your Apple Mail database onto the new MacBook, the following are the remaining hygiene measures that you need to undertake:
- Storage and Attachment Checks: Go through some randomly selected emails from different folder and check whether their attachments can be opened.
- Rebuild of Mailboxes: In case you experience delays and message counts missing in Apple Mail, then go to the top menu bar and select Mailbox > Rebuild.
- Maintain a Back-Up: Make sure that you always keep an off-line back-up of your emails either in MBOX or PDF format using MacMister.
Epilogue
Shifting your Apple Mail mailbox to a new MacBook shouldn’t become a source of unnecessary stress and lost emails and broken indexes. Although built-in applications like Migration Assistant allow moving files smoothly, they are not always able to handle complex email folders. Using specialized software like MacMister’s Mac Mail Email Conversion app will make sure that you get a fast, safe, and organized move that will help you adjust to your new MacBook and its emails easily.