How do I Delete Files on my MacBook Air when Disk is full?
There is nothing that stops productivity more than the complicated message “Your disk is almost full” on your MacBook Air. Once your hard drive space is totally occupied, your MacBook Air starts to run slowly, programs get crashed, and you can even have issues installing crucial system updates and saving your important documents.
If the space on your hard drive is full, then the scratch space—the virtual memory that helps the computer work efficiently—is missing. If you are facing trouble freeing up the space due to your MacBook Air being frozen, unresponsive, and unable to perform regular tasks, then the following information will guide you with some of the important manual steps along with the use of a reliable software, MacMister Data Wipe Software for Mac.
The Catch-22 of a Full Storage Drive
When the MacBook Air reaches 100% capacity, even manually deleting a file becomes a problem. For the macOS operating system to delete a file or move any file to the trash can, there should be some room available on the hard disk drive. When trying to move any file to the trash can, one might experience either an error message or the spinning beach ball.
It becomes necessary to try and find ways of making some room for more storage capacity.
Method 1: Use the Built-In Storage Optimizer
Apple provides a native utility designed to locate and clear out storage hogs automatically.
1. Go to System Settings by clicking on the Apple menu at the top left corner of your screen.
2. Select General from the sidebar and then click on Storage.
3. In this tab, there is a colorful bar which shows what consumes the disk space (such as system data, applications, and documents).
4. Under the Recommendations section, you will have the following choices to:
- Store in iCloud: Syncs files, pictures, and messages to the cloud and keeps only those files that have been recently accessed locally.
- Optimize Storage: Unwatches and deletes movies and TV shows from Apple TV automatically.
- Empty Trash Automatically: Deletes permanently any files that have been stored in the Trash folder for over 30 days.
Method 2: Manually Clean Out the “Downloads” and “Caches” Folders
Downloads is usually where the main problem lies as it consists of installer files (.dmg), big PDFs, and forgotten zip files.
Step 1. From Finder, go to Downloads in the side bar.
Step 2. Sort the files by size to determine which files are the biggest.
Step 3. Move them to the trash.
After that, it is recommended to clean up any temporary cache on the system. This involves clearing cache folders where applications create their own cache in order to start faster. To do this,
Step 1. Open the Finder, then press the combination of Command + Shift + G.
Step 2. A new dialogue box titled “Go to Folder” should appear.
Step 3. Enter ~ / Library / Caches and press Enter.
Important: Always empty your Trash after moving files there! Files in the Trash still occupy valuable space on your solid-state drive (SSD).
Important: Be sure to empty your Trash once you’ve moved files to the Trash! The files stored in the Trash are still occupying precious space on your solid-state drive (SSD).
Method 3: Skip the Trash using Terminal
When your MacBook Air is so full that it won’t even move files to the Trash, you can make use of the Terminal application to delete files directly.
Step 1. Launch Terminal (click Command + Space, type “Terminal” and hit Enter).
Step 2. Write down the following command with a space at the end (but do not hit Enter yet):
rm -rf
Step 3. Drag the large file or folder you wish to delete straight from Finder onto the Terminal screen; its path will be added automatically.
Step 4. Hit Enter. Your file will be gone.
Caution: Be extremely careful with the rm -rf command; it is permanent. Make sure you selected the right file before hitting Enter.
Method 4: Apply Advanced & Secure Approach
Although manual deletion assists in liberating available blocks of storage, it ends up leaving behind invisible digital fingerprints. Whenever a user deletes files using standard methods or empties the Trash can, macOS merely removes the file references; the file contents persist stored on the SSD drive until it gets overwritten with new contents. For those dealing with corporate-sensitive documents or personal and client-sensitive data, this poses a huge security threat.
Additionally, deleting files one at a time when the system is not responding is extremely cumbersome and tedious. This is where MacMister Data Wipe Software for Mac comes into play.
Why Choose MacMister Data Wipe Software?
MacMister Data Wipe for Mac is an extremely authentic and secure tool for data wiping that is exclusively available for macOS. Users will be able to delete their files, folders, and entire directory structures permanently.
- 15+ Methods of File Wiping: The software provides sophisticated methods of data destruction which include military-grade wiping standards including Zero (1 pass), Random (1 pass), US DoD/US Air Force (3 passes) and NATO Standard (7 passes).
- Overcomes Limitations of macOS: This software can handle huge amounts of data without slowing down your system by bypassing the lag usually encountered while deleting multiple gigabytes folder in Finder.
- Privacy Ensured: Once the deletion process is complete, there is no way any data recovery software can recover that file.
Step-by-Step Guide to Freeing Space with MacMister
Using MacMister Data Wipe Software is simple and requires no technical expertise:
Step 1. Get the program and install it onto your MacBook Air computer. Launch the application.
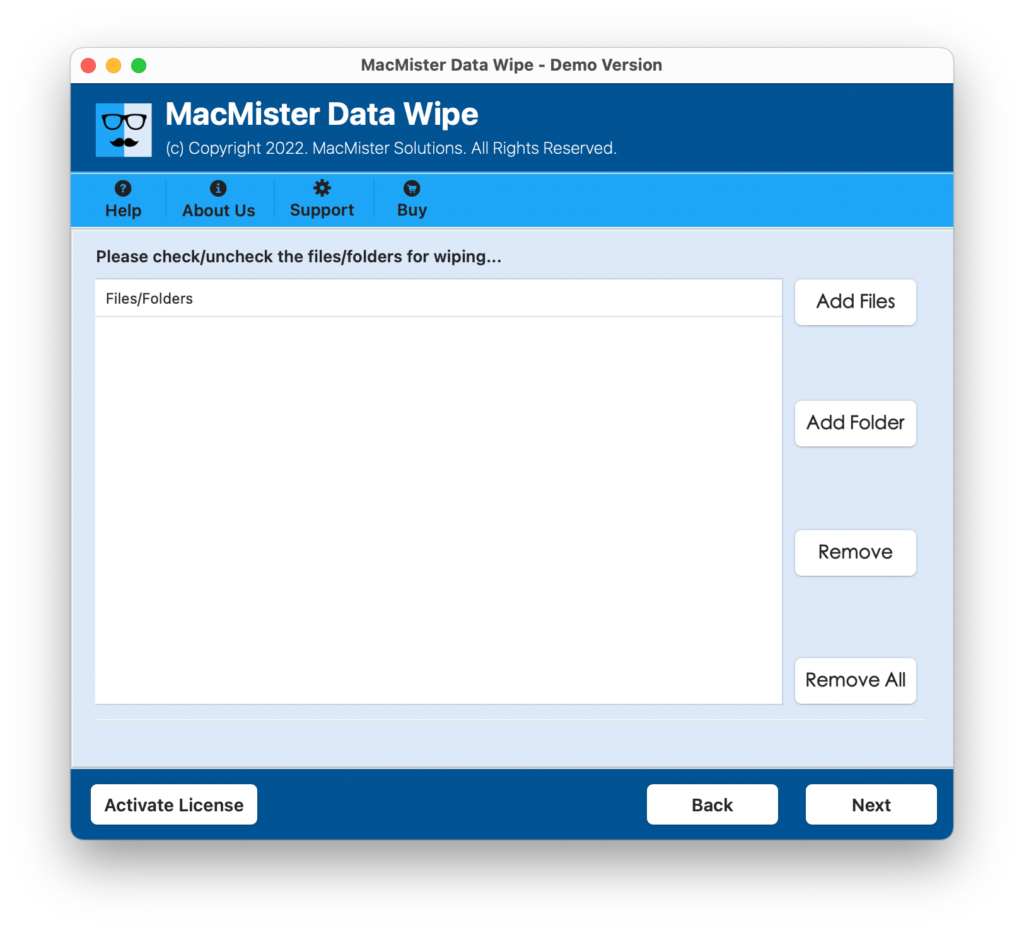
Step 2. Select the Add Files or Add Folder icons to choose the big folders, outdated backup files, or unnecessary logs which occupy your disk space.
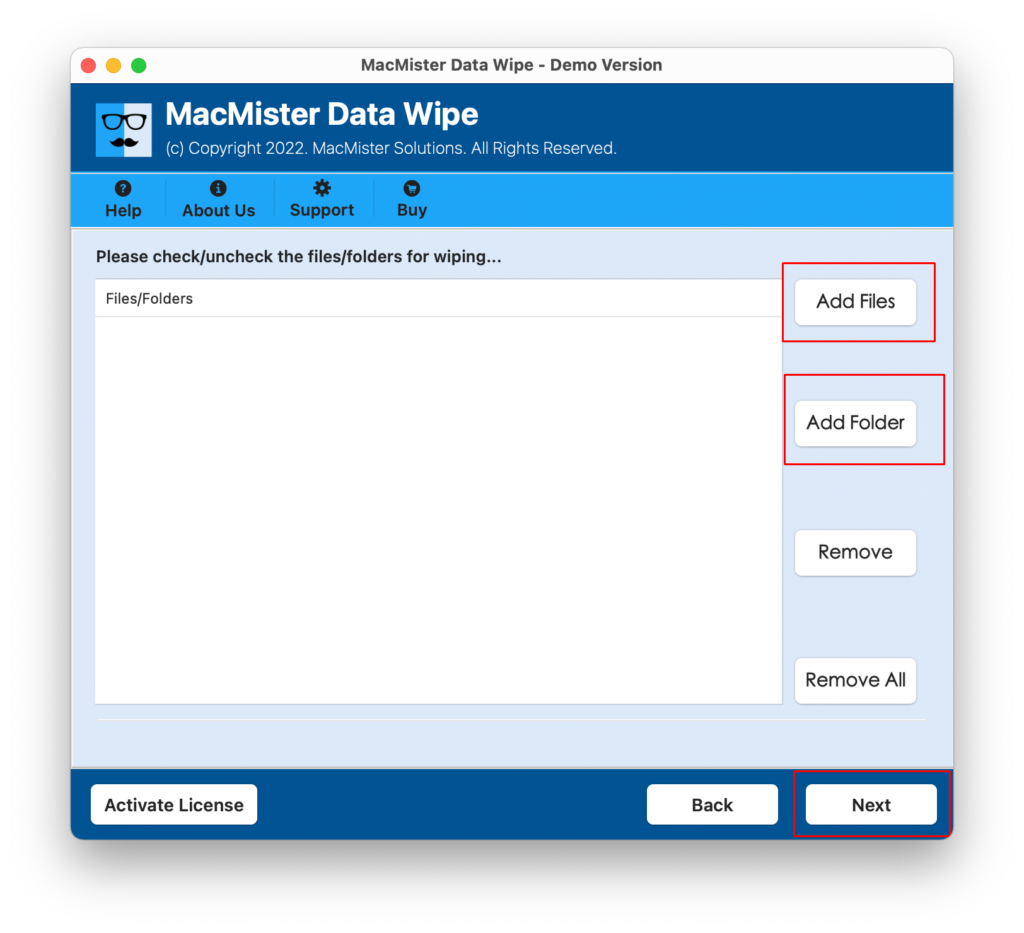
Step 3. Check your choice and click on the Next button to pick up the way you want to wipe out data by selecting one of the options available in the drop-down list (e.g., Zero 1-Pass is faster; the US DoD method is more secure).

Step 4. There are some filters included in the application, which help to find certain type of files or their date of creation.
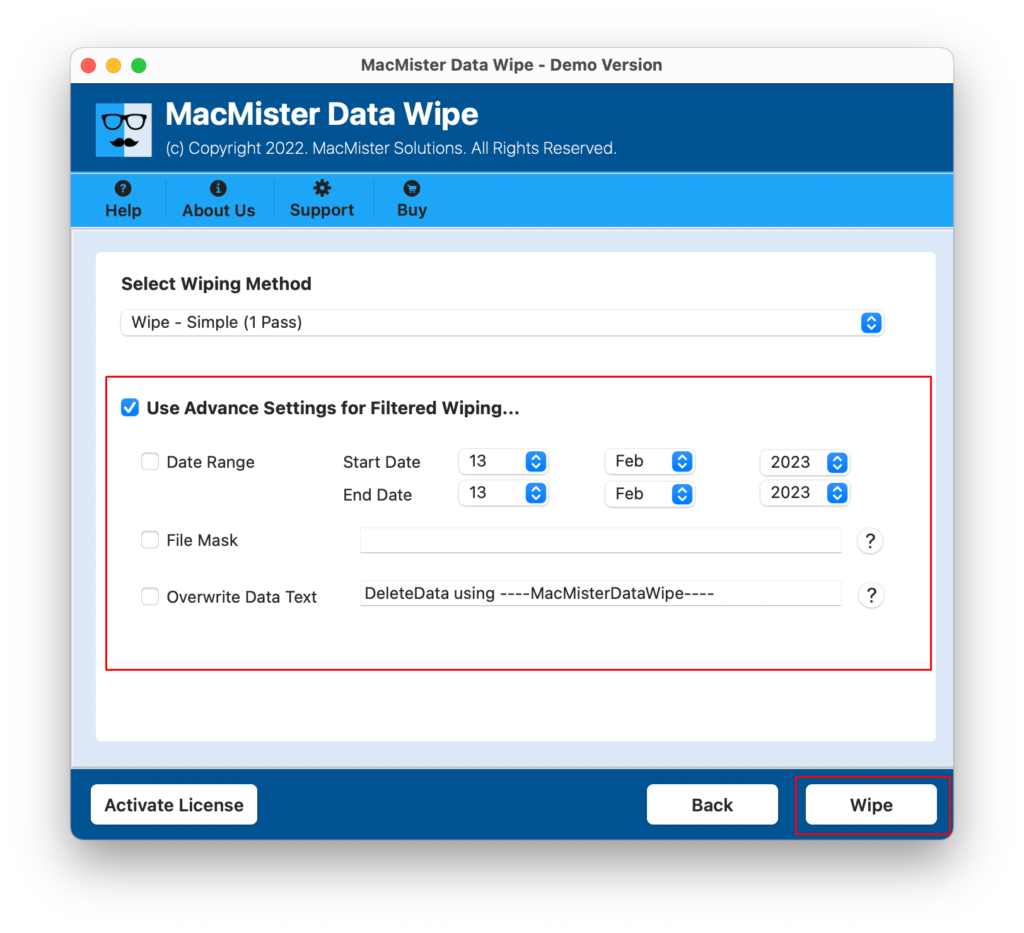
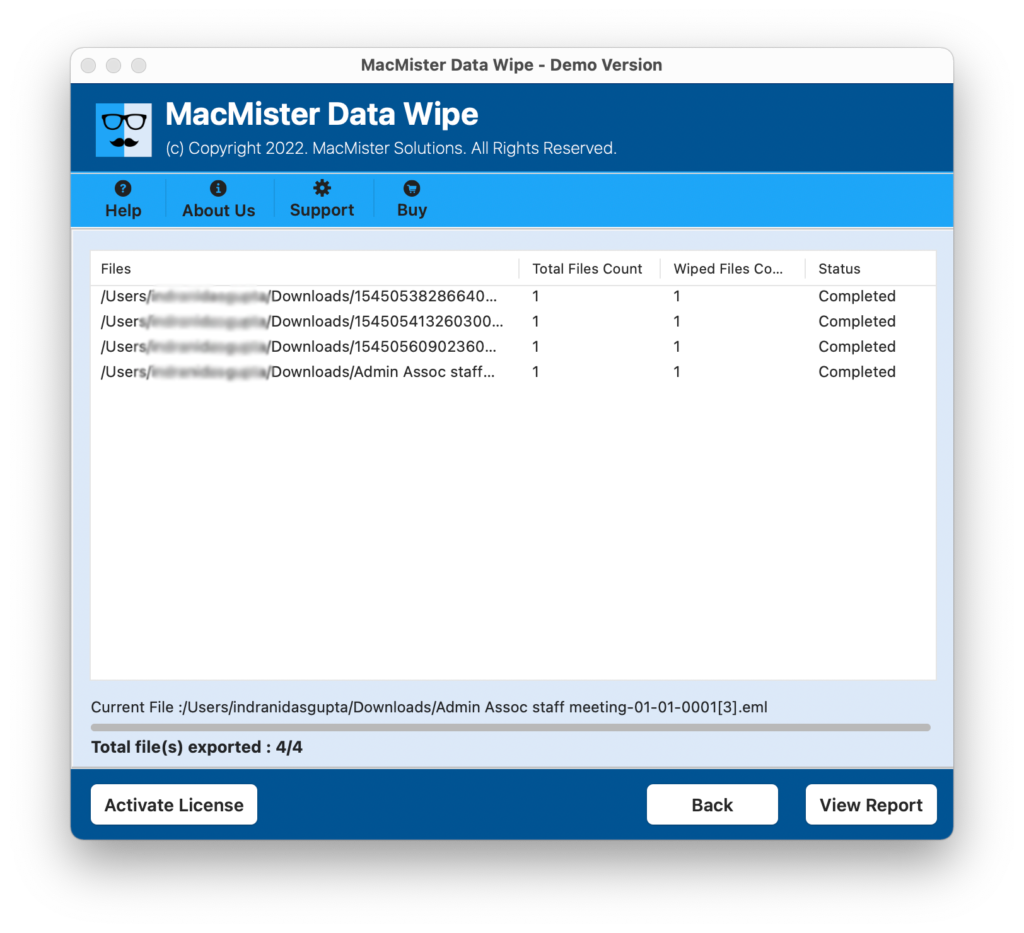
Step 5. Hit the Wipe button to shred the chosen files instantly.
Steps to Prevent Any Storage Clogs in the Future
Now that you have created sufficient space (try to maintain at least 10-15% of your storage free), you should adopt the following practices to ensure that your MacBook Air operates efficiently:
Store Files in External Storage: Make use of external SSDs to save large video clips, libraries, and archival data.
Check Installed Programs: Periodically clean your applications folder by sorting them according to their “last opened” date and removing those that haven’t been used for months.
Clearing System Data: This includes the Time Machine snapshots saved locally on your device, iOS backup data, and application logs. Removing iPhone backups using Finder will free up 50 GB of space instantly.
Epilogue
Your fully occupied MacBook Air may freeze momentarily at times, but the situation is quite easy to tackle. With the help of optimization tips that come native to macOS, the use of Terminal tricks, and strong third-party applications such as MacMister Data Erasure Software for Mac, you will be able to remove any unwanted clutter in no time. Not only will your system be freed from crashing, but your sensitive information will stay safe too.