Why You Cannot Delete Files from an External Hard Drive on a MacBook?
If you are constantly wondering why you cannot delete files from an external drive on a MacBook, then no worries! In the write-up, we have highlighted some approaches that will help you in fixing the issue without any issues.
It is very easy to plug in an external hard drive into your MacBook. This will increase the capacity, backup projects, and move large data files. Nevertheless, most macOS users face a very annoying obstacle – when trying to move a file into the Trash. Or use the Command + Delete, nothing is happening or even the grayed-out “Move to Trash” button appears.
If you are experiencing difficulty deleting files from an external hard drive on your MacBook, then you are not the only one. In fact, this is a very common problem. It occurs due to incompatible file system, restricted folder permissions or even just some temporary malfunction.
Here is all the information about why it happens and how to fix it! The section also includes more advanced solution with professional tools such as MacMister Data Removal Software for Mac.
Explore the Root Causes
To move forward with resolving the problem, it makes sense to first find out what causes your Mac not to let you delete the files. Usually, there are three basic causes for that:
1. The Drive is Formatted to NTFS (Windows File System)
The most common reason is formatting. Most external hard drives come preformatted in NTFS, which is a proprietary file system used by Microsoft Windows. Despite the fact that macOS allows reading NTFS-formatted drives and copying files from them, it does not allow writing anything to them without additional tools. In order to delete a file, the file directory has to be changed in some way, which is why this operation cannot be performed.
2. Permission Settings Are Incorrect
macOS depends much on permission settings to keep data safe. If the external drive was formatted using another Mac computer or user profile, the current user may only have Read Only permissions.
3. Corruption or “In-Use” File Locks
Files that are being indexed by Spotlight or used by some background application will be locked by macOS to prevent corruption. In addition, a small amount of logical corruption in the directories of the drive may confuse Finder. This makes it incapable of processing any delete commands.
Powerful Solutions for Addressing the Problem
Depending on the root cause, there are the following methods of troubleshooting to take control over your external storage.
Method 1: Drive Permission Change
In case the drive is already formatted in a manner compatible with Mac (APFS or Mac OS Extended) but still denies any action regarding file deletion, then the problem lies in permissions.
- Attach the external hard drive to your MacBook.
- Mouse right-click (or use Control + click) on the drive icon on your Mac’s desktop or Finder menu.
- Choose the Get Info option from the drop-down list.
- Scroll down to the Sharing & Permissions section in the window that appears.
- Press the lock icon to be able to change any settings and type in your Mac administrator account password.
- Tick the box with “Ignore ownership on this volume” inscription.
Method 2: Remount or Repair via Disk Utility
In the event that there is some sort of temporary problem with the file system, macOS may be mounting the drive in the read-only mode to protect it. The problems can be fixed through First Aid.
- Launch the Disk Utility application (Command + Spacebar, Disk Utility, Enter).
- Pick your external hard drive on the left panel of Disk Utility.
- Click on the First Aid icon in the top menu bar and click Run.
- Give the computer enough time to analyze and fix the disk errors, and then delete your files.
Method 3. The Professional Way Out
A manual fix would help in case your problem is related to simple permissions issues or even system lag. However, there are files that are stubborn and do not want to be deleted, system fragments, or other data caches on your external drive. In such a case manual fixing would become a never-ending process of error messages. Not only does a regular delete just hide these files from the user’s sight, but the data still persists in the hard drive till the time it gets written upon.
Using the software MacMister Data Wipe Software for Mac is thus the most efficient way out of your problem.
Why to Choose the application?
It is a unique solution developed specifically for Mac users. The application helps in getting rid of their data on external drives, SSDs, and thumb drives due to strict system locks and Finder errors.
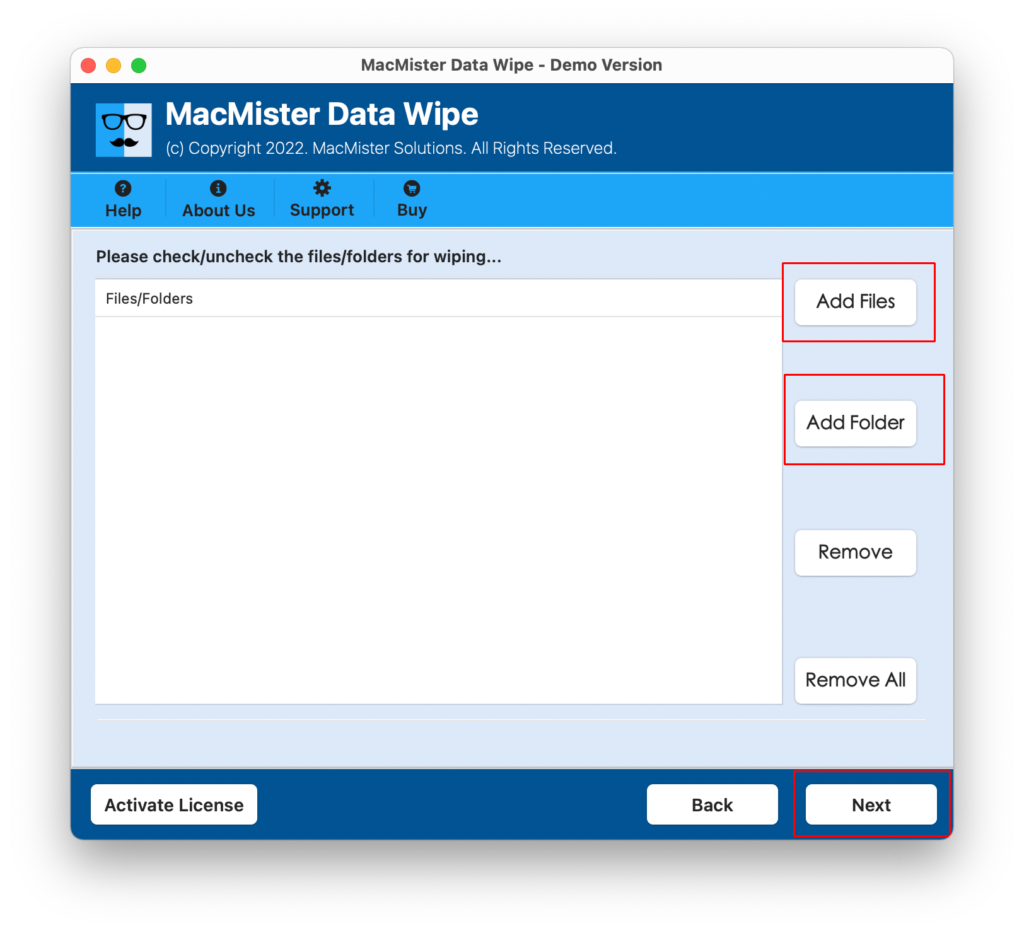
- In addition to wiping the entire drive, you can employ the Add Files/Add Folder functions and delete only problematic information.
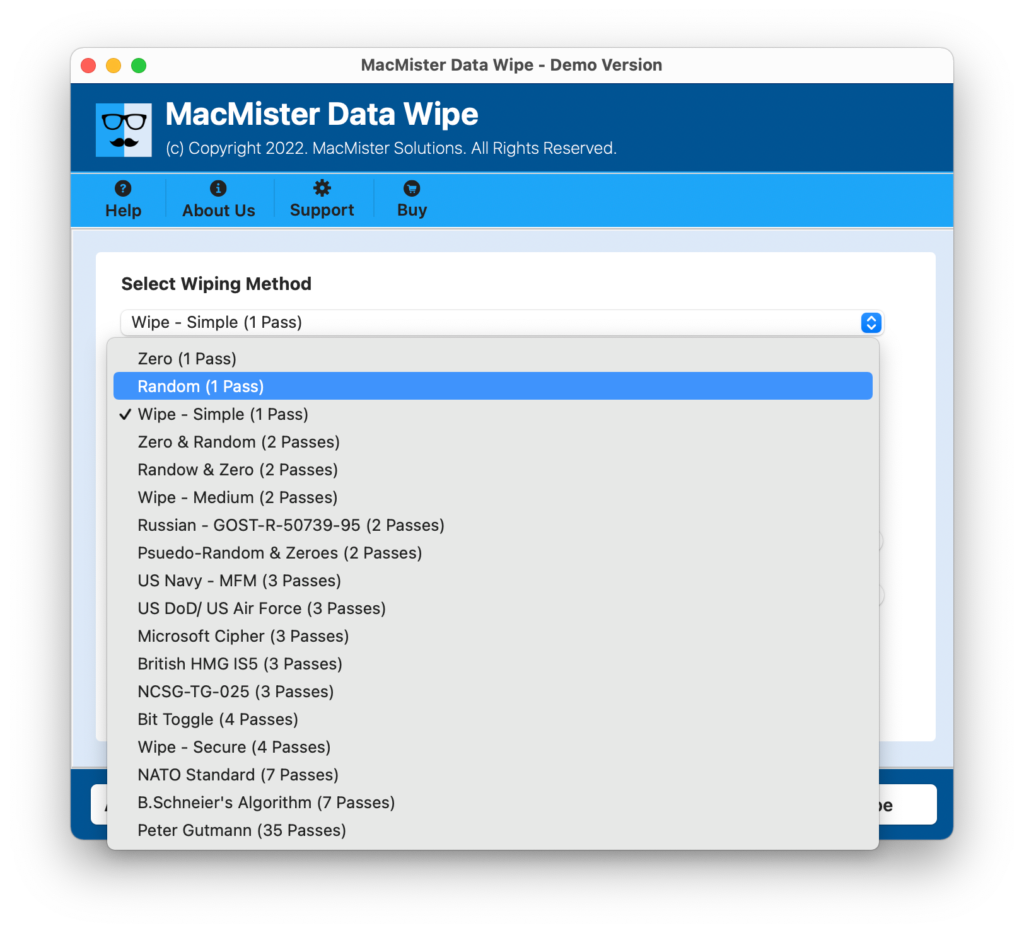
- There are more than 15 different wiping methods included in the software. It starts from single-pass erasing (Zero pass and Random pass) up to multi-pass sanitization according to NATO or other standards such as US DoD, US Air Force, etc. Once the information is erased, it cannot be retrieved by any means.
- The software perfectly suits all modern versions of macOS from OS X up to macOS Sonoma and Sequoia.
Step-by-Step Procedure of the Tool to Delete Files from MacBook
Step 1: Run the application on your MacBook.
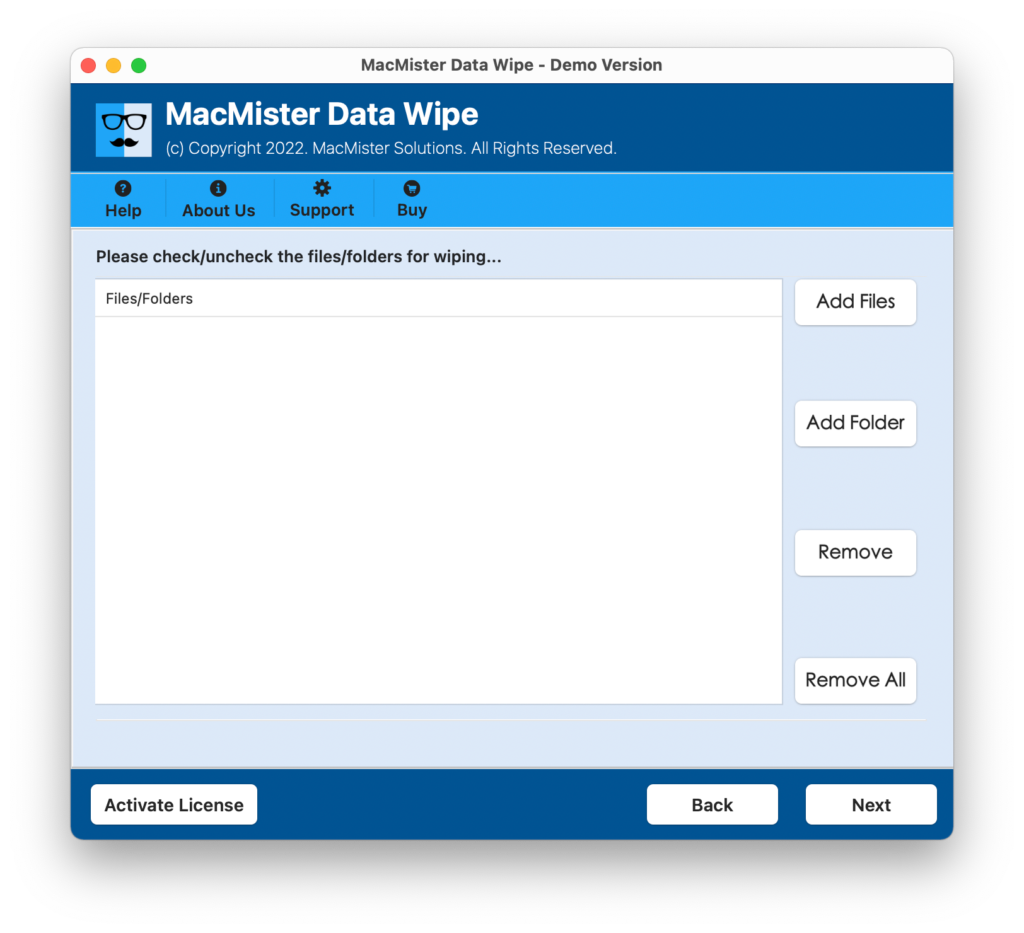
Step 2: Tap Add Files or Add Folder to select stubborn files on your attached external hard drive.
Step 3: Choose your deletion process from the drop-down list (1-pass deletion process is normally enough for normal file deletion purposes).
Step 4: Tap on Wipe button to begin the process. It automatically ignores all system rules and securely delete files from the external hard drive immediately.

Epilogue
Being unable to delete files from an external hard drive on your MacBook is usually a matter of resolving a format clash or tweaking sharing permissions. If your drive is formatted to NTFS, formatting it to exFAT or APFS via Disk Utility will resolve the issue permanently (though be sure to back up data first, as formatting erases the entire drive).
For everyday management where specific files are locked or you need to ensure sensitive data is permanently erased without formatting the entire disk, tools like MacMister Data Erasure Software for Mac bridge the gap perfectly—saving you time and keeping your storage clean.