MacBook Stuck on Apple Logo While Erasing Data: Causes and Solutions
Selling, donating, or recycling a MacBook is typically a very simple process. Generally speaking, users need to log out of their account, save their data, and then go into the macOS Recovery mode to erase the MacBook hard drive. However, a very annoying technical problem makes this procedure quite troublesome and stressful for you as your MacBook will get stuck at the Apple logo during data erasing.
If the progress bar is frozen and will never advance or if the screen does not move from the Apple logo, there is no need to worry because you will understand the reason behind it and learn how to fix it using native methods and some helpful applications such as MacMister Data Wipe.
Why Does a MacBook Get Stuck on the Apple Logo During Erasure?
During the wiping or resetting procedure, macOS will try to unmount volumes, repartition the container, and overwrite or clean the file system table. The reason behind stalling at the Apple logo can be attributed to the following factors:
- File System Corruption: In case of severe fragmentation and corruption of the core storage directory, the built-in erase command will get into an endless cycle while reading or writing metadata sectors.
- Aborted Wipe Operations: An interrupted previous erase operation due to power failure or force shutdown may cause the partition map to be orphaned or “half-baked” for the startup agent.
- Secure Enclave & T2 / Apple Silicon Chip Issues: Recent Mac computers that have Apple Silicon (M1, M2, M3, M4) or Intel processor with T2 security chip depend on cryptographic firmware. In case of failure of securing container to unlock or clear crypto-shredding keys, the boot manager hangs up.
- Degraded Hardware (SSD Problems): In some cases, the flash memory device itself might have encountered bad sectors or hardware issues. The process of writing zeroes or erasing blocks encounters a bad sector and the entire device freezes.
Initial Steps: Assessing and Safe-Restarting Your Mac
If your MacBook has been sitting at the Apple logo with no progress movement for over an hour, it is safe to assume the process has frozen. Follow these cautious initial steps to reassess the system:
- Check for Any Signs of Activity: There might be signs such as keyboard backlighting, fan activity, or LED activity of the external power adapter.
- Safe Forced Shutdown: Hold down the power button (Touch ID button on newer models) for 10 seconds till the machine shuts down.
- Remove All External Devices: Remove any external devices connected through USB ports, monitors, or even an Ethernet adapter since interference from external devices might interfere with the startup process.
Enter into macOS Recovery Mode:
- For Mac with Apple Silicon processor: Turn on your computer and continue to hold the power button until you reach the startup options screen. Click the gear button titled Options and click Continue.
- For Mac with Intel processor: Turn on your computer and immediately press and hold Command (⌘) + R buttons.
Resolving the Freeze Using Built-In macOS Tools
Once you successfully access macOS Recovery, you can attempt to repair the partition structure before trying to erase the drive again.
Step 1: Run Disk Utility First Aid
- From the macOS Utilities window, select Disk Utility and click Continue.
- In the sidebar, make sure to select View > Show All Devices so you can see the physical disk container, not just the logical volume.
- Select your top-level internal drive (usually labeled Apple SSD…).
- Click the First Aid button at the top and click Run. This scans the drive for partition errors and attempts to repair them.
Step 2: Re-attempt Erasure Cleanly
- If First Aid completes successfully:
- Select the internal volume (typically Macintosh HD).
- Click the Erase button in the toolbar.
- Choose the appropriate format (APFS for modern macOS versions) and confirm the erasure.
Assuming that this native approach succeeds, you should have a system that can now support a new installation of macOS. But should Disk Utility encounter an error message, grey out the ‘erase’ button, or freeze on the Apple logo once more, then the native methods might not cut it.
Take help of a Powerful and Strong MacMister Trouble-free Solution
When the default recovery mechanisms on macOS systems don’t work, hang, or put you in a boot loop, then software solutions can provide a viable escape from the problem. MacMister Data Wipe for Mac is a specialized software program that is designed to remove data, format hard drives, and cleanse partitions on macOS.
Why to Choose the App?
- As it is based on advanced algorithmic principles aimed at the storage layer level, it is able to remove many of the blocks that usually cause freezing during regular Disk Utility tasks.
- It uses top-notch hard drive and file destruction methods to ensure that any remaining personal data, cached information, and system settings are absolutely gone and cannot be recovered.
- Contrary to complicated terminal-based scripts, MacMister has a simple interface guiding you effortlessly through the entire wipe process.
- It works with a variety of operating systems and file systems, whether it is an old Intel Mac or the latest machine.
How to Use MacMister Data Wipe When Standard Erase Fails?
If your internal drive does not boot or erase natively, you might have to start MacMister Data Removal Tool from an external macOS installation media or any other working drive attached via Target Disk Mode.
Step 1. Download and launch the application on macOS.
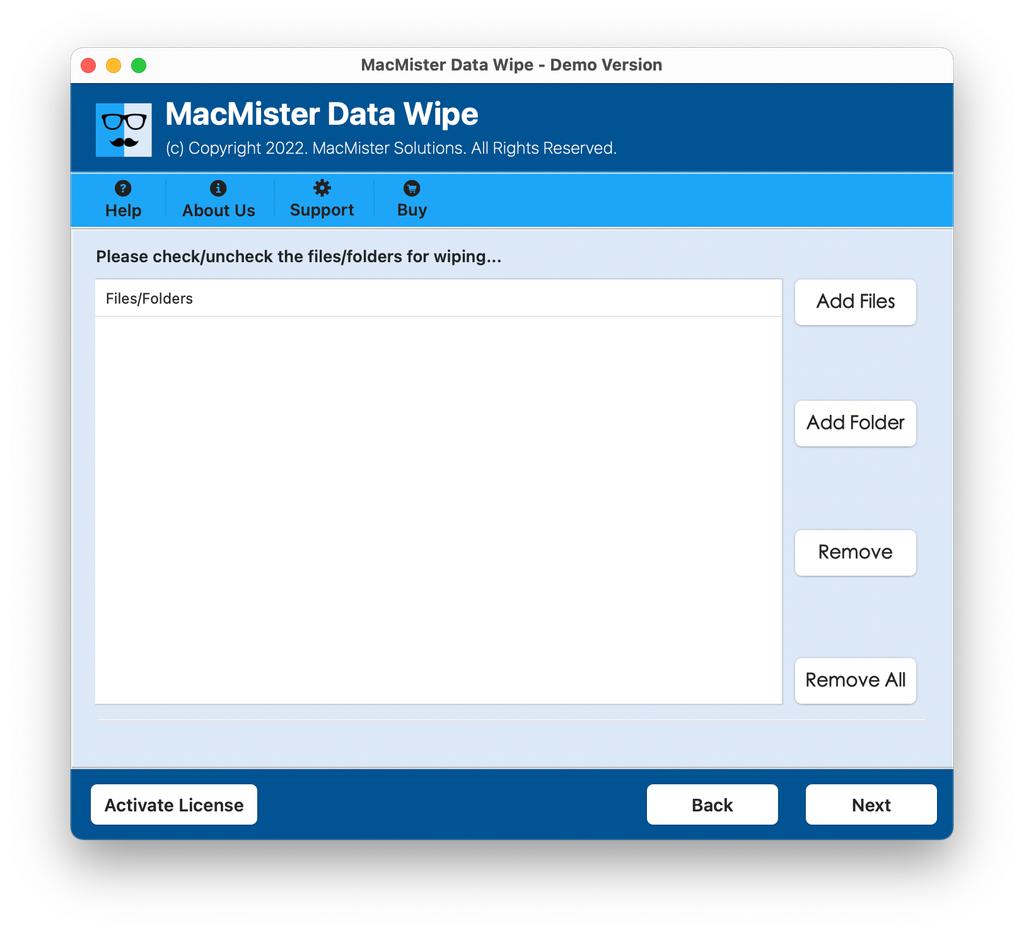
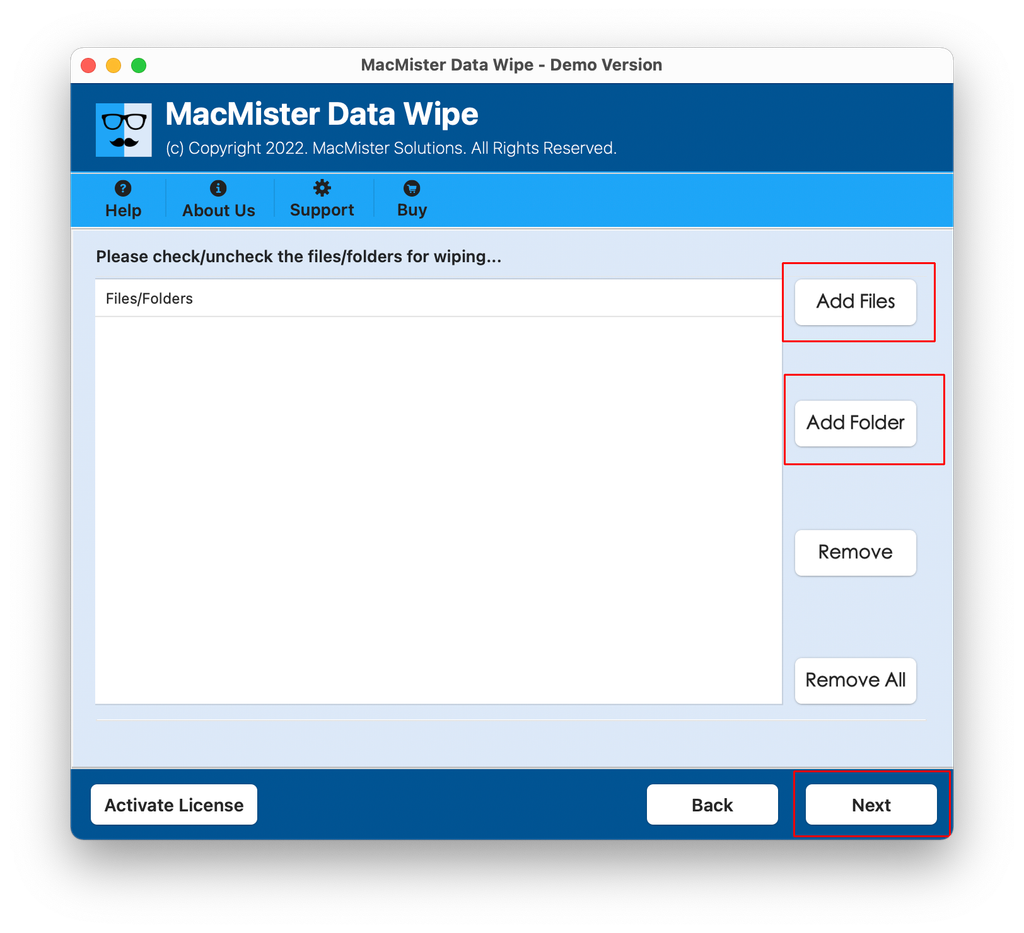
Step 2. The application has Add File(s)/Add Folder buttons that are helpful in uploading required files on the panel for removal . Tap Next to proceed.
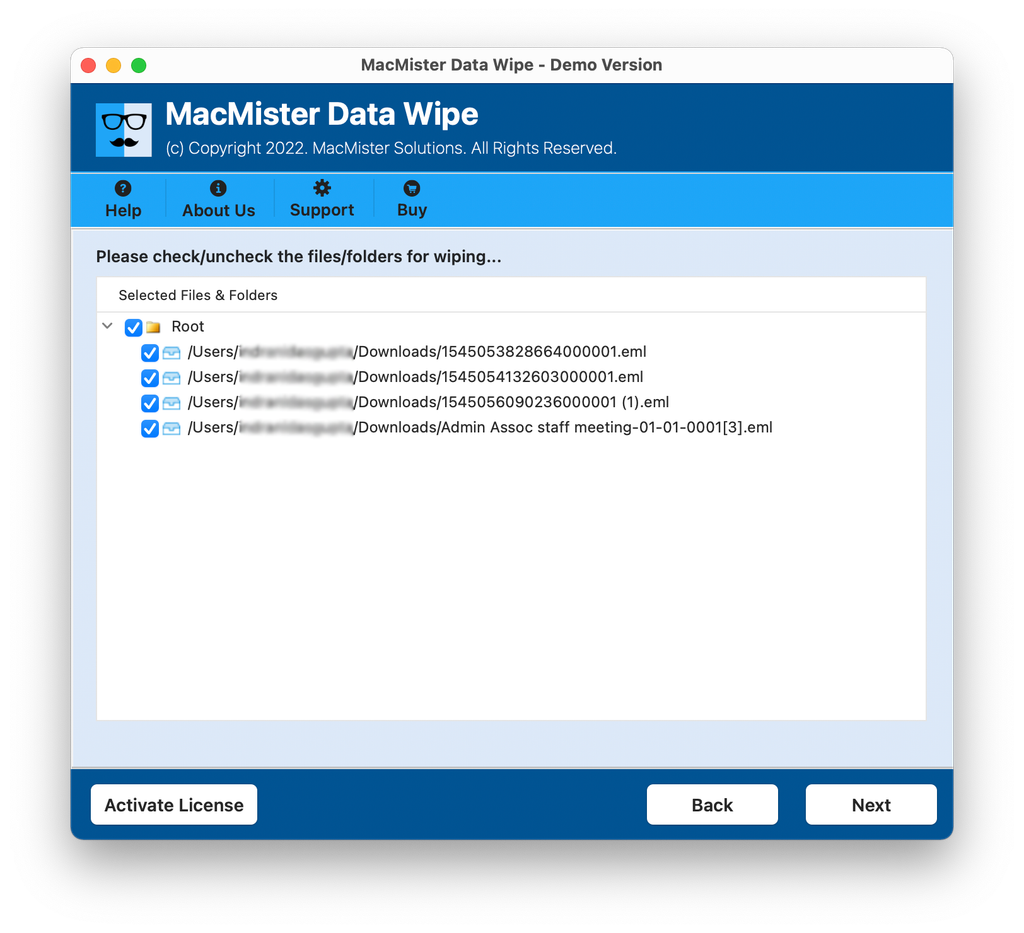
Step 3. Go through the files uploaded, make sure to verify them. In case any wrong file got uploaded, simply uncheck the same and tap Next to continue.
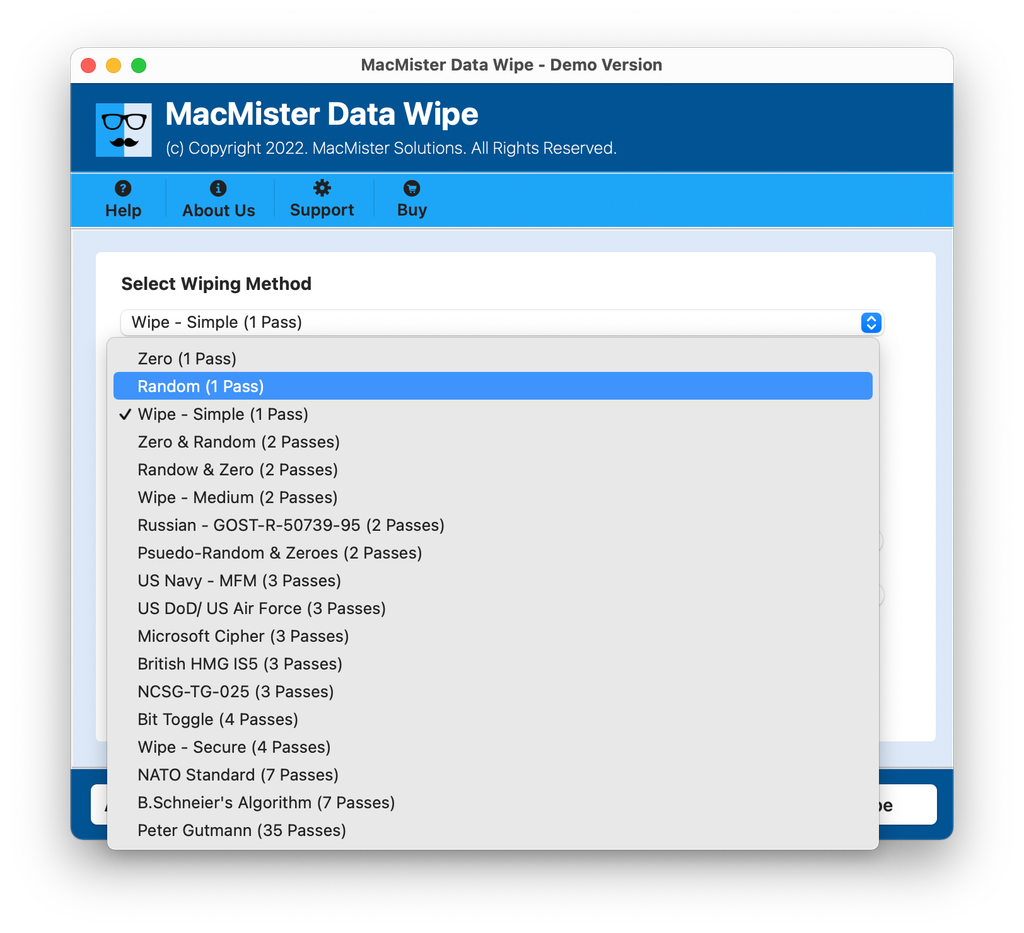
Step 4. Choose the required wiping approach from Select Wiping Methods drop-down menu and perform the task accordingly.
Step 5. Set Advanced Data Filtering, if needed and press Wipe button.
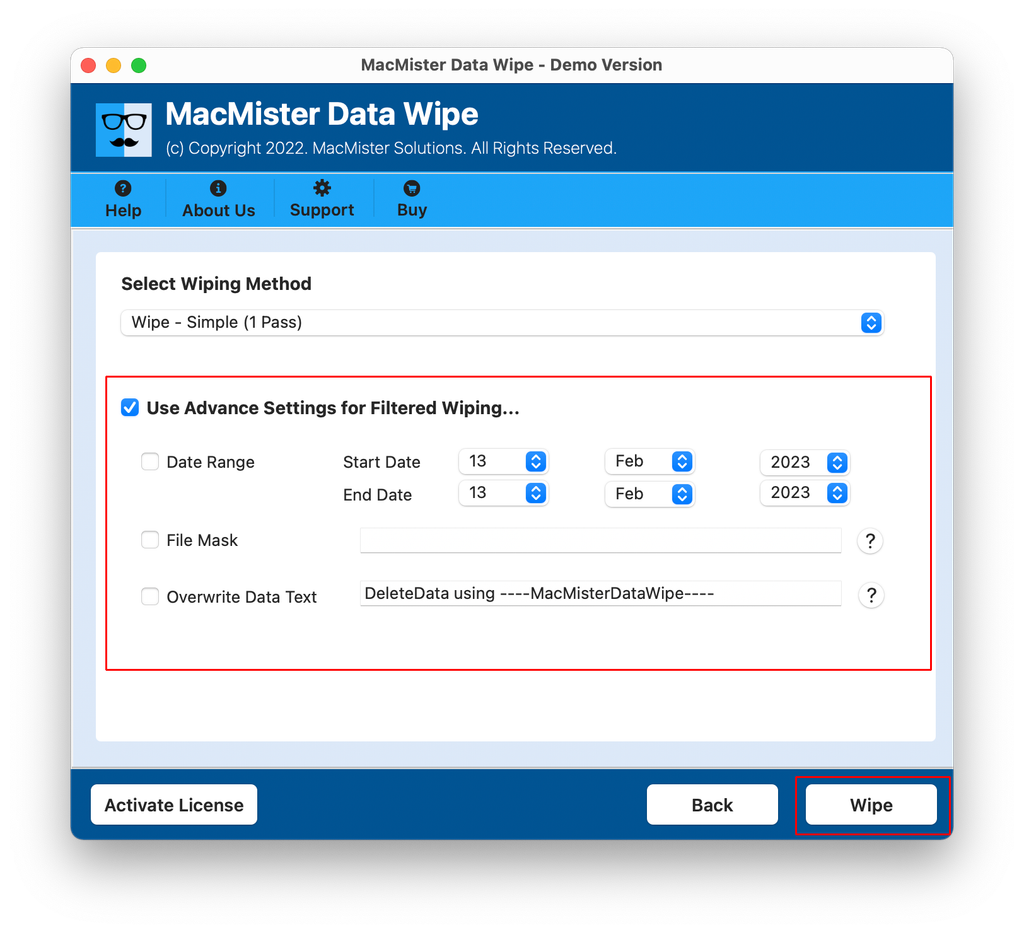
Step 5. After the successful wiping of the drive, your drive will become completely empty and ready to use for installing a new copy of macOS.
Preventing Future Erasure Freezes
In order to conduct maintenance without any problems and avoid further freezing of your system while working with the macOS storage system, remember about the following best practices:
- Always Maintain Backups: Make sure you have backed up your system using Time Machine or cloud services before making any changes to the system.
- Keep Firmware Updated: Update your Mac firmware and macOS Recovery Partition to minimize bugs at the low level of communication between the OS and hardware controller.
- Check Drive Health: Monitor the S.M.A.R.T. status of your SSD from time to time.
Epilogue
Hitting a wall when encountering the Apple logo in the attempt to erase your MacBook is certainly frustrating, but not a permanent one. Irrespective of whether it is the result of a corrupted file system, background processes that got terminated, or a partition map problem, troubleshooting in the Recovery mode should definitely help you out. In cases of persistent freezes and non-responsive storage devices where the built-in options are not enough, using a targeted tool such as MacMister Data Wipe will make sure your information is deleted for good.