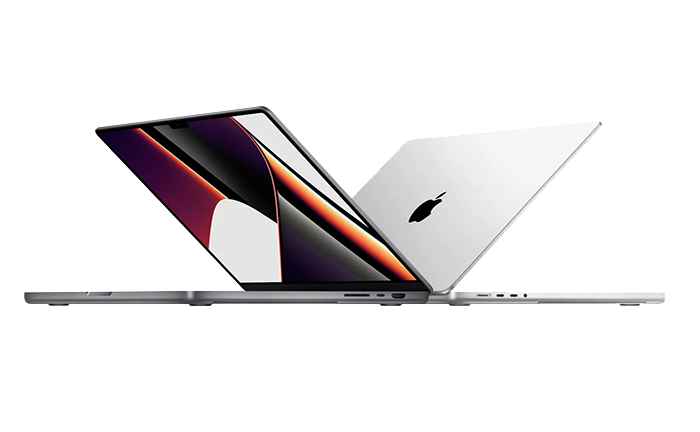
Taking a backup of Mac or MacBook is really crucial nowadays. So, here are the best three ways to backup a Mac and make sure that you backup everything on your Mac before it’s too late.
You have arrived on this article because you are dealing with a nightmare scenario of having your Mac die on you without a backup, or perhaps you come across of someone who faced a dreadful situation befall them and want to ensure it doesn’t happen to you.
Or you recently messed up a document you were working on, saved over something you didn’t want to lose, or realized that you deleted a chunk of essential work accidentally. However, recovering the unsaved of deleted word document can be a challenge. This is possible if you had a backup and then you can easily recover the lost documents.
Whatever the reason, it is must to find the best way to backup a Mac, and so in the article we will try our best to offer an appropriate Mac backup plan. We will come across different types of backup solutions for Mac including wireless or local wired, live backups, remote backup, and online backups.
We will also examine the best alternatives for Mac backup such as iCloud or another online service like Dropbox, with the help of Time Machine.
Let’s first understand the reasons behind how to backup a Mac or MacBook in an easy way.
Top Ten Reasons Why to backup a MacBook
There are several reasons why to backup a MacBook database and some of the popular reasons are discussed here:
- The sudden spilling of drink all over your Mac can cause data loss.
- Unexpected failure of driver can be challenging that later leads to difficulty in recovering data from SSDs.
- The stealing of MacBook can result in data stealing as well.
- Mac Malware is rare but if in case you hit by the same then you can recover your data immediately before letting infection entering into the system.
- Make sure to backup MacBook data before putting Mac OS on the installation of major update.
- Photos, videos, and documents are irreplaceable so ensure to keep them in a safe place.

What is the Best Way for Mac or MacBook Backup?
There are multiple ways to backup a Mac or MacBook, but if you choose one way to backup your Mac, then what it would be?
The simple and cheap solution is taking the backup of Mac using Time Machine, Apple’s free backup software. The only associated cost would be the purchase of external drive that are available for less than $30 these days for 1TB of storage.
Time Machine is a perfect solution but is it a good backup approach? An appropriate solution could be that one that is not kept at the same destination path as your Mac.
However, there are several alternatives to Time Machine that you can prefer. Let’s discuss them one by one.
Method 1. Using Time Machine
Apple has its own backup software to backup the data of MacBook i.e. Time Machine. It is an exceptional and simple solution. The only thing you need is to plug in an external storage device, hard drive, or SSD, and start to backup with the Time Machine.
Time Machine didn’t just backup your Mac, it also includes versioned backup that means it will perform the hourly backup for the past 24 hours, daily backup for the past month, and weekly backups for each month. As a result you can recover the earlier version of a document that is needed.
There are other benefits of Time Machine that includes strong integration with macOS. A Time Machine backup can easily transfer all the data, settings, and apps from one Mac into another. It also carries intuitive environment for backup.
The only disadvantage of Time Machine is that you need to remember to plugin hard drive and then take the backup otherwise nothing will be backed up. Although, you can configure Time Machine on a NAS drive for a wireless backup but that could be slow process. You will also need large amount of storage because Time Machine requires lot of space to backup the entire data of MacBook.

Steps to Backup a Mac using Time Machine
Follow the instructions given and use Time Machine to backup data from MacBook but essentially you need to do the following:
- First, plug hard drive with your system.
- An alert message will appear on your Mac that will ask if you want to use the drive with Time Machine. Click Use as Backup Disk.
- If you unable to see the alert, the ensure that the drive is formatted correctly, it requires to be Mac OS extended.
- If you still unable to find an alert message, then go to System Preferences, select Time Machine, and then choose Backup Disk.
- Choose the storage device and select Use Disk.

Method 2. Use iCloud to backup a MacBook
You can use iPhones and iPads to backup device data in iCloud. This will help you to recover necessary files on any Mac device whenever needed.
But, if you are hoping to store MacBook data to iCloud, then get prepare for a disappointment. Because iCloud has limited storage and you will be able to store limited Mac data to iCloud. And, iCloud isn’t suitable with Time Machine.
You can automatically sync some essential files from MacBook to iCloud, but avoid seeing it as a backup though, because if you delete the file or modify the file, then there will be no old version where you can go back to and recover the file. This is actually a sync process rather a backup. But, having a backup of your essential files in iCloud is a better option as you can recover the same on any of your Apple devices.
Steps to Sync Mac with iCloud
- Open System Preferences on your macOS and go to iCloud.
- Sign-in to the iCloud account using necessary credentials.
- Tick the box connected with the iCloud option.
- Click the Options appearing in front of iCloud.
- Ensure that you are checking the box beside anything that you want to store to iCloud such as desktop folder, pages documents, and system preferences.

Steps to Backup Mac to iCloud
This will not be the automated process like the sync procedure but it’s a good idea to copy any data that isn’t synced over to icloud from time to time. Here are the steps on how to take backup of Mac to iCloud.
- Open the Finder.
- Go to iCloud Drive Folder appearing in the bar on the left.
- Open the second Finder window and go to any folder, files or data related with an app that is not stored in the cloud.
- Now, copy that database to your iCloud Drive.

Now, you will not only access the data on any Apple device but you can use any platform and access iCloud files through web-browser.
Method 3. Use Alternative Cloud Backup Option
There are several alternatives to sync the files and to share the same. You are using Dropbox, Microsoft OneDrive, or Google Drive, or one of the other.
These solutions are used for file sharing with colleagues or friends or storing the files that everyone can simultaneously work on, rather than taking the backup of all the data. iCloud has multiple subscription plans that you can use as per your requirements and store all the data on cloud.
Backup Mac data to Dropbox, OneDrive, or Google Drive
Follow the steps and you will be able to backup Mac data to Dropbox, OneDrive, or Google Drive respectively.
- For Dropbox, sign-up for a Dropbox account, download the app and install it.
- After successful installation, open Dropbox and it will actually locate you to the web interface where you can copy all your files.
- Click on Upload files or Upload folder appearing on the right, locate the folder you need to upload and click Choose. Wait until the folder properly uploads.
- You can now drag all the files and folders into Dropbox through Finder. When Dropbox is installed on the Mac system, you will see a Dropbox tab under Favorites in the Finder, just drag and drop anything into that folder and it will be backed up to Dropbox, and accessible on any computer or iOS device that has installed Dropbox.

Epilogue
The write-up has explained three top approaches to backup a Mac or MacBook database. You can go through all the solutions and opt the one that suits you the most. However, in case you want to protect your emails and take their backup in a safe way, then you can use MacMister Email Backup Software for Mac. It has 90+ webmail sources from which you can take the backup of essential emails and save the same into 15+ saving options on macOS.

Safe solution to backup emails from 90+ webmail sources and allows to convert them into 15+ saving options.