How to Delete Unneeded Files on Mac?
Mac contains numerous old files that are no longer required and need to be removed quickly from the system to free up the storage space and optimize Mac. The article here explained native methods that help deleting such files from iMac or MacBook system. So, in case you are one of those users who are seeking a solution for how to delete unneeded files on Mac, then not to worry anymore, just follow the segment and you will encounter a solution that will immediately perform the desired task without any trouble.
Mac possesses fixed hard drive storage space. So, when you make use of iMac, Mac Mini, or MacBook, then macOS will eventually utilize the storage space and you’ll receive “Your disk is almost full” notification. To resolve the issue, it is essential to erase the unnecessary files stored on the system or move them to external storage drive in order to create more storage space.
You may look for useless files that are stored in the Downloads folder and check if they are of any use. If they aren’t, then delete them right away from the system. Also, make sure to remove them from the Trash folder as well. But the process of accessing every user folder on MacBook Pro drive, categorizing the files as per size or creation date and then deleting unnecessary large files is somehow time-consuming and tiresome.
How to Delete Unneeded Files on Mac?
We have prepared some easy-to-follow steps that you may use to delete unneeded files –
Remove Cache Files
Here, let us discuss how to delete three types of cache files – system cache, user cache, and browser cache.
How to Remove System Cache on a Mac
The files created by macOS usually take minimal space. However, it is still suggested to remove them as they can slow down the system performance and responsiveness. Note. It is crucial to use caution when erasing system cache files to avoid accidental removal of essential files.
Follow the steps to clear system cache files –
- Go to Finder.
- Press Cmd + Shift + G.
- Enter the mentioned path in the field: /Library/Caches and tap Return.
- A window will appear that will show all the Cache files.
- Go through the listed folders and get rid of the unnecessary content stored within them.
How to Erase User Cache Files
User Cache files is also known as App Cache. These files will take lot of hard drive space. So, it is important to remove them from the system because, the apps will create new files if they required more. To perform the same, follow the steps –
- Go to Finder.
- Press Cmd + Shift + G and enter the following path: ~/Library/Caches (note the ~) and hit Return.
- Connect with the System Cache and go through the folders and delete the data inside of it.
How to Clear Browser Cache Files
Browser Cache files are internet cache files that help serving two great purposes such as handling potential privacy issues by removing your digital trail and freeing up space on your Mac. The process varies for different browsers, though so we’ll show how to do it for the three most popular ones –
For Safari
- Navigate to Safari.
- Go to Settings.
- Click Advanced.
- Ensure that Show Develop menu is selected in menu bar. In macOS Sonoma, this option is present as Show features for developers.
- Go to Develop appearing in upper menu and tap Empty Caches.
For Google Chrome
- Open Google Chrome.
- Go to Address bar and enter chrome://settings.
- Navigate to Privacy and Security.
- Select Delete browsing data and ensure that Cached images and files is selected.
- Tap Delete Data.
Alternatively, click three dots icon and select Delete Browsing Data and implement the steps 3 & 4 above.
For Firefox
- Go to Firefox.
- Click Settings.
- Choose Privacy & Security.
- Scroll down until Cookies and Site Data gets visible. Click Data…
Clearing Duplicated by using Finder
Deleting duplicates from the system will free up the storage space of the system. Follow the steps to operate the task –
- Go to Finder.
- Press Cmd + F.
- Go to File and click New Smart Folder.
- Click + button appearing in the right and click Save.
Clean User Log Files
When the app crashes, you are generally asked to submit a bug report. The system collects user logs and includes them in the report. The user log files do not hold information on user activity. They only deal with app-level functionality.
If the Mac is old, there will be lot of user log files on the system. So, it will be better to clean them.
Follow the instructions to remove user log files –
- Go to Finder.
- Press Cmd + Shift + G.
- Enter ~/Library/Logs in the field and tap Return.
- The user log files will appear. Move them manually from folders to Trash.
Delete Log Files of the System
System log files are a plain text files so they won’t take up a lot of storage space. But when the Mac hard drive running out of space, then erasing them can help optimize your Mac.
It is important to note that cleaning system log files manually can accidentally delete important data. So, make sure to take the backup in order to prevent important data from accidental deletion.
Follow the steps to delete system log files –
- Go to Finder.
- Navigate to Go menu, then Go to folder.
- Enter /var/log in the field, then press Return.
- The system log files will appear, choose the files you need to remove and drag them into Trash.
However, you may also find system log files in /Library/Logs. This folder includes system application logs that are not important to keep.
If you navigate towards /Library/Logs/DiagnosticReports, then you will discover system reports. Make sure to delete them safely and keep your Mac up to date.
Remove Localization Files
Localization and language helps in setting up the apps to preferable language. But after examining the language of the application, you may delete other language apps.
- Go to Finder.
- Navigate to Applications Folder.
- Right-click on any app icon appearing and choose Show Package Contents.
- Go to Resources Folder and open it.
- Subfolders having Iproj are representing language files. Each folder includes localization details on a specific language. For e.g. the folder having en.Iproj name store English language files.
- Choose the language folders and drag them into Trash.
Make sure to empty the trash after deleting all the language folders from Mac.
Clean App Leftovers
Many Mac users clear applications by transferring them into Trash folder. However, even after emptying the trash, traces of uninstalled application can still persists. In fact, many files still occupy your system, so additional effort is required to clear them. To do the process, open Finder, navigate to Go, then click Go to Folder and paste the following one-by-one –
- ~/Library/Application Support
- /Library/Caches/
- ~/Library/Caches
- ~/Library/Internet Plug-Ins/
- ~/Library/
- ~/Library/Preferences/
- ~/Library/Application Support/Crash Reporter/
- ~/Library/Saved Application State/
Verify the files and folders containing the name of the applications that were uninstalled previously and transfer them to trash.
The methods are quite lengthy but fortunately, there is another way present to remove unneeded files from Mac hard disk drive permanently. You may use MacMister Data Wipe for Mac Tool that allows uploading required files/folder and erasing the data completely from Mac OS within seconds. To perform the process using the application, follow the steps –
Download and install the app on any macOS.
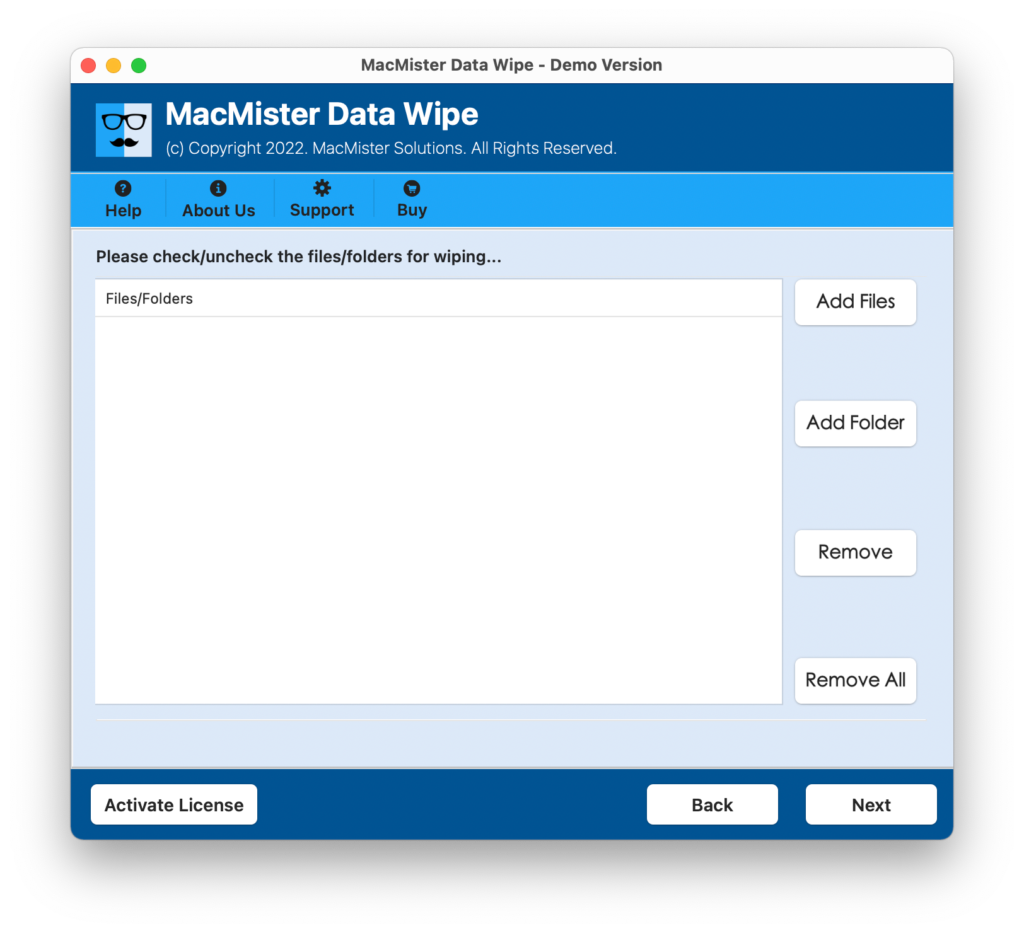
Utilize Add File(s)/Add Folder options to upload useless files/files folder on the application for erasure.
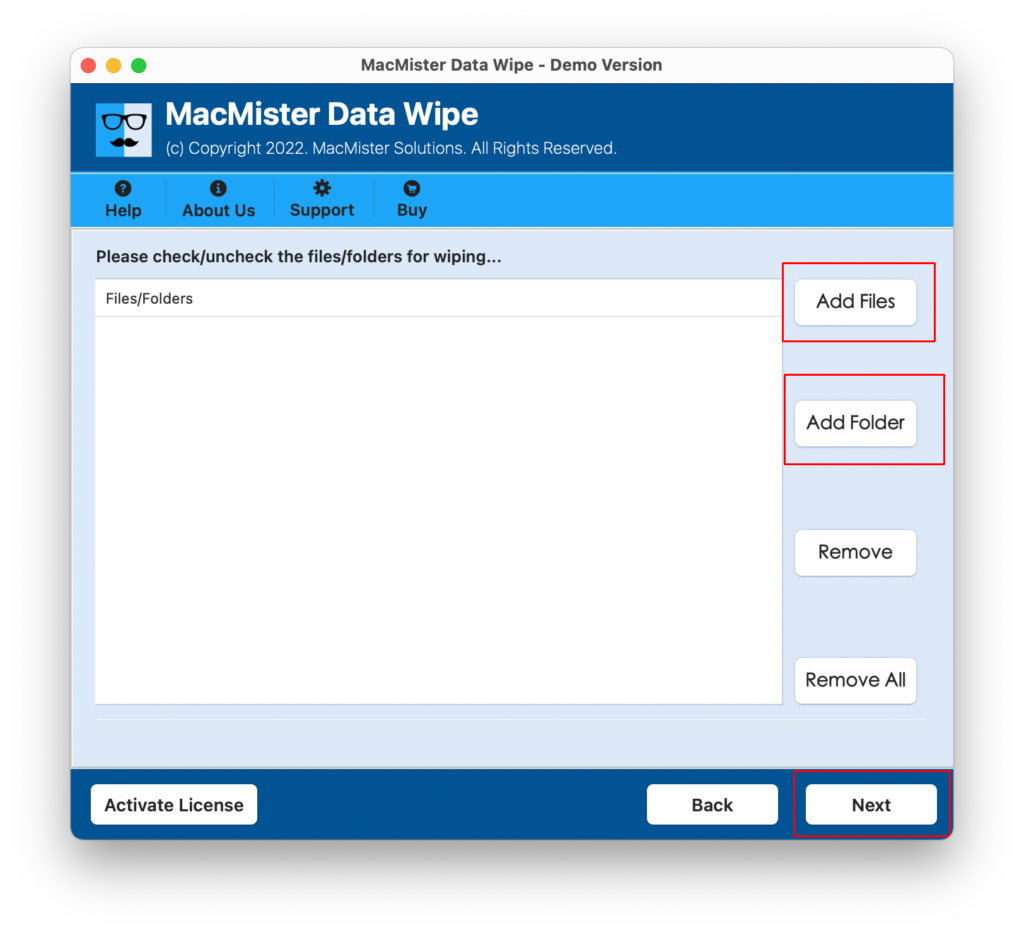
Check the files listed and click Next button.

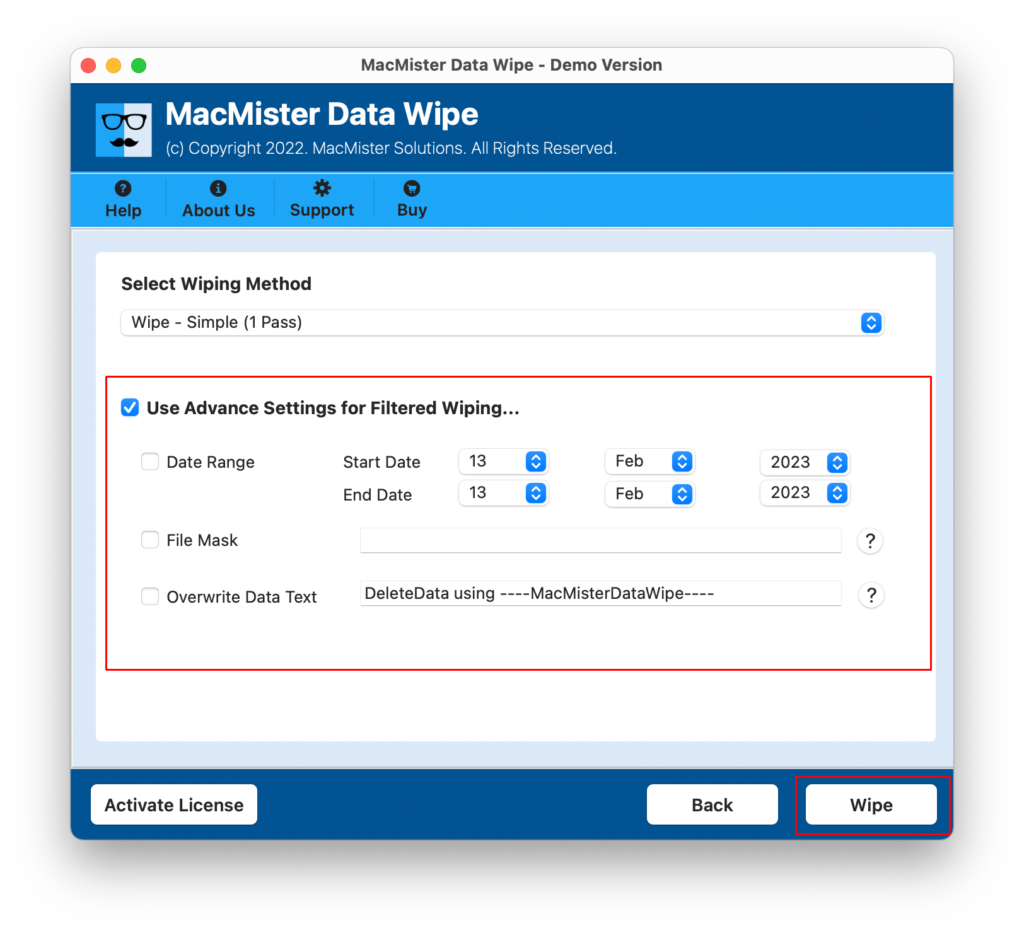
Select the wiping option by clicking the Wiping Method drop-down arrow.
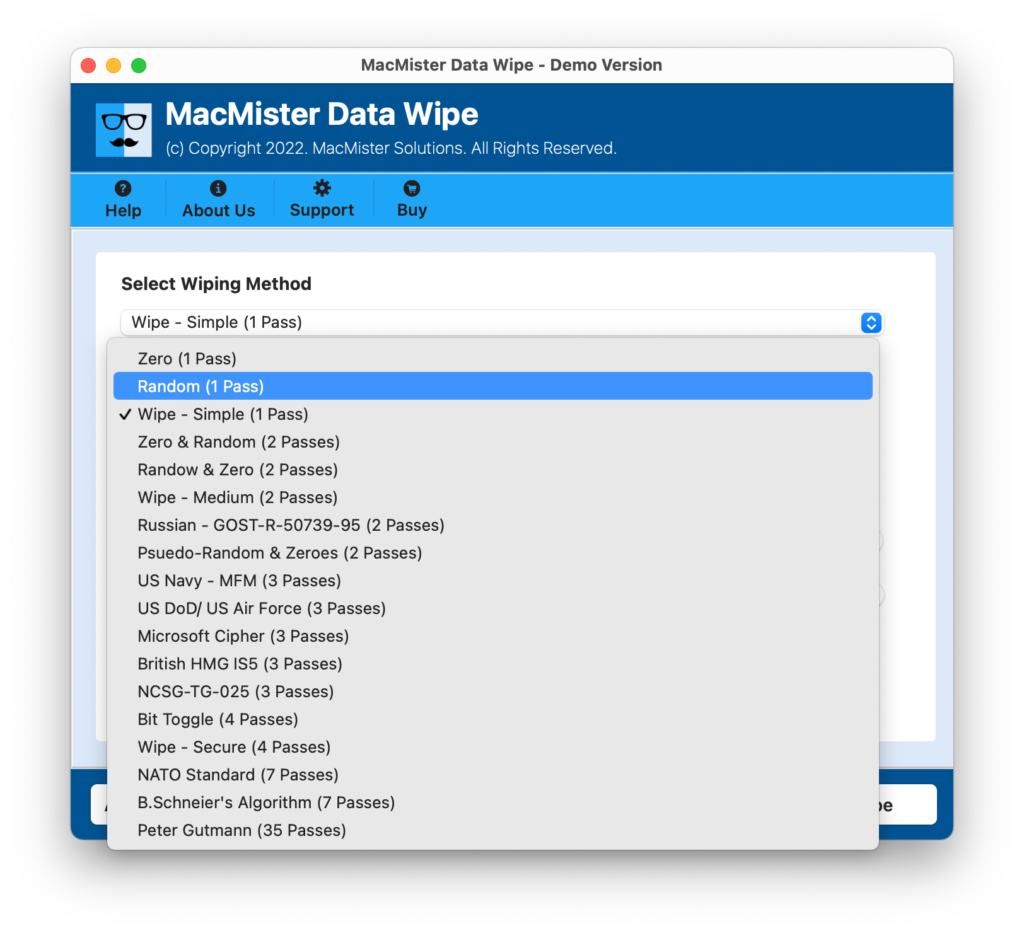
Apply Advanced filtering to wipe specific data and click Wipe button.
View the Live Wiping Progress appearing on the screen.

The process will finish quickly and a log report will appear which shows the start date & time of the process, processing type, file name, wiping method, total bytes wiped, and status. One can save the report for future reference, if required.
Overall, it is a best time-saving procedure to carry out how to remove unneeded files from Mac process within seconds.
Search for Duplicate and Unused App
To remove duplicate applications or the applications that are no longer required, follow the steps –
- Go to System Settings.
- Tap General.
- Click Storage.
Erase Unused .DMGs
Check the unnecessary DMGs and remove it from Mac to free up the storage space. Follow the instructions to do the task –
- Navigate to Desktop and press Cmd + F.
- Select “The Mac” and click + appearing on the right of the window.
- From the dropdown menu, select File extension.
- Enter dmg and check the results, delete the image of app that is installed already.
Epilogue
In the article, we have highlighted multiple methods to resolve how to delete unneeded files on Mac. Go through the different ways highlighted above and implement the one that looks most suitable to you. Additionally, you may contact MacMister Support for software related assistance.