How to Erase Everything on a MacBook Air 2017?
If you are selling, trading in, or gifting away your cherished 2017 MacBook Air, then a complete wipe of your personal data becomes necessary. In contrast to the new Apple Silicon MacBook Airs, the 2017 MacBook Air uses an old Intel chip and does not have the “Erase All Content and Settings” option that can be found in the latest version of macOS.
The following guide explains how to prepare for the process, perform a complete wipe of your data, and use some advanced third party tools to erase everything on MacBook Air 2017.
Step-by-Step Guide to Erase Everything on MacBook Air 2017
Step 1: Backup All Your Important Files
Prior to performing a wipe, you will need to backup your data.
- Connect your external drive and use Time Machine or simply copy your important files, images, media, etc., to cloud storage (such as iCloud, Google Drive, and OneDrive).
- It will be useful to note your license keys/serial numbers for the software you intend to transfer to another computer in the future.
Step 2: Sign Out of Your Accounts
To dissociate the personal accounts from the machine, manually log out of each one to avoid activation lock or syncing problems for the subsequent user:
- Music, TV, Books: Open the Music, TV, and Books app and choose the following path: Account > Authorizations > Deauthorize This Computer and provide your Apple ID password.
- iCloud & Find My Mac: Open System Preferences > Apple ID, select iCloud at the left pane, untick the option Find My Mac, and press Sign Out.
- Messages: Open Messages application, go to Preferences > iMessage, and Sign Out.
- Bluetooth: Unpair the mouse and keyboard if they are connected; select them in the list under System Preferences > Bluetooth and click the “X.”
Step 3: Guarantee Permanence with Remarkable Solution
The process of formatting done by the operating system only marks the disk as empty, which allows for the possibility of recovering bits of the old information using data recovery tools. For those working with sensitive financial, professional, or private information on their 2017 MacBook Air, sanitizing tools are advisable.
MacMister Data Wipe Software for Mac is a program specifically designed to wipe data from Mac drives. There are more than 15 different data wiping algorithms supported by the software including the United States Department of Defense and the United States Navy.
Step by Step Guide to Delete Everything on MacBook Air
Step 1. Install the application on your Mac.
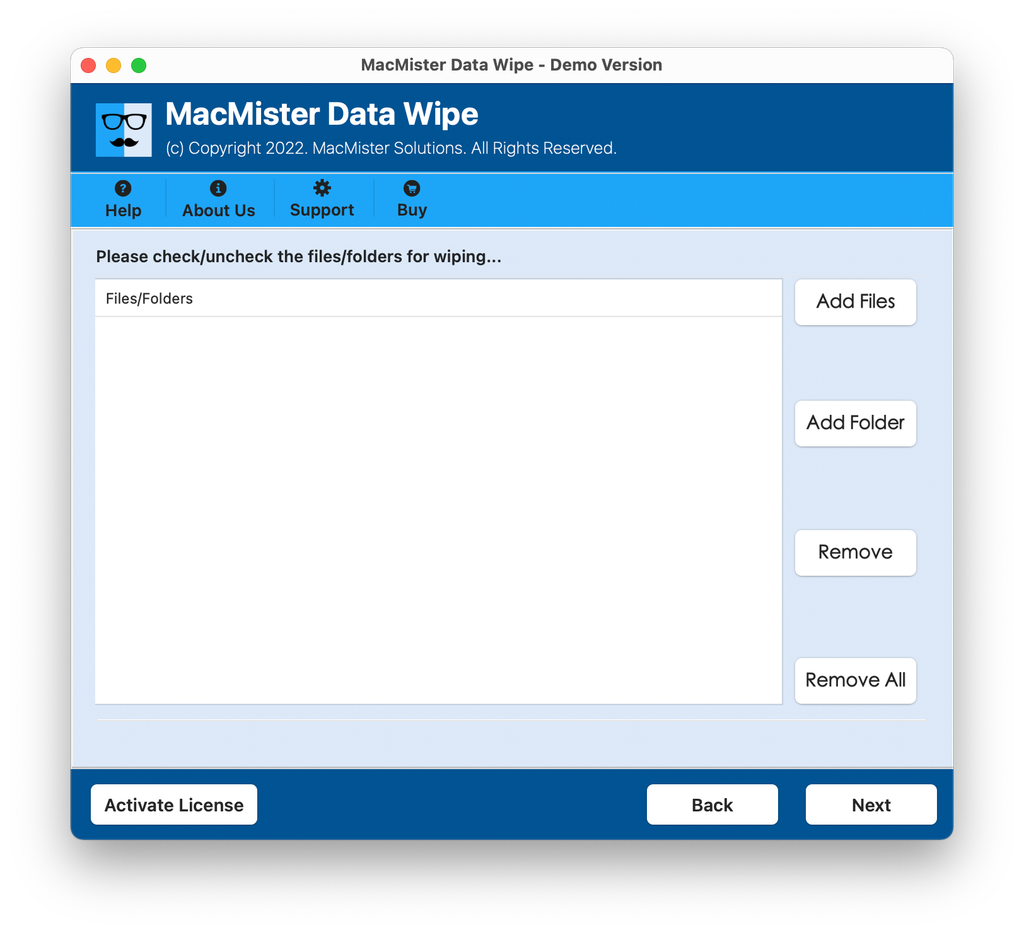
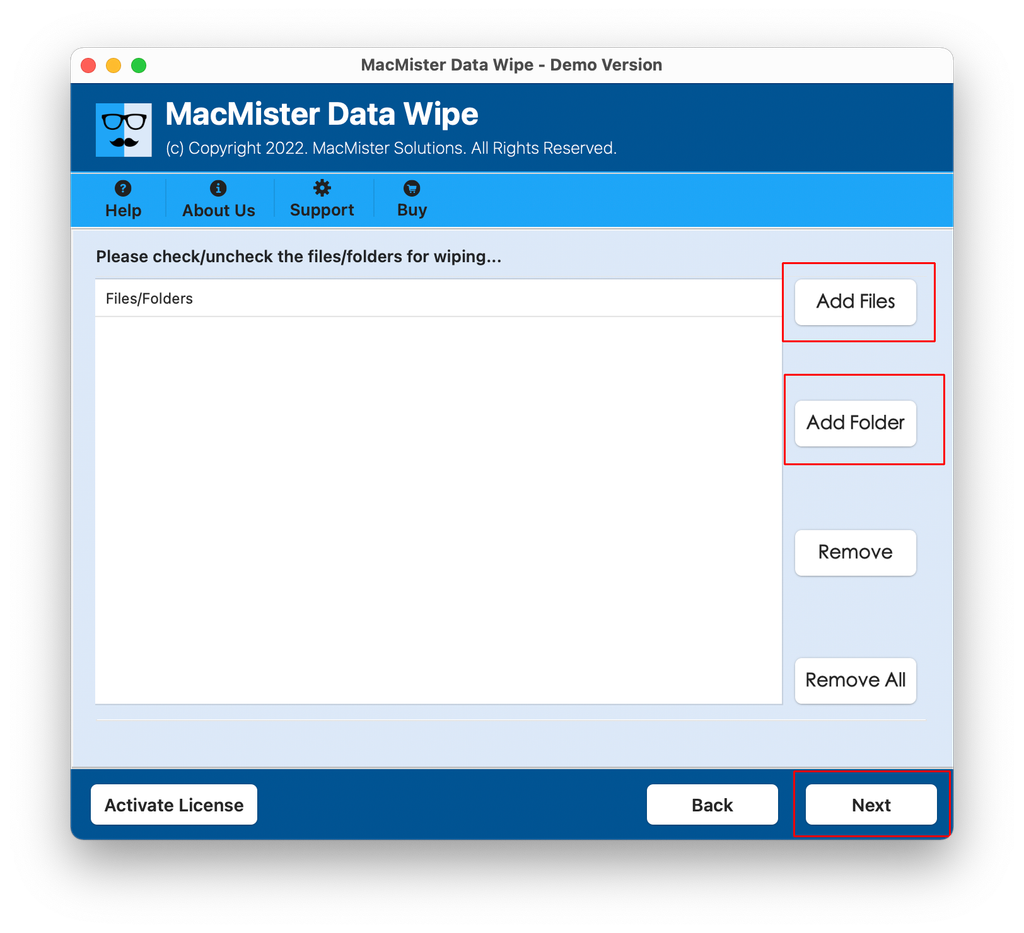
Step 2. Open the application and select the Add Files or Add Folders feature to select data archives or caches or even whole volumes that you want to erase.
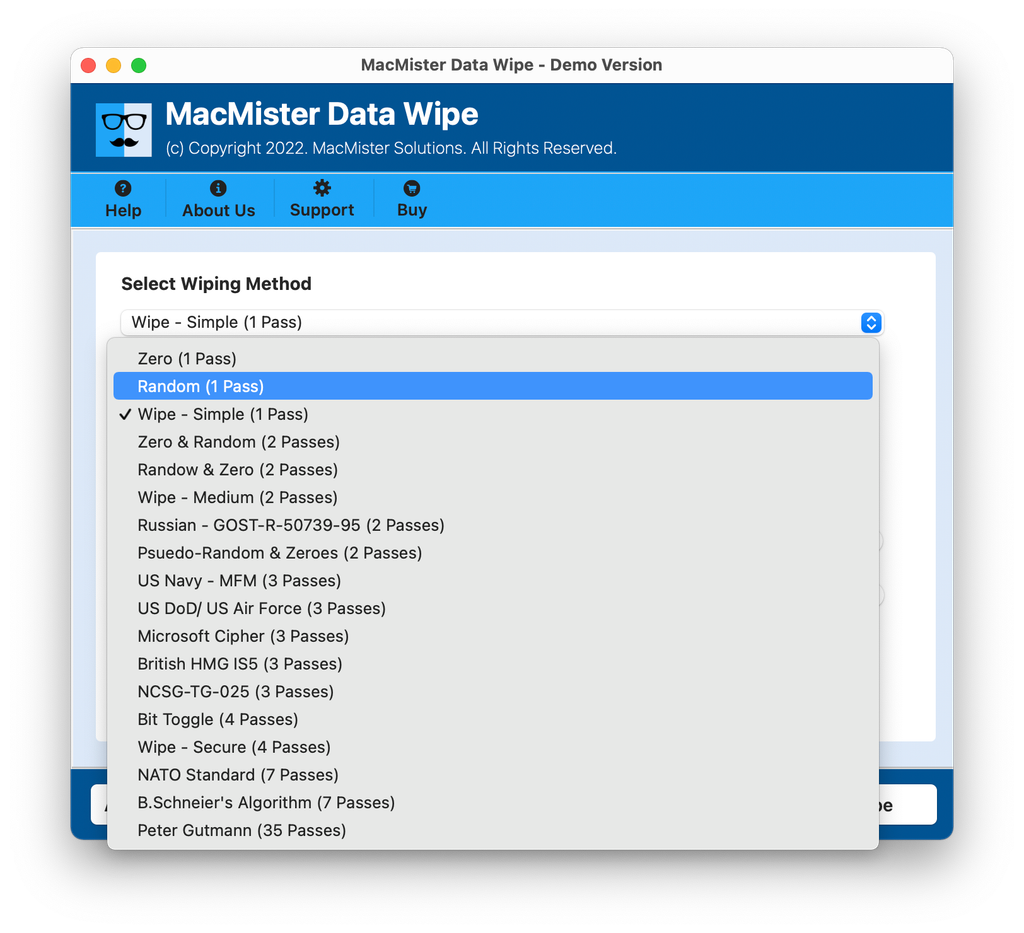
Step 3. Choose the desired wiping method (such as multi-pass Zero & Random Overwrite or US DoD 3-pass method).
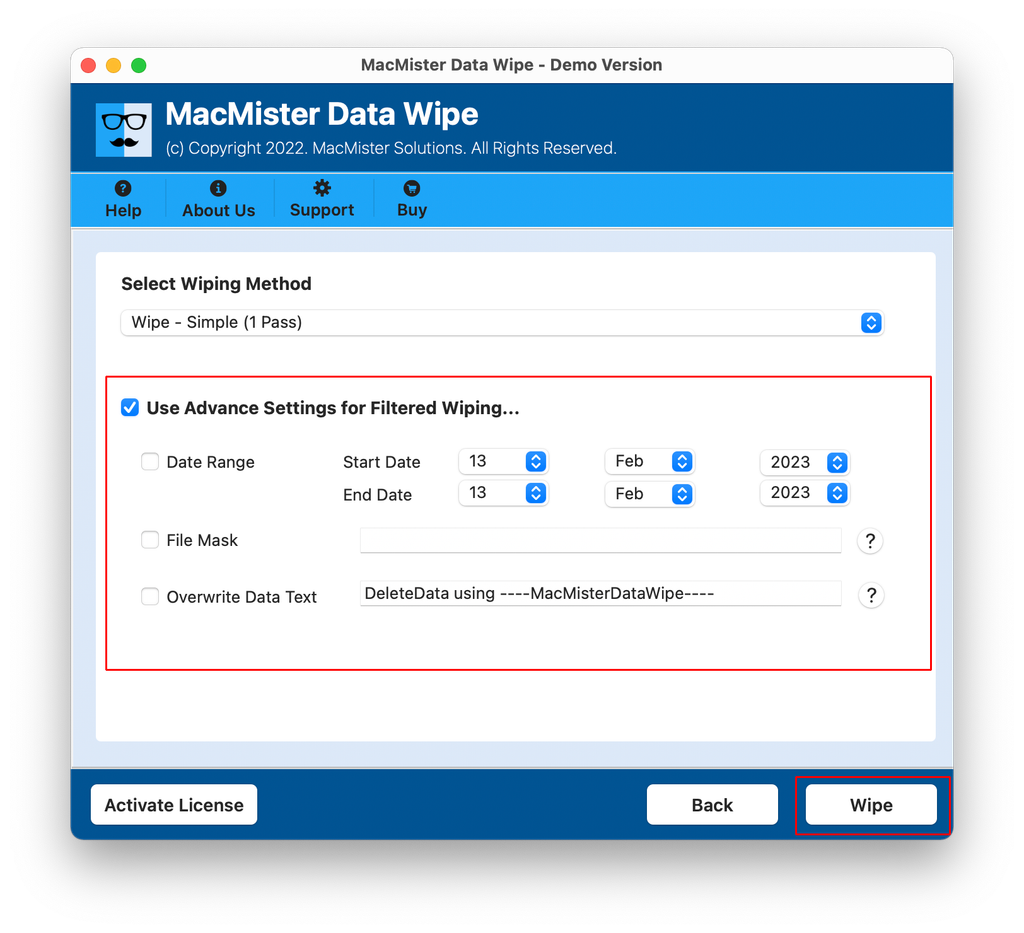
Step 4. Make use of “Use advanced settings for filtered wiping” section to erase specific data on MacBook, if necessary and tap Wipe.
Step 5. Execute the wiping process. It will remove your files and give you a clean slate.
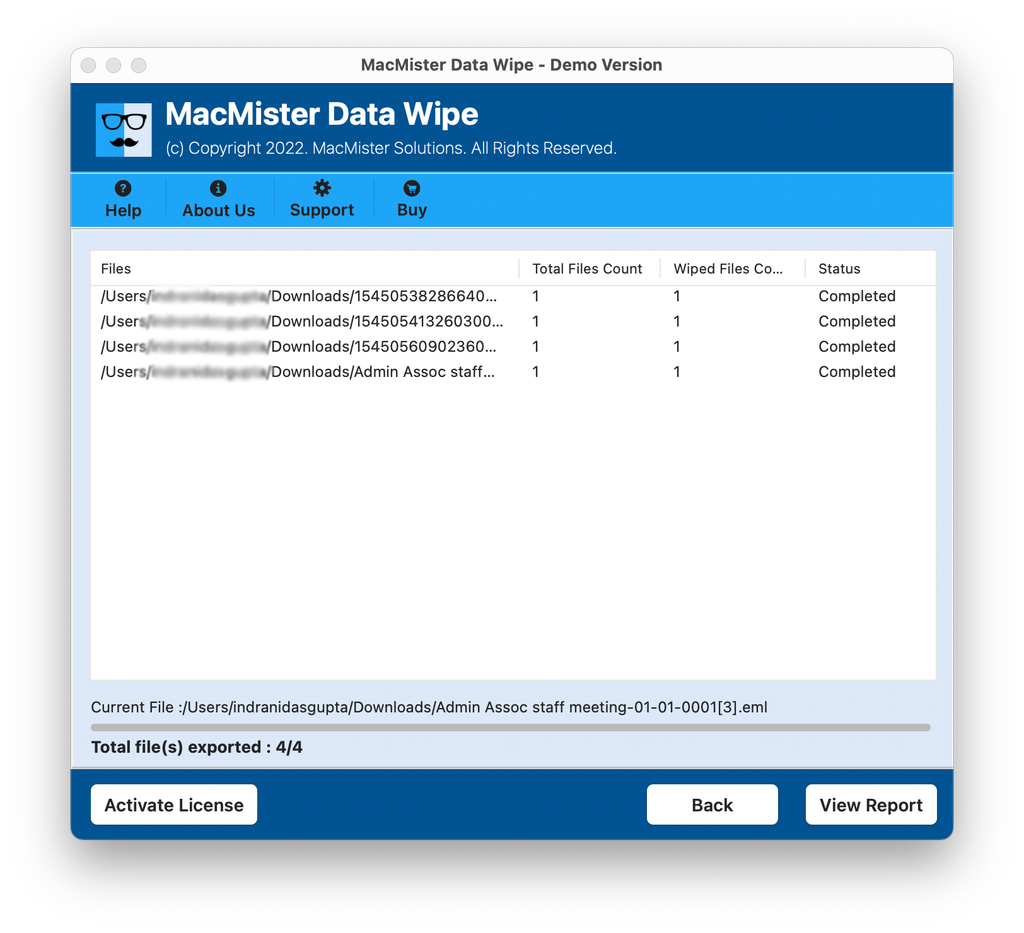
Step 4: Use macOS Recovery to Format the Hard Drive
Once you’ve logged out of your accounts and shredded all your documents, you will need to erase your internal hard drive using Recovery Mode on macOS.
- Power Off: Power down your MacBook Air entirely.
- Boot into Recovery: Press Command (⌘) + Option (⌥) + R (or Shift + Option + Command + R), and then press the power button. Hold down the buttons until you get a spinning globe or Apple logo.
- Start Disk Utility: Select Disk Utility from the macOS Utilities window.
Removing the Internal Drive:
- Choose Macintosh HD (or your primary internal drive) from the sidebar.
- Press the Erase button found in the top toolbar.
- Name your volume (like Macintosh HD), choose your format like Mac OS Extended (Journaled) or APFS according to the macOS version you have.
- Press Erase.
Step 5: Reinstall macOS
To make the MacBook Air as good as new for the next owner:
- Stop using Disk Utility by going back to the utilities menu.
- Go to “Reinstall macOS” and continue following the instructions.
- The installation process should begin. Stop right where it shows the setup assistant window that asks for your country/region and press Command + Q to power off the Mac.
Epilogue
Cleaning the old Intel-powered machine such as the MacBook Air from 2017 is slightly more hands-on than with the new Apple Silicon versions, however, sticking to the process makes sure you can have full assurance that all your data is deleted and no one else can access it. It can be done by making sure to back up all your files and sign out of all the accounts, use data wipe software such as MacMister Data Wipe, and reinstall the macOS clean.