How to Save Outlook Email as PDF on MacBook?
If you are unsure of how to save Outlook email as PDF on MacBook and constantly searching for a solution that could fix the error quickly! Then no worries at all as in the write-up we will be discussing some way outs that will help in saving Outlook email as PDF on MacBook with 100% accuracy.
In the modern digital environment, email has become the single source of official correspondence, receipts of transaction, notices and critical project updates. Utilizing a live email client, such as Microsoft Outlook, for the sole storage of this essential information, introduces several risks. Quota limits for mailboxes can be exceeded, server configurations can change, accounts can become inactive and search index can be corrupted. An effective mechanism for ensuring these critical emails are preserved for long-term use, compliance and ease of sharing is to convert them into a universal, static format.
The Portable Document Format (PDF) is the one and only document preservation format. It preserves formatting, embeds assets and guarantees that a document will look the same whether it is opened on an iPhone, a Windows workstation, or a Linux server. If you’re using a MacBook and want to archive your Outlook emails as PDFs, you are much closer to the task than you think, as far as the interplay between the Microsoft software ecosystem and native print architecture on macOS is concerned. This article takes a deeper look at saving emails as PDFs on your Mac using the desktop client, in web browsers, pushing bulk messages into PDF, and archiving attachments.
Method 1: Use the Native Outlook for Mac App (the Print Menu Way)
The majority of professional users are using the desktop software, Microsoft Outlook for Mac. Windows users have a built-in “Save As PDF” option directly in the Backstage view, whereas the macOS letting macOS users tap into Apple’s built-in system-level PDF generation engine. This is a very efficient way to do it and avoids the formatting errors.
Steps to Save Outlook Email as PDF on MacBook using the Print Menu Way:
Step 1. Open your Outlook for Mac application and highlight the specific email you want to convert from your inbox or custom folder.
Step 2. Go to the top menu bar and click File, and then Print from the dropdown list. Alternatively, use the global macOS keyboard combination: command + P.
Step 3. A layout preview window will appear. Looking toward the system print sheet bottom left corner, you will see a small dropdown selector labeled PDF.
Step 4. Click the PDF dropdown and select “Save as PDF”.
Step 5. Configure File Meta-Data: A standard macOS window cascade down. Edit the filename to your organization’s naming conventions, add any relevant macOS tags for indexing and select your desired destination directory (document folder, iCloud Drive, or an external server).
Step 6. Click on the blue Save button. Your email is immediately converted to a multi-page, searchable PDF document.
PRO TIP: Do you want to make your work faster? Instead of using the dropdown menus all the time, you can create your own custom keyboard shortcut in your macOS Settings. Open System Settings > Keyboard > Keyboard Shortcuts > App Shortcuts > add Outlook > map the exact text “Save as PDF” as a command, for example Command + Shift + P.
Method 2: Using Outlook on the Web (Safari, Chrome or Edge)
If you would rather use Outlook Web Access (OWA) via Microsoft 365 in a browser than install the heavy desktop client, your vector will need to be written to the browser print rendering engine rather than the application menu. The method is slightly different in Safari versus a Chromium-based browser such as Google Chrome.
In Safari in macOS
Step 1. Log on to your Outlook Web account and open the email thread that you wish to convert.
Step 2. Do not click the browser’s standard File menu immediately. Instead, navigate to the top right portion of the email body and click the three-dot Web icon (More Actions), then click Print in the secondary web menu that appears.
Step 3. Outlook will prepare an HTML view of the message suitable for printing. Click the secondary Print button that appears at the top of this preview.
Step 4. When the default mac print sheet drops down, click PDF dropdown bottom-left and choose Save as PDF.
In Google Chrome or Microsoft Edge
Chromium bypasses the regular print sheet on Apple by default, using its own proprietary print dialog box instead. Here to Save as a PDF:
Step 1. As described above to get the internal Outlook web print preview to appear
Step 2. In Chrome’s custom print dashboard that appears on the right side of your screen, click the Destination dropdown menu and
Step 3. Change the Destination from your physical printer to Save as PDF
Step 4. Click Save at the bottom of the column and pick your target folder in the prompt in Finder
One problem many Mac users have is knowing where their attached email documents (PDF, Word, Excel, image files, etc.) end up when they save the email text as a PDF file.
Portfolio Method:
The “Print to PDF” option (desktop & web) alone will needlessly omit your attached files from the PDF you’ve created. The “Print to PDF” functionality (desktop & web) might grab only the body text, the date sent, the name of the sender and a text-only listing of the attachment names. Thus, don’t attempt to embed or stitch your attached files into your PDF using the “Print to PDF” functionality (desktop & web).
To keep your attachments with the rest of your message context, you’ll have two options:
Portfolio (Acrobat Pro): If you have a paid Adobe subscription, you can drag your email and its downloaded attachments into Adobe Acrobat and make a “PDF Portfolio.” PDF portfolios are like digital binders, packaging all of your work into a single, compressed self-contained file.
Manual Stitching:
In order to attach attachments to your MacBook Finder, first download the attachments, then print the core email to a PDF via Method 1. Open the newly created PDF in Apple’s native Preview application, show the thumbnail sidebar (View > Thumbnails), and drag-and-drop the downloaded attachment files directly into the sidebar to append them to the end of the document. Save the compiled document when finished.
Method 3. Use Automated Approach
To save emails from Outlook on MacBook, you may take help of MacMister OLM Converter for Mac & Windows. With the help of the tool, one can batch save OLM to PDF at once. And along with PDF, the application has 15+ more saving options for the same such as EML, HTML, CSV, DOC, IMAP, Yahoo, Office 365, Gmail, and more. Its GUI is user-friendly, thereby anyone can quickly operate the tool and perform the task with ease.
Moreover, the tool has wide ranging features which are useful in saving emails from Outlook on MacBook according to the requirements. However, you may also download the tool freeware version and check the software working for free.
Step-by-Step Procedure to Save emails from Outlook on MacBook using Automated Approach –
Step 1. Run the app on MacBook.
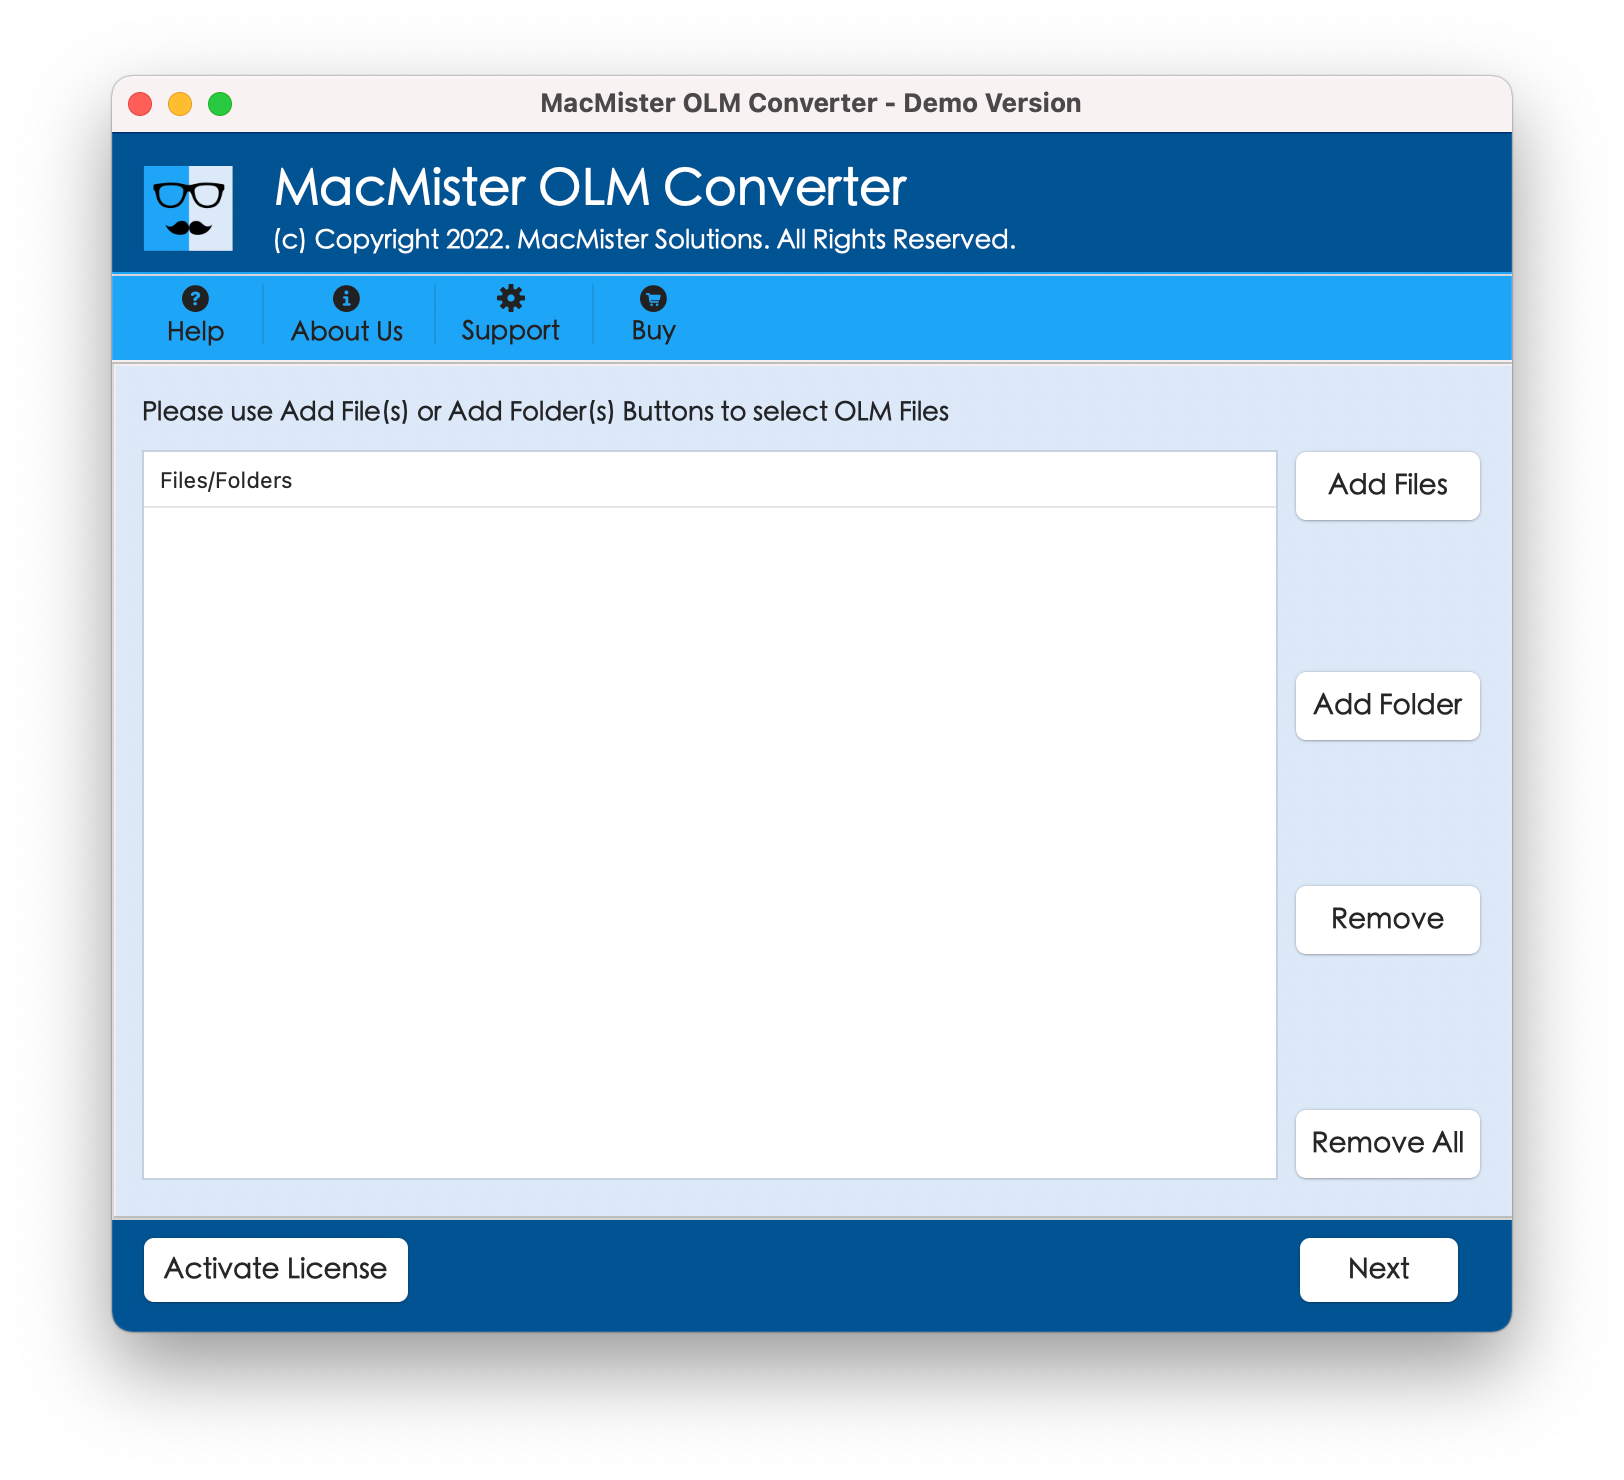
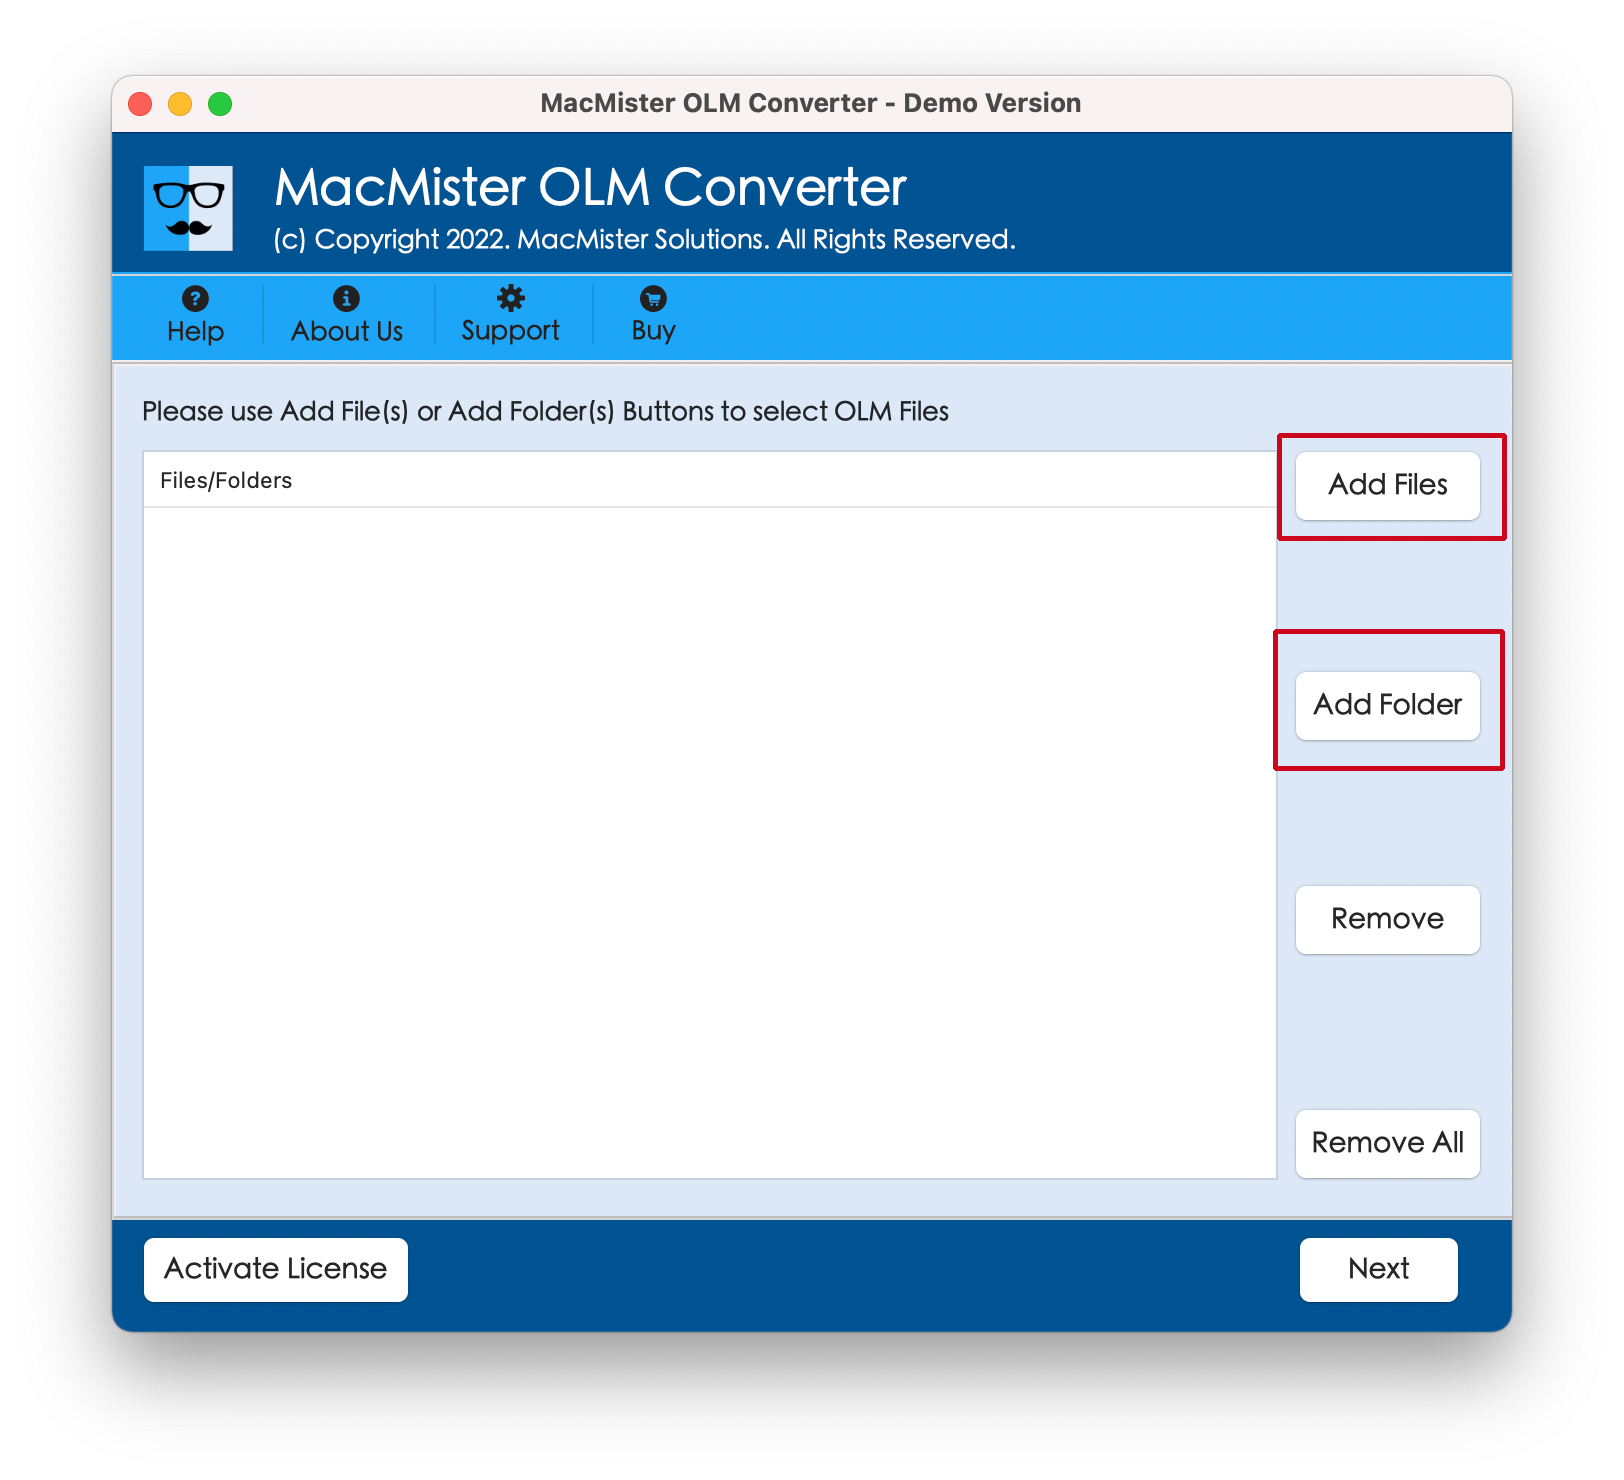
Step 2. Use Add File(s)/Add Folder buttons to load required OLM files on the panel and click Next.
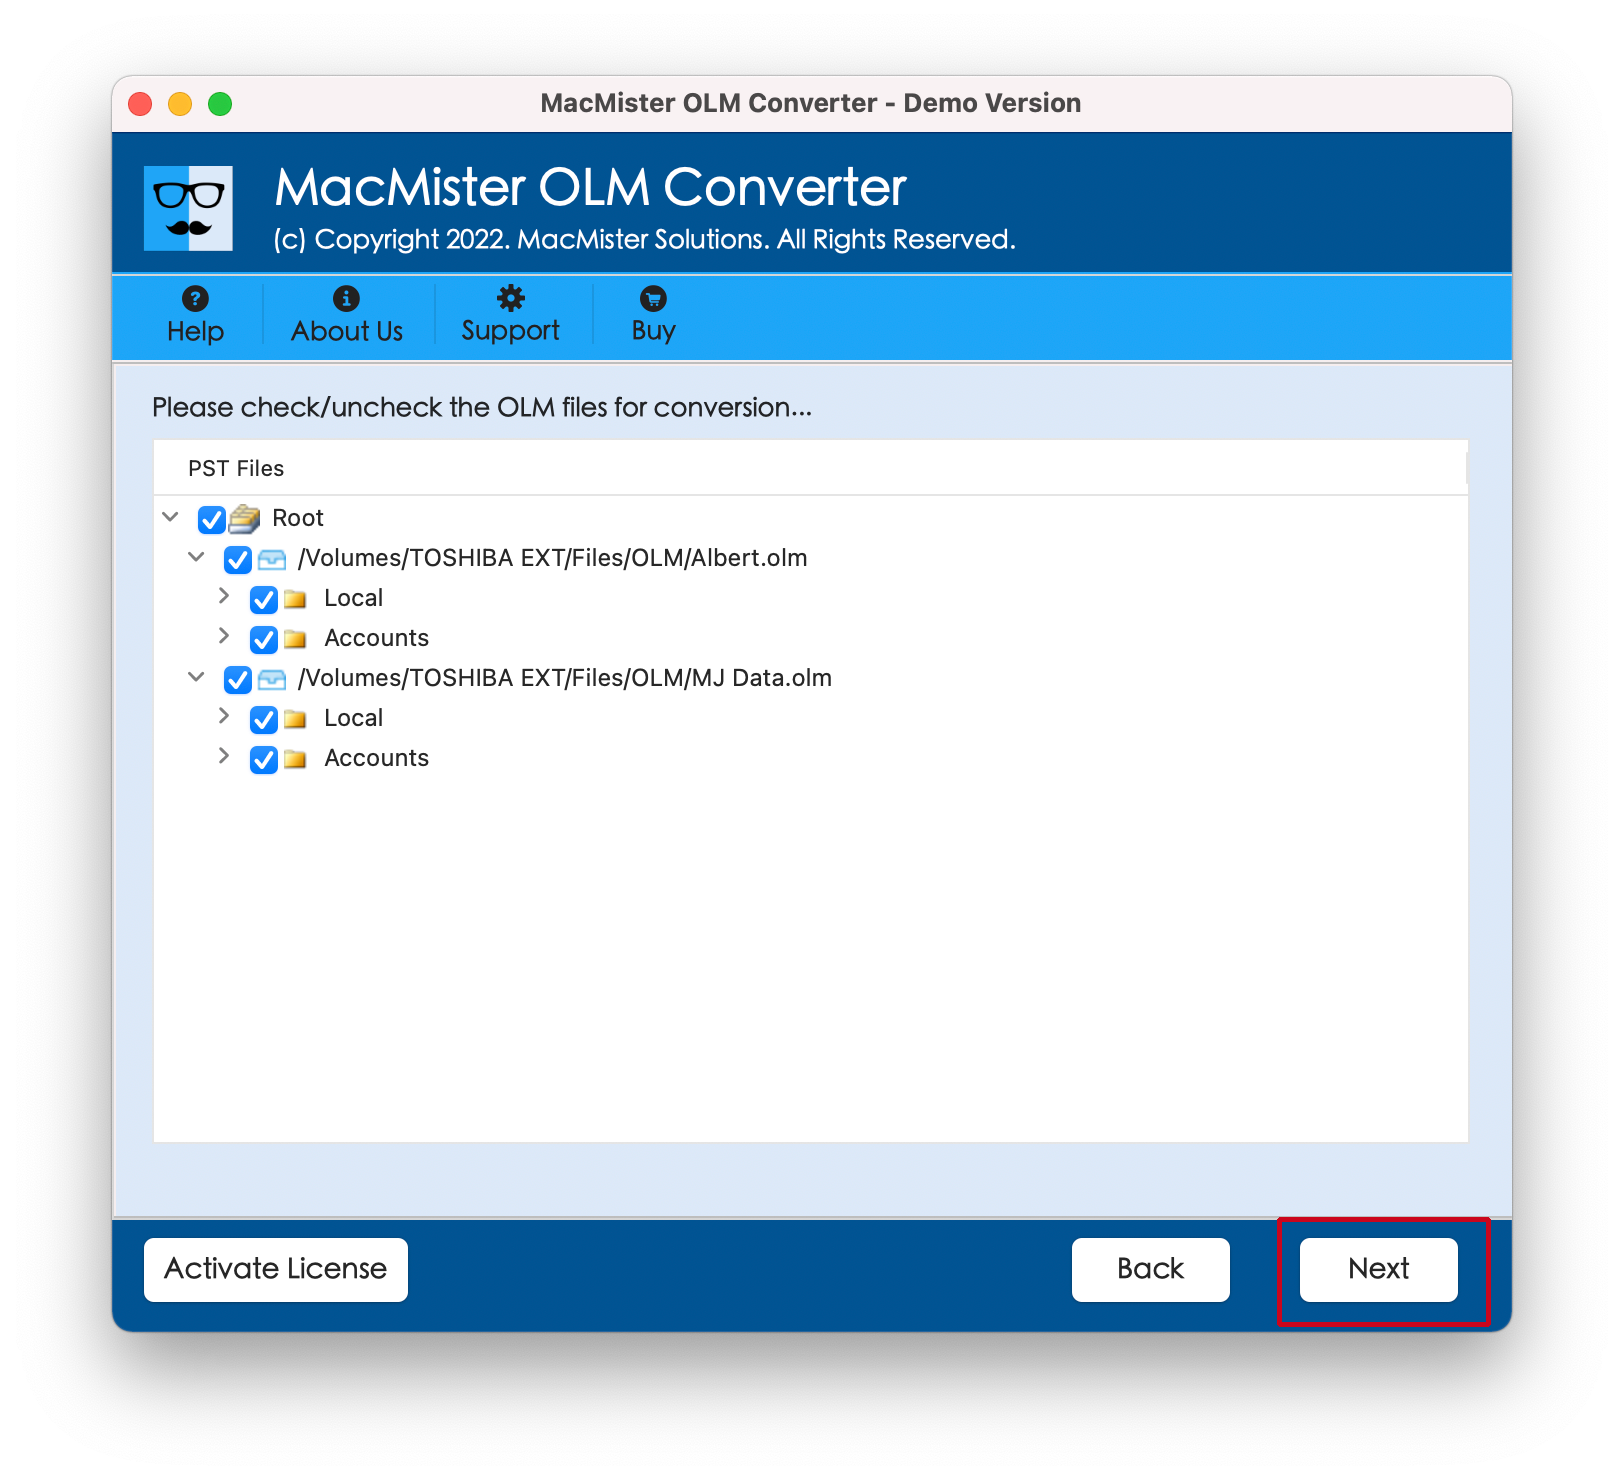
Step 3. Verify all the files listed, use the checkboxes for selective process, if required and click Next.
Step 4. Choose PDF from Select Saving Options.
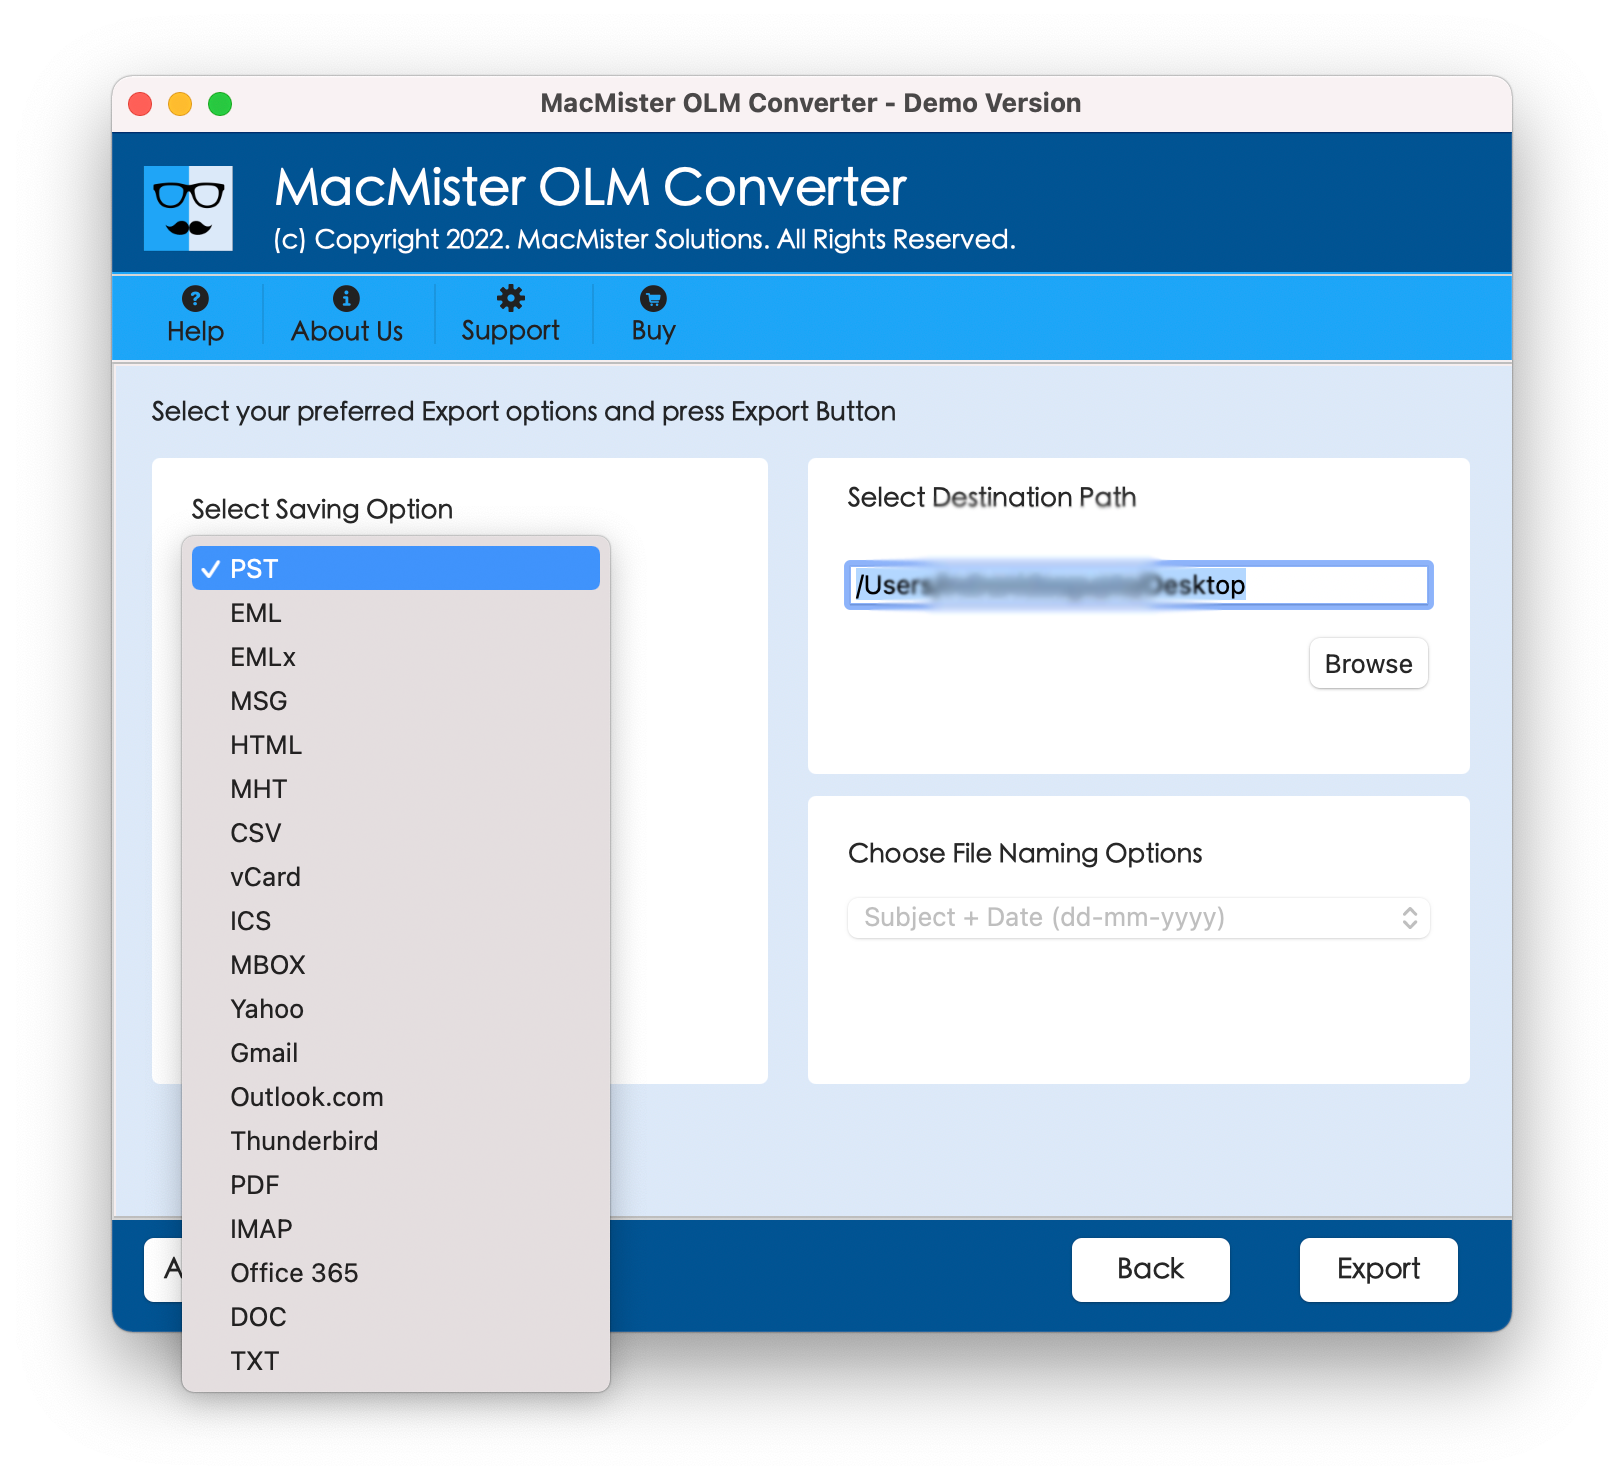
Step 5. Set PDF sub-options and click Export.
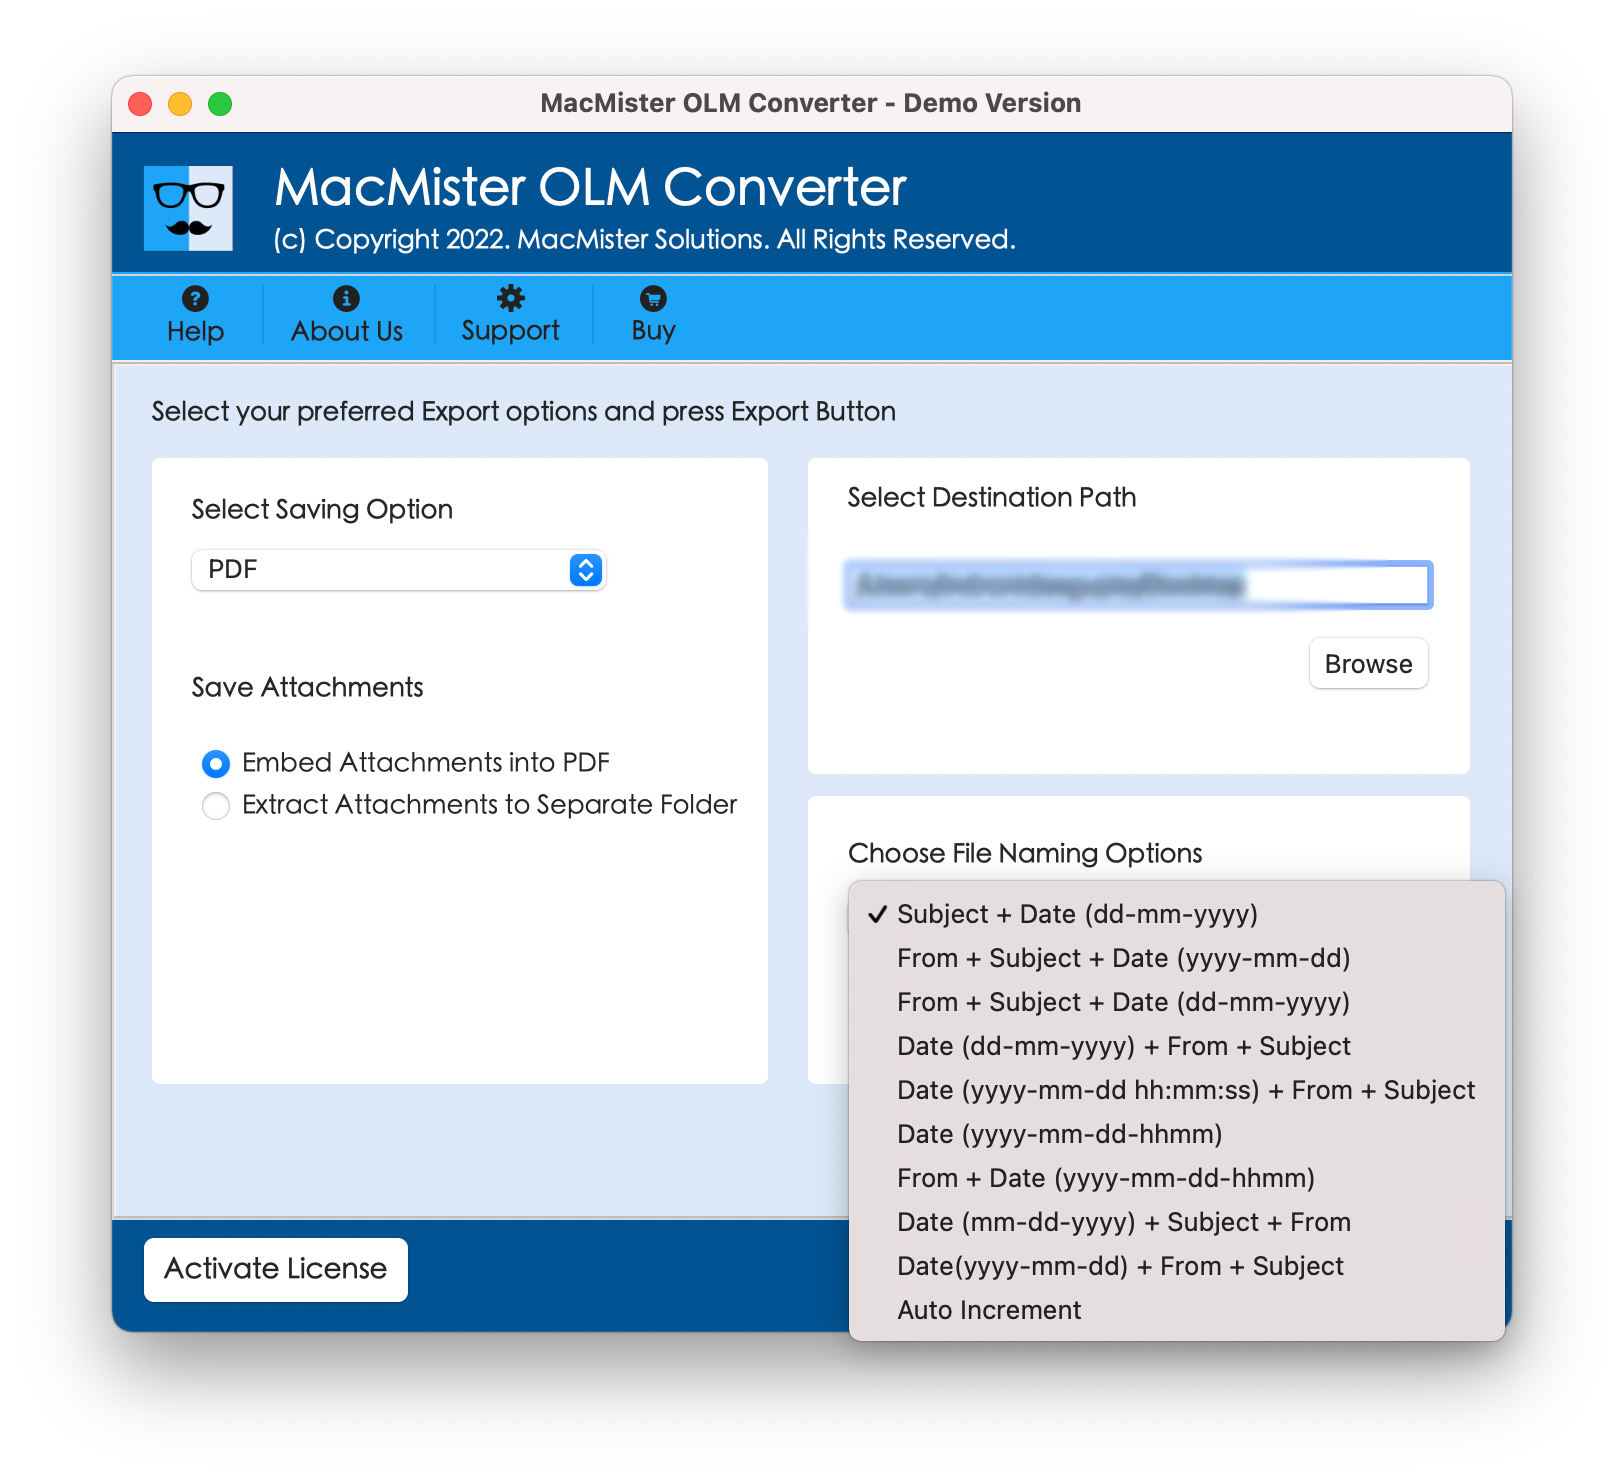
Step 6. Go through the Live Conversion Report and check the live process for free.
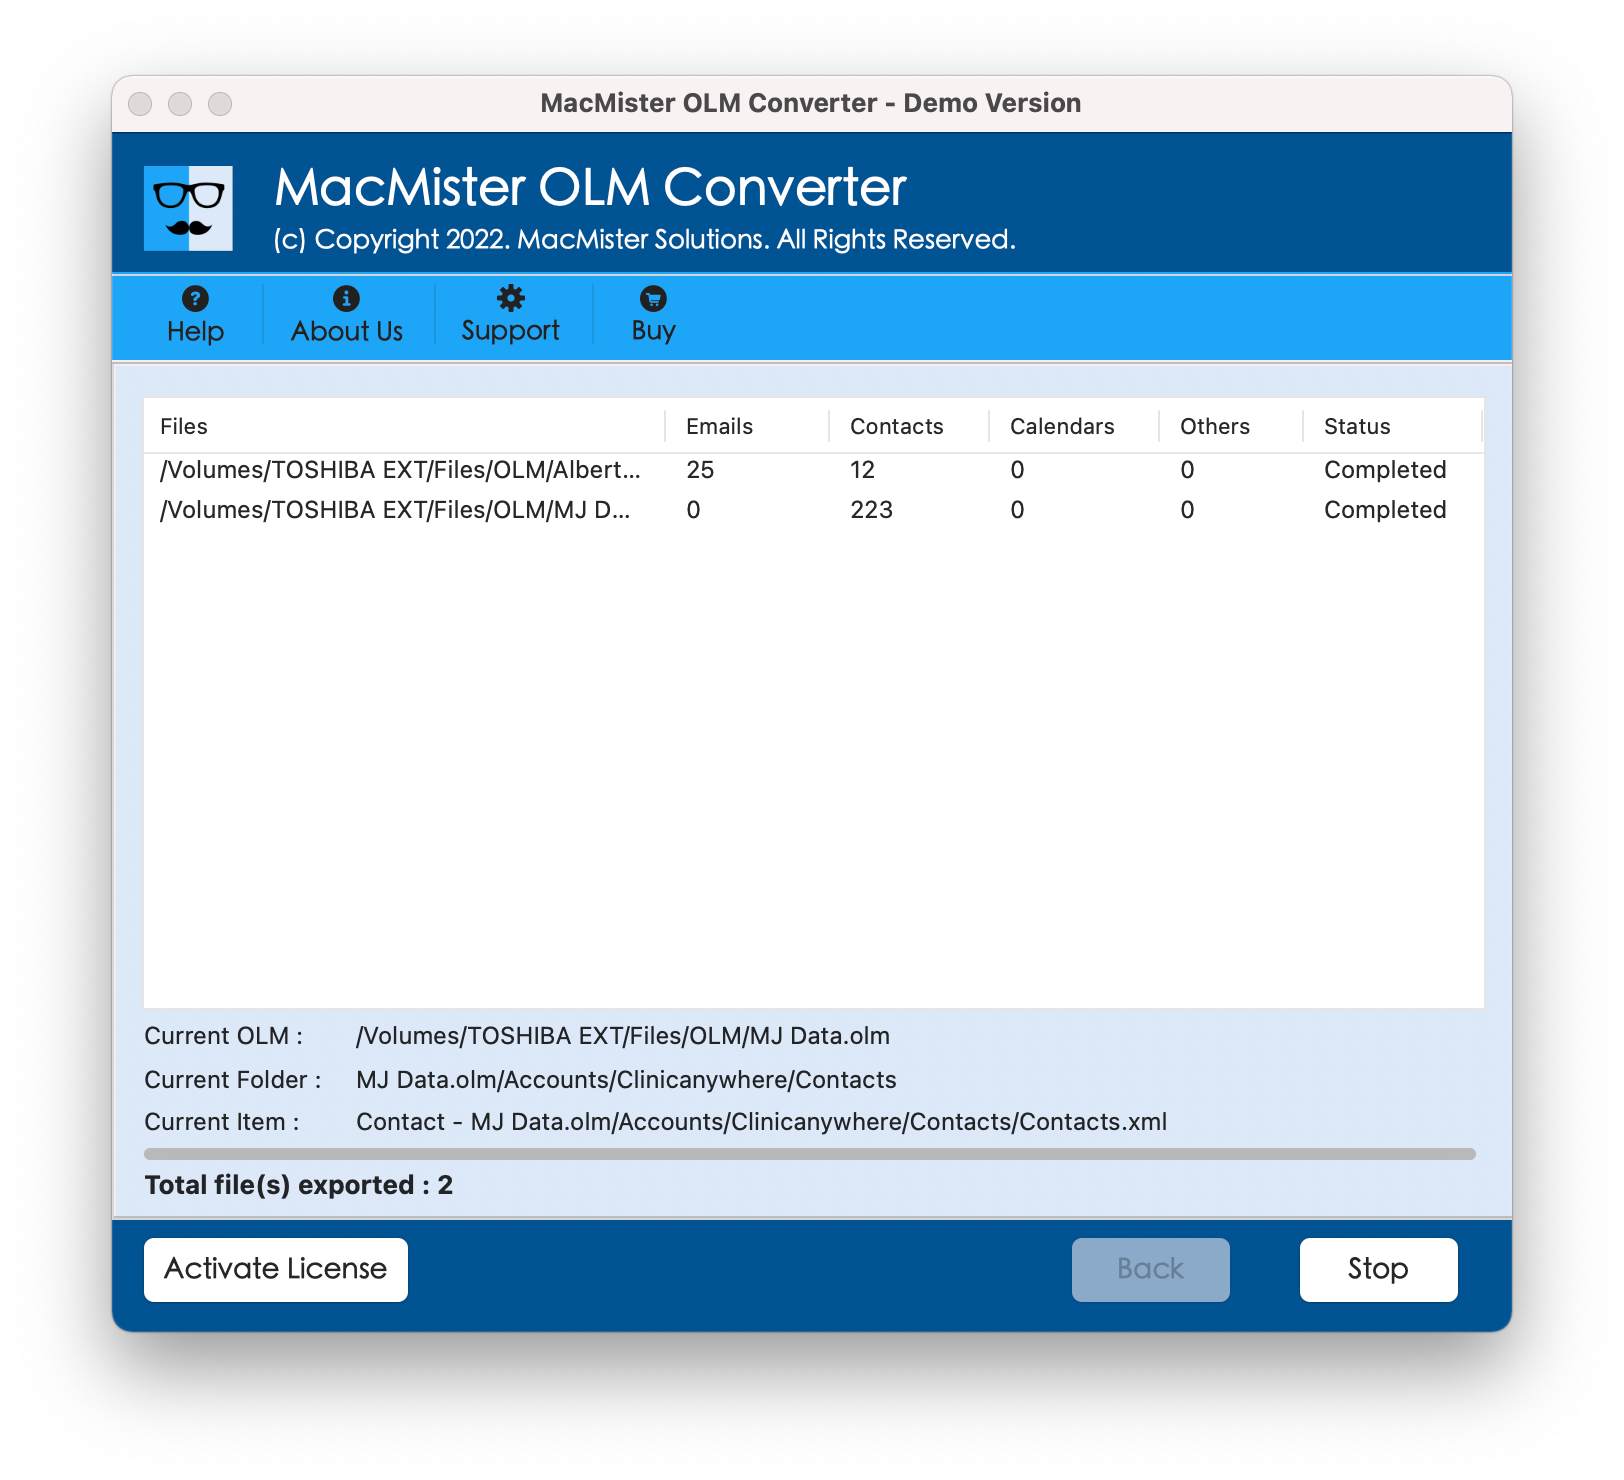
Within seconds, the process will end with a message. Tap OK and go to the location where PDF files are saved. However, after viewing the desired resultant PDF file, you will realize that the tool has perfectly handled the process. The entire content of Outlook mail and its layout will appear without any modifications.
Overall, it is one of the best and safest ways to save emails from Outlook on MacBook.
Epilogue
In the write-up, we have provided different strategies for “how to save Outlook email as PDF on MacBook”. One may opt suitable method and save Outlook emails accordingly. Additionally, it is advised to take backup of Outlook emails before initiating any approach in order to prevent data loss.